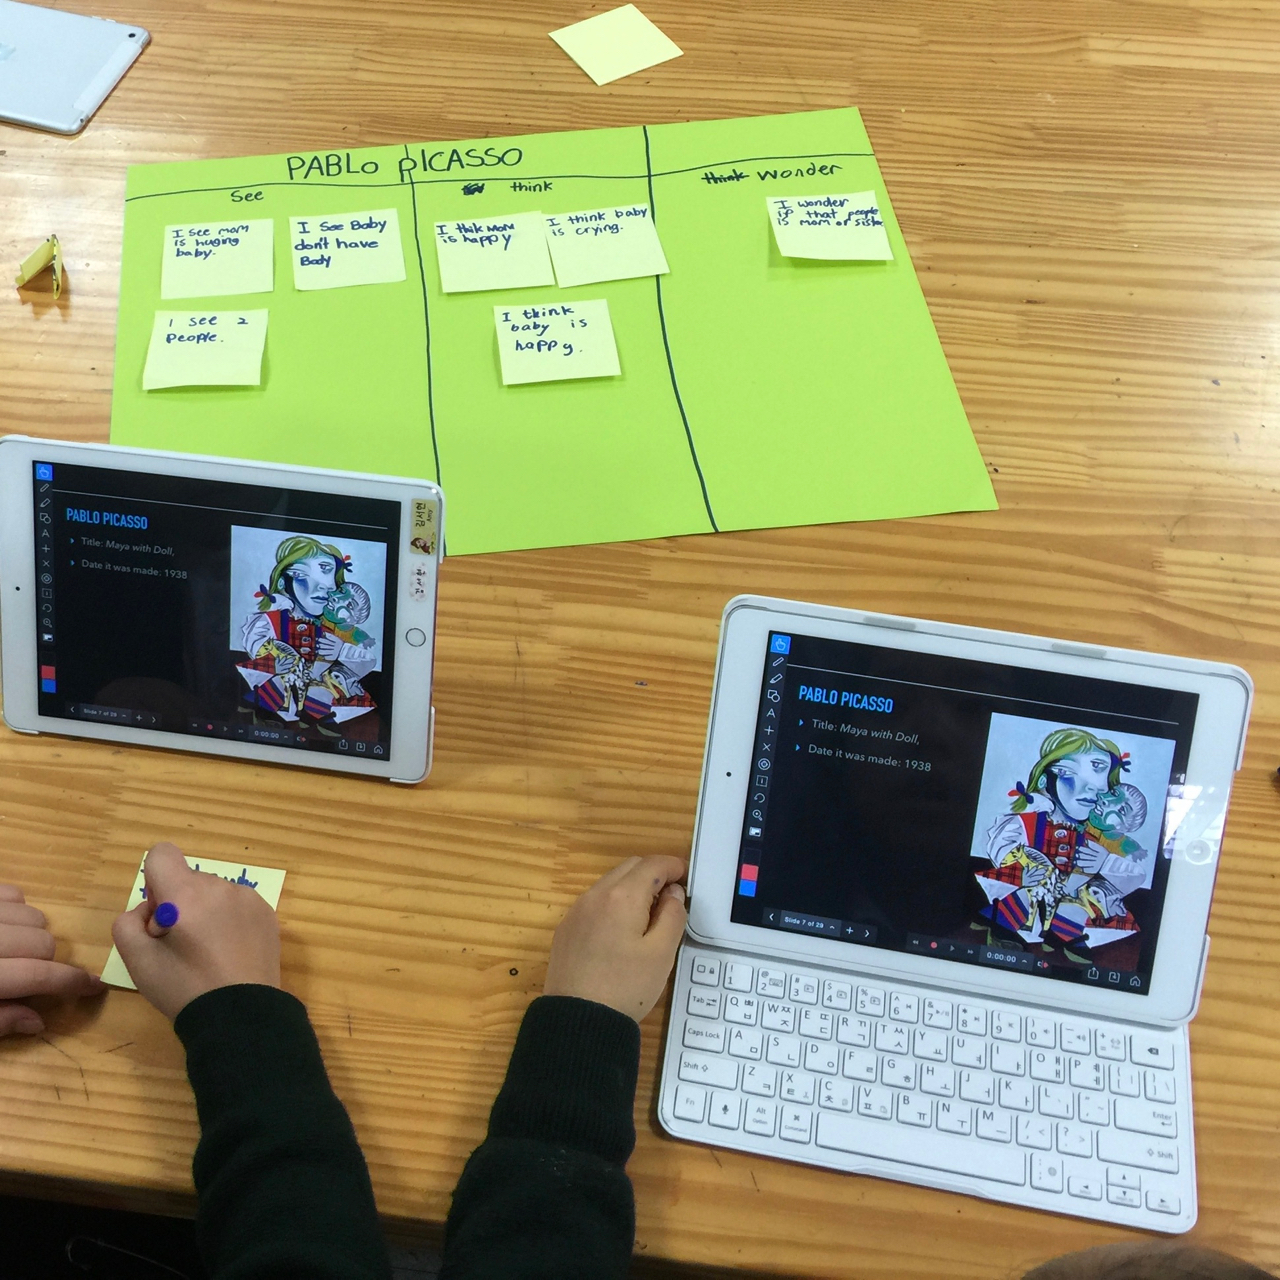
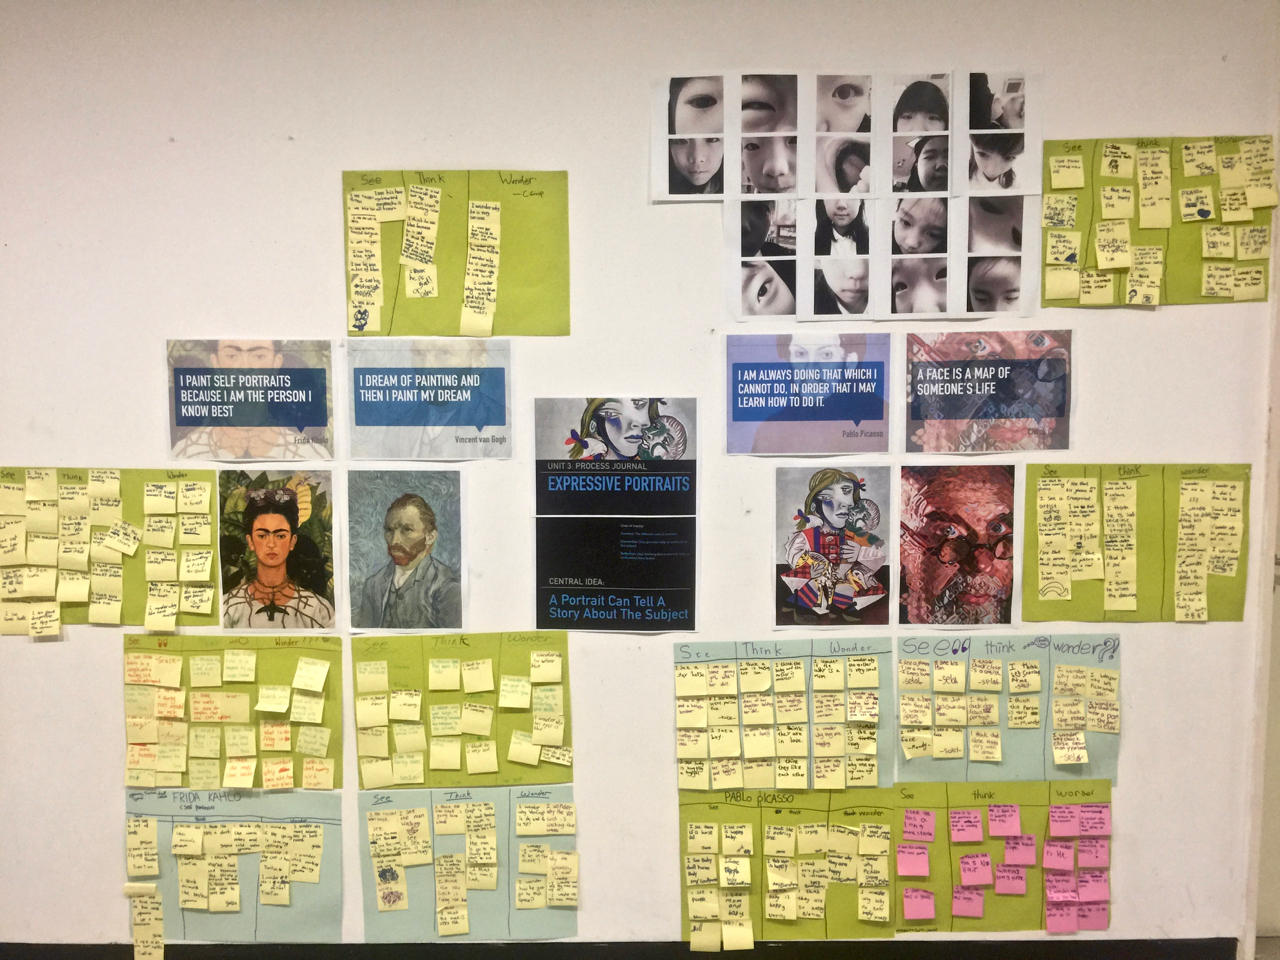
I've been working on trying to have students use technology more and more in the art classroom. One area I've been interested in is having students use the technology as a support for their learning and artistic creation. I want students to see the technology as a tool that allows them to understand and reflect on their art making in a new and deeper way. To this end, I've started to create digital process journals to help students record their artistic journey and to also serve as a tool for flipping the classroom so that more class time can be devoted to creating and one-on-one feedback. In doing so I've noticed a few advantages:
- Facilitate more home learning by flipping the classroom
- Easily differentiate learning for students
- Easily monitor progress through the unit
- Allow for more in-depth analysis of artworks and art-making
- Encourage students to document and reflect on their learning and artistic exploration
These journals are built around 4 sections:
- Investigate: Learning about artists, artworks, tools, and materials
- Plan: Writing a Statement of Artistic Intent, thumbnail sketches, tests and trials, peer feedback on the process
- Create: Recording the process of making; Challenges and success
- Reflect: Evaluating the final artwork and reflecting on the outcome.
Flipping the Classroom
Originally, I envisioned a digital process journal as a way to organize student learning and streamline my assessment of their work--and my early attempts were largely focused on that. However, I've begun to see the possibility of using the journal to flip the classroom. Since students take their iPads home, i've started to include activities and learning tasks into the journal with the idea that they are completed outside of the classroom. This means that we can devote more time in-class to working one-on-one and engaging on a deeper level with art making. As I trial this out through this year, I'm going to explore different possibilities to
Creating a Process Journal
Using Keynote or Google Slides, I create a template for each unit and drop in the source materials that students will need. Often, the majority of the pages are empty with short instructions to paste a photo of the process or record an answer to a task.
Here's my process for creating the journal for Explain Everything on the iPad:
- Create a template using Keynote or PowerPoint
- Drop in source materials that students will need
- Export as a PDF
- In Explain Everything, import the PDF
- Save the file as a Explain Everything Project (XPL)
For cohorts that don't have iPads, I use Google Slides to create and share a slide show with the students. Each student essentially has their own slideshow on which they can make changes, add notes and images, etc.


