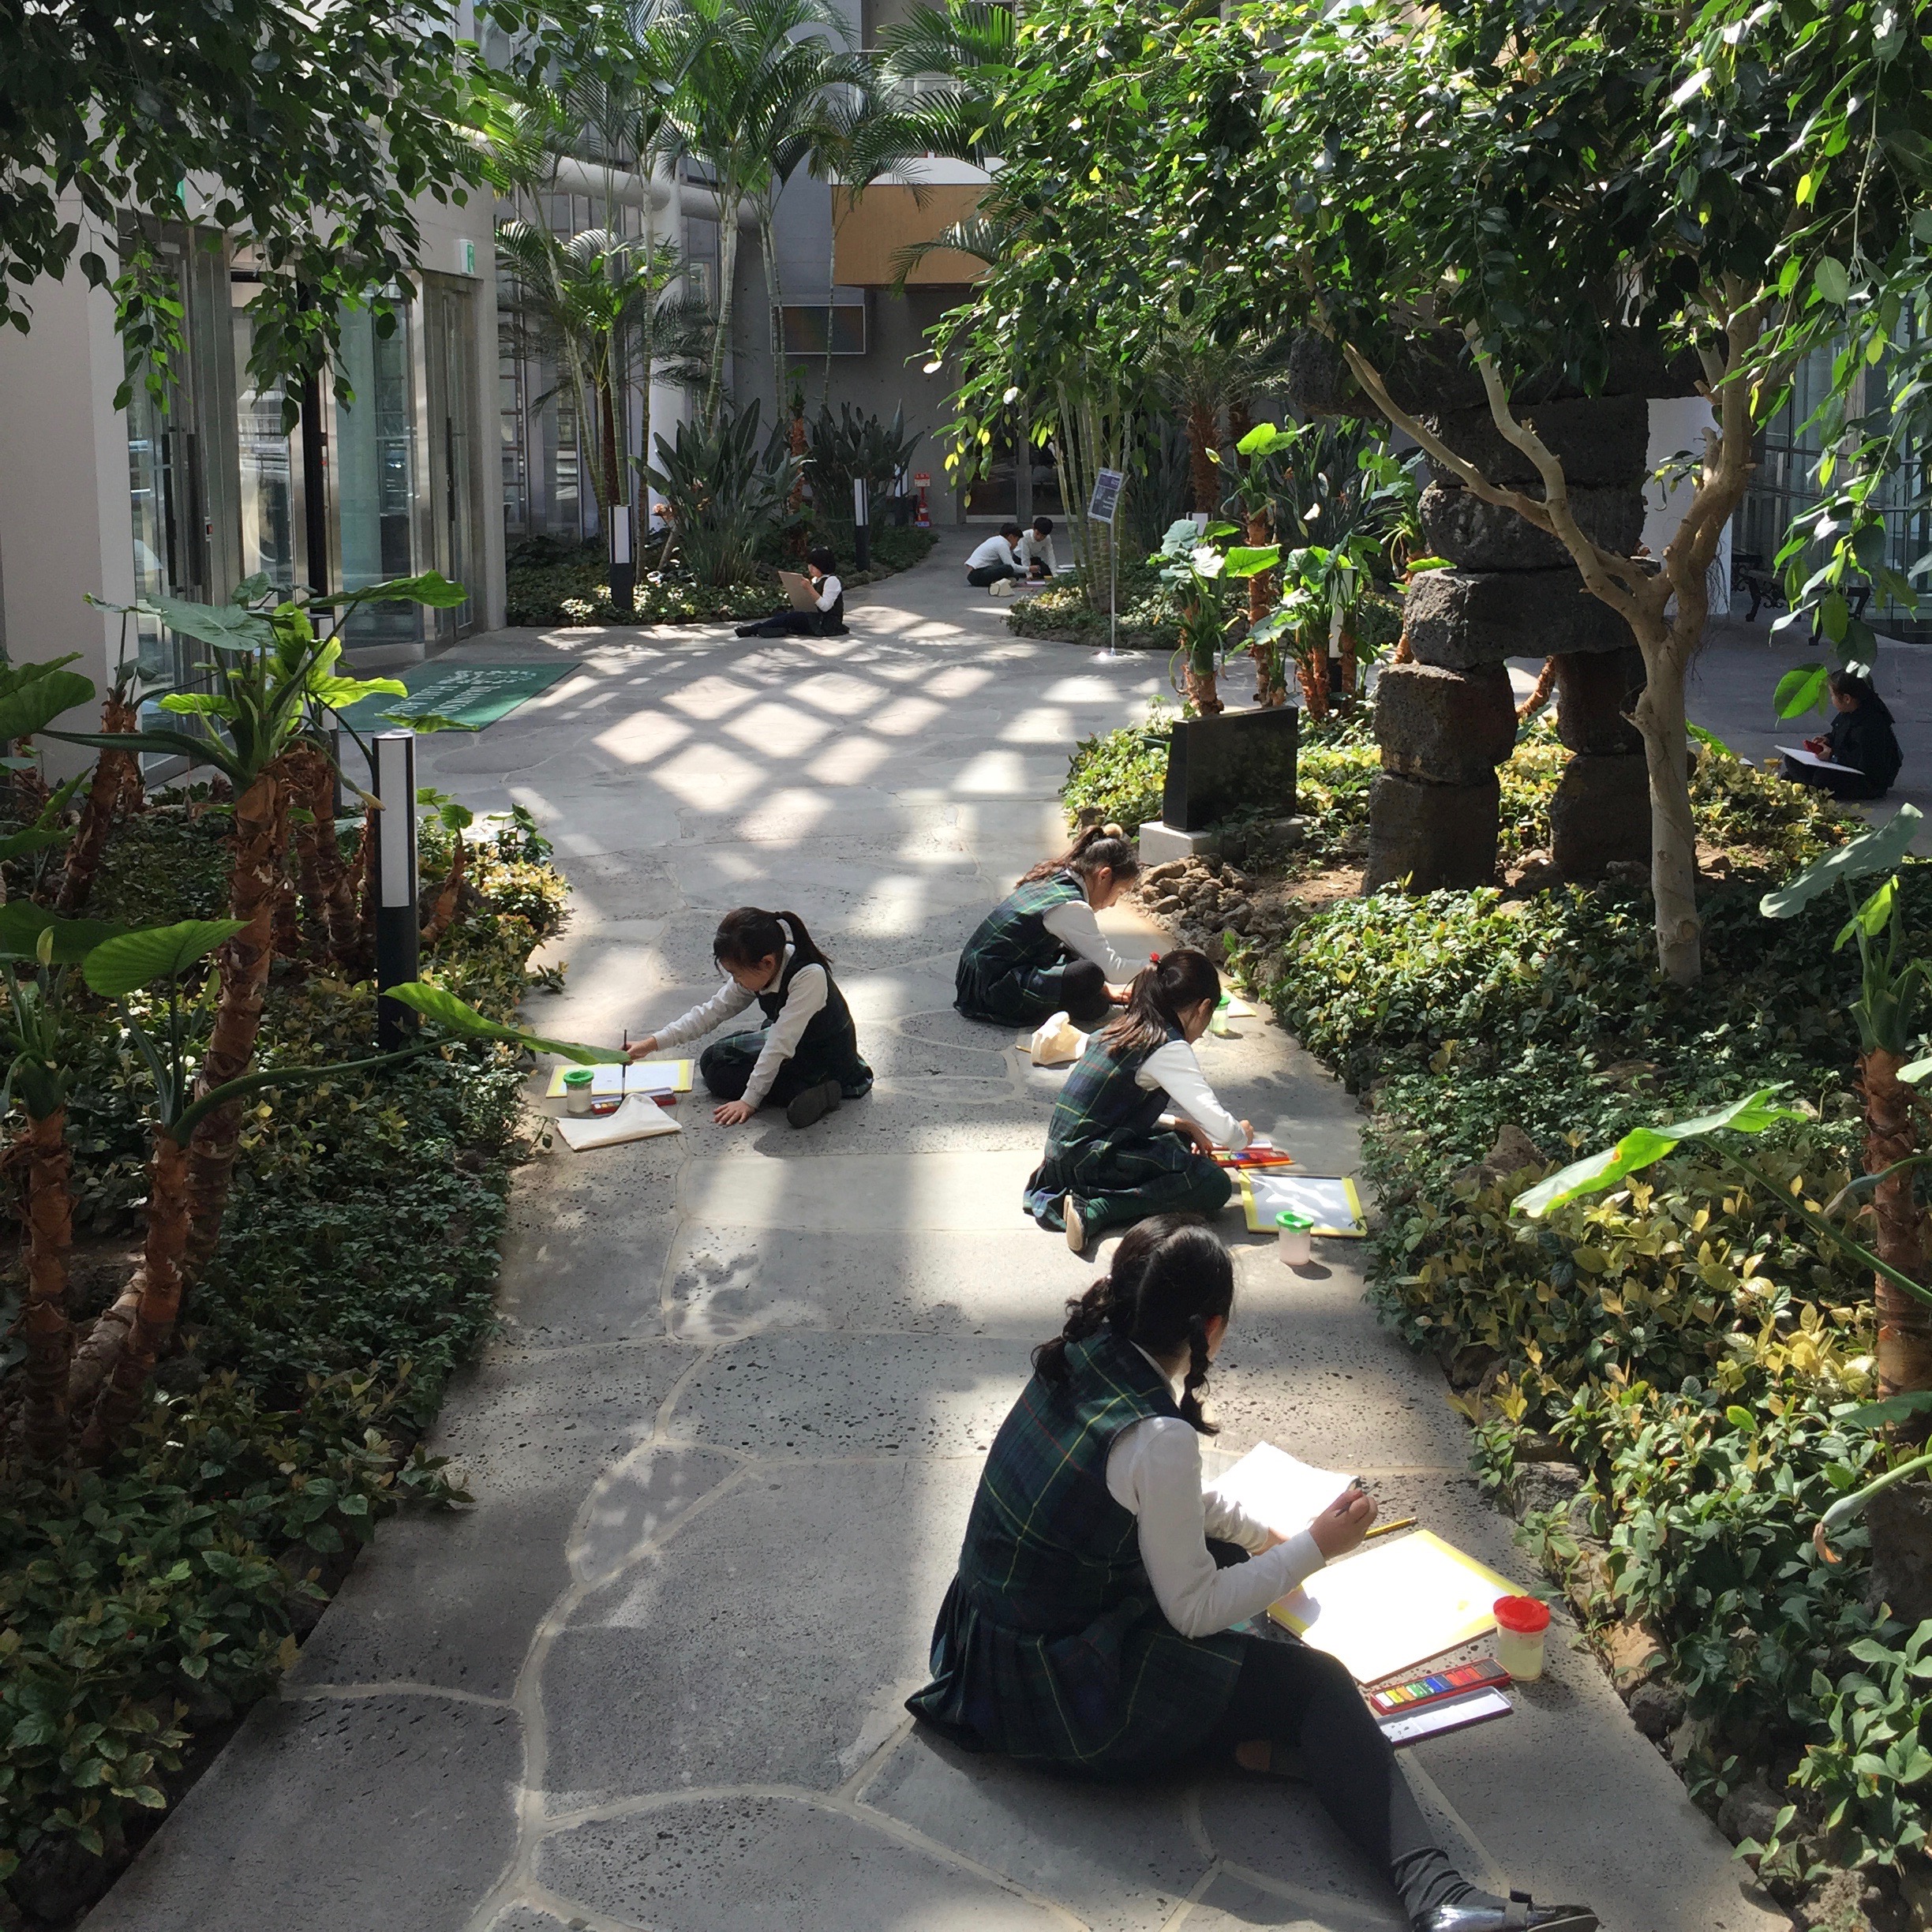
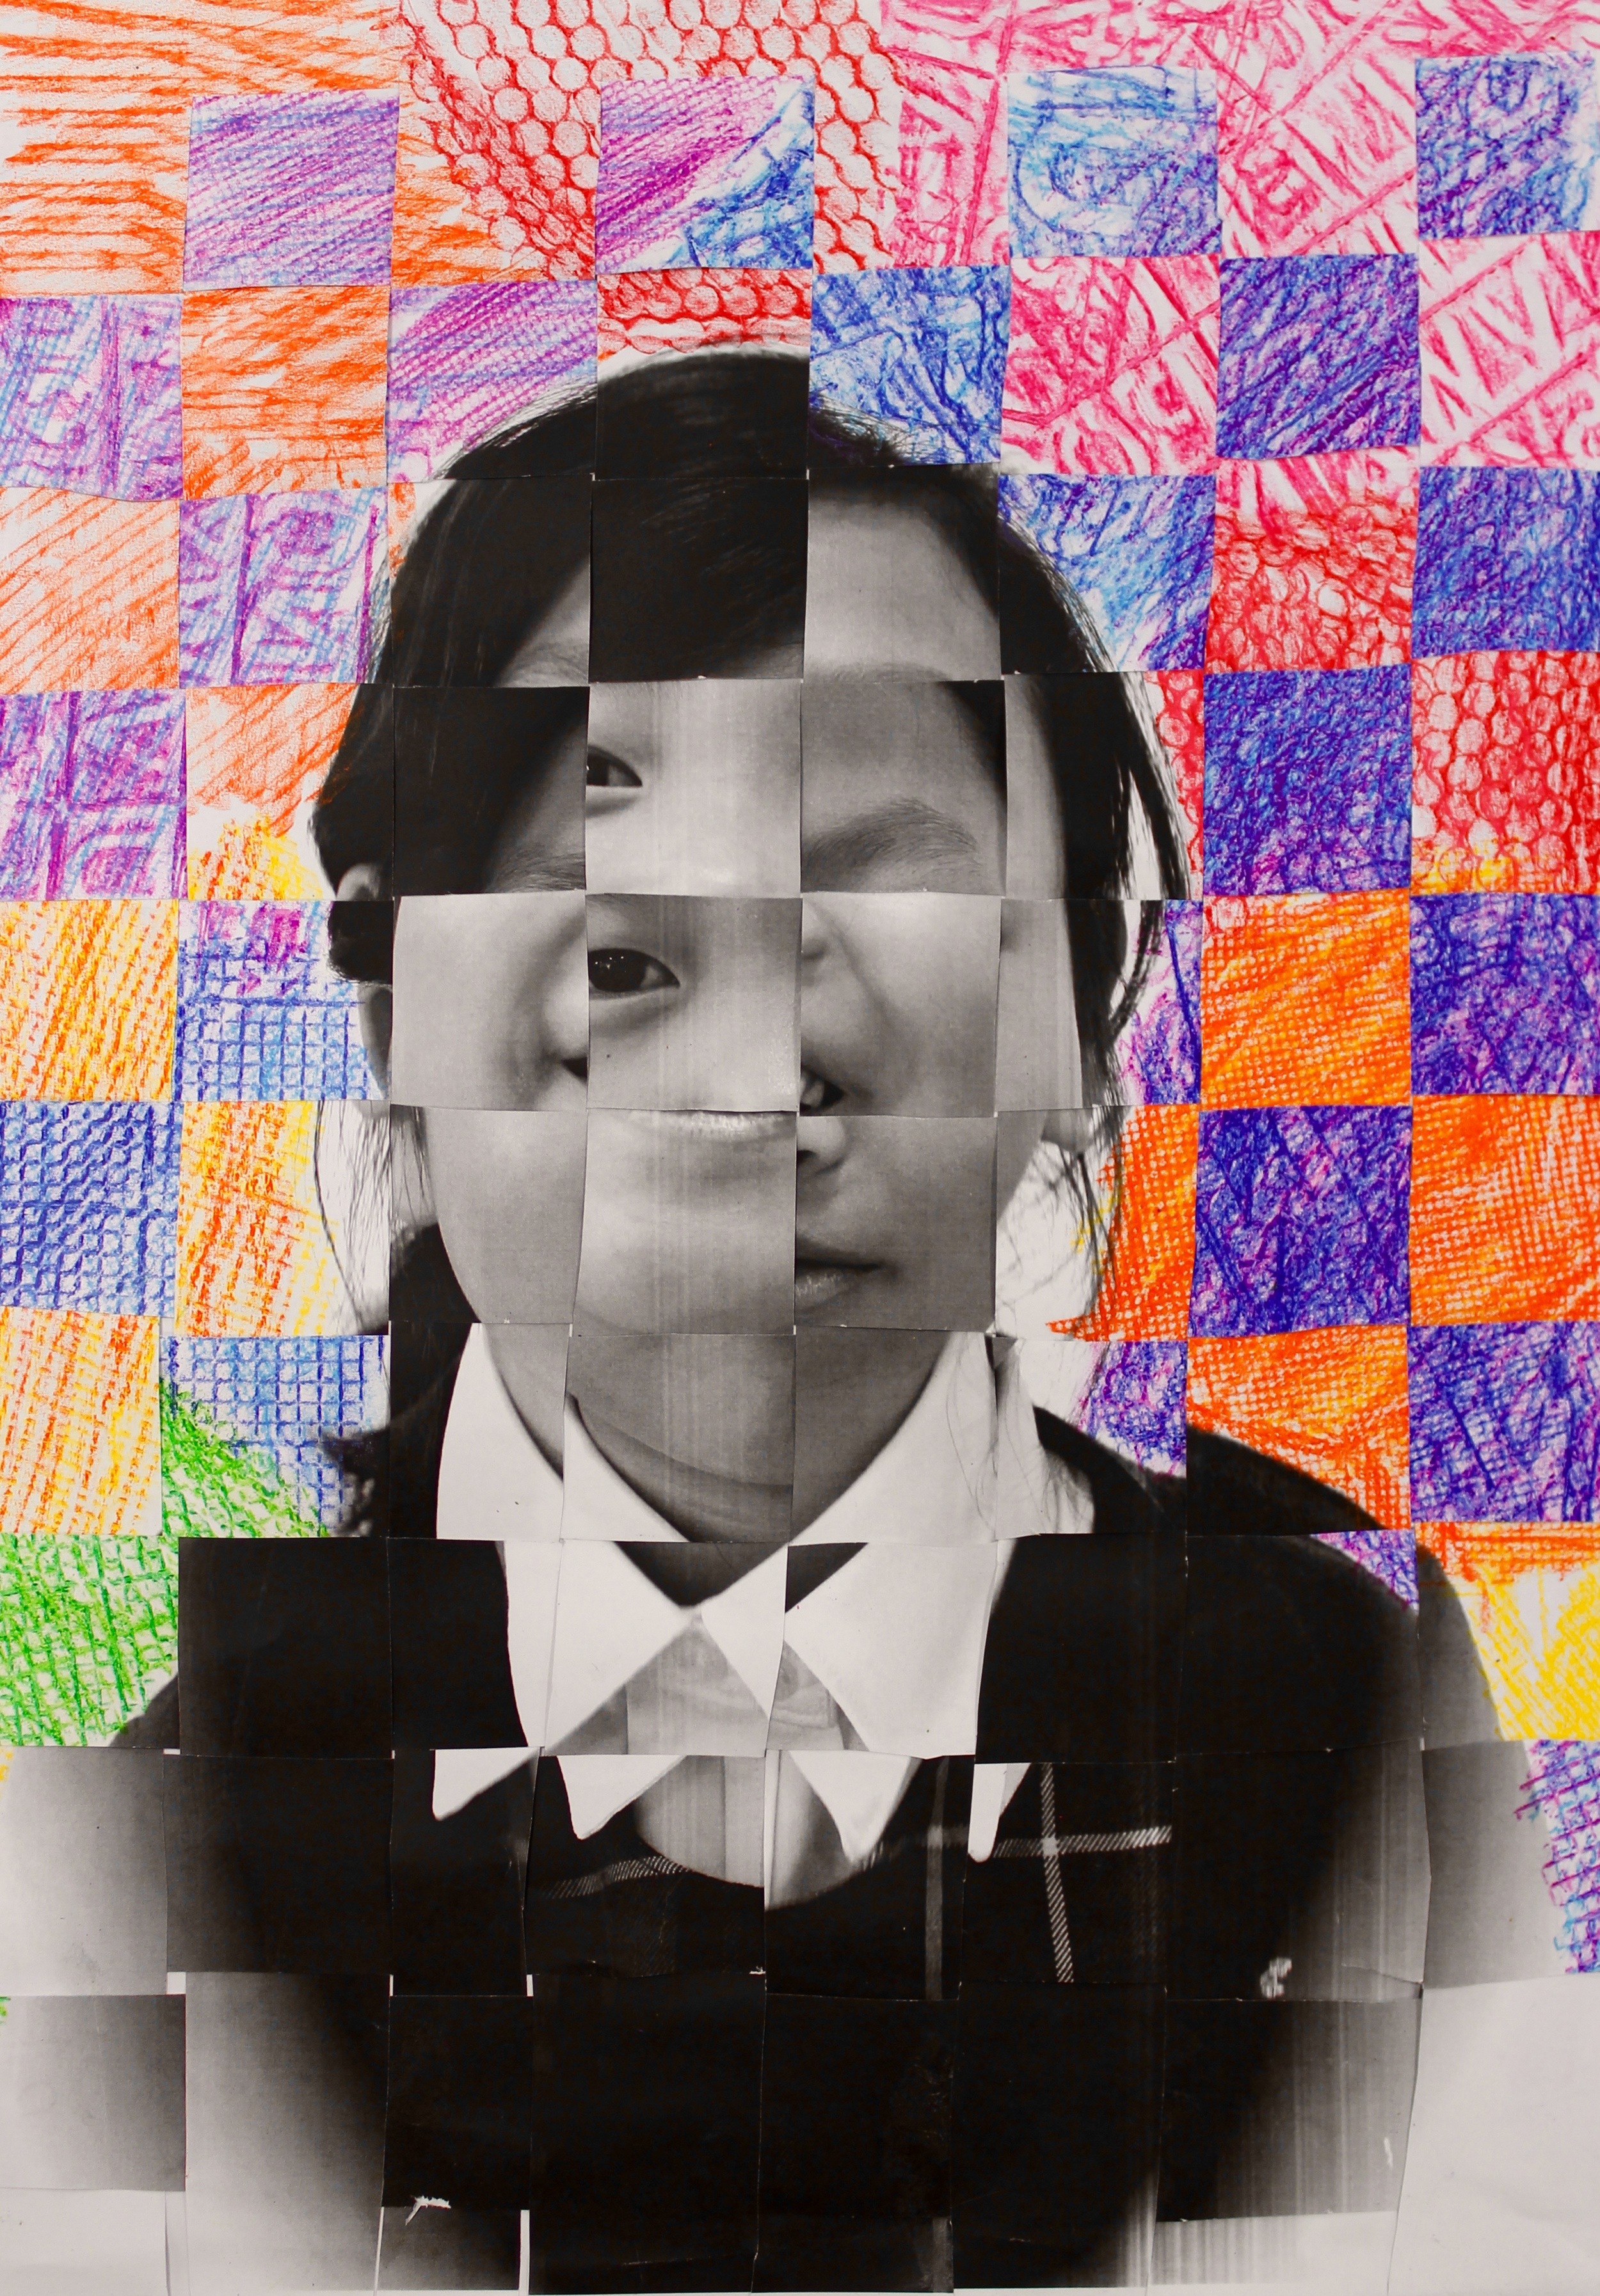
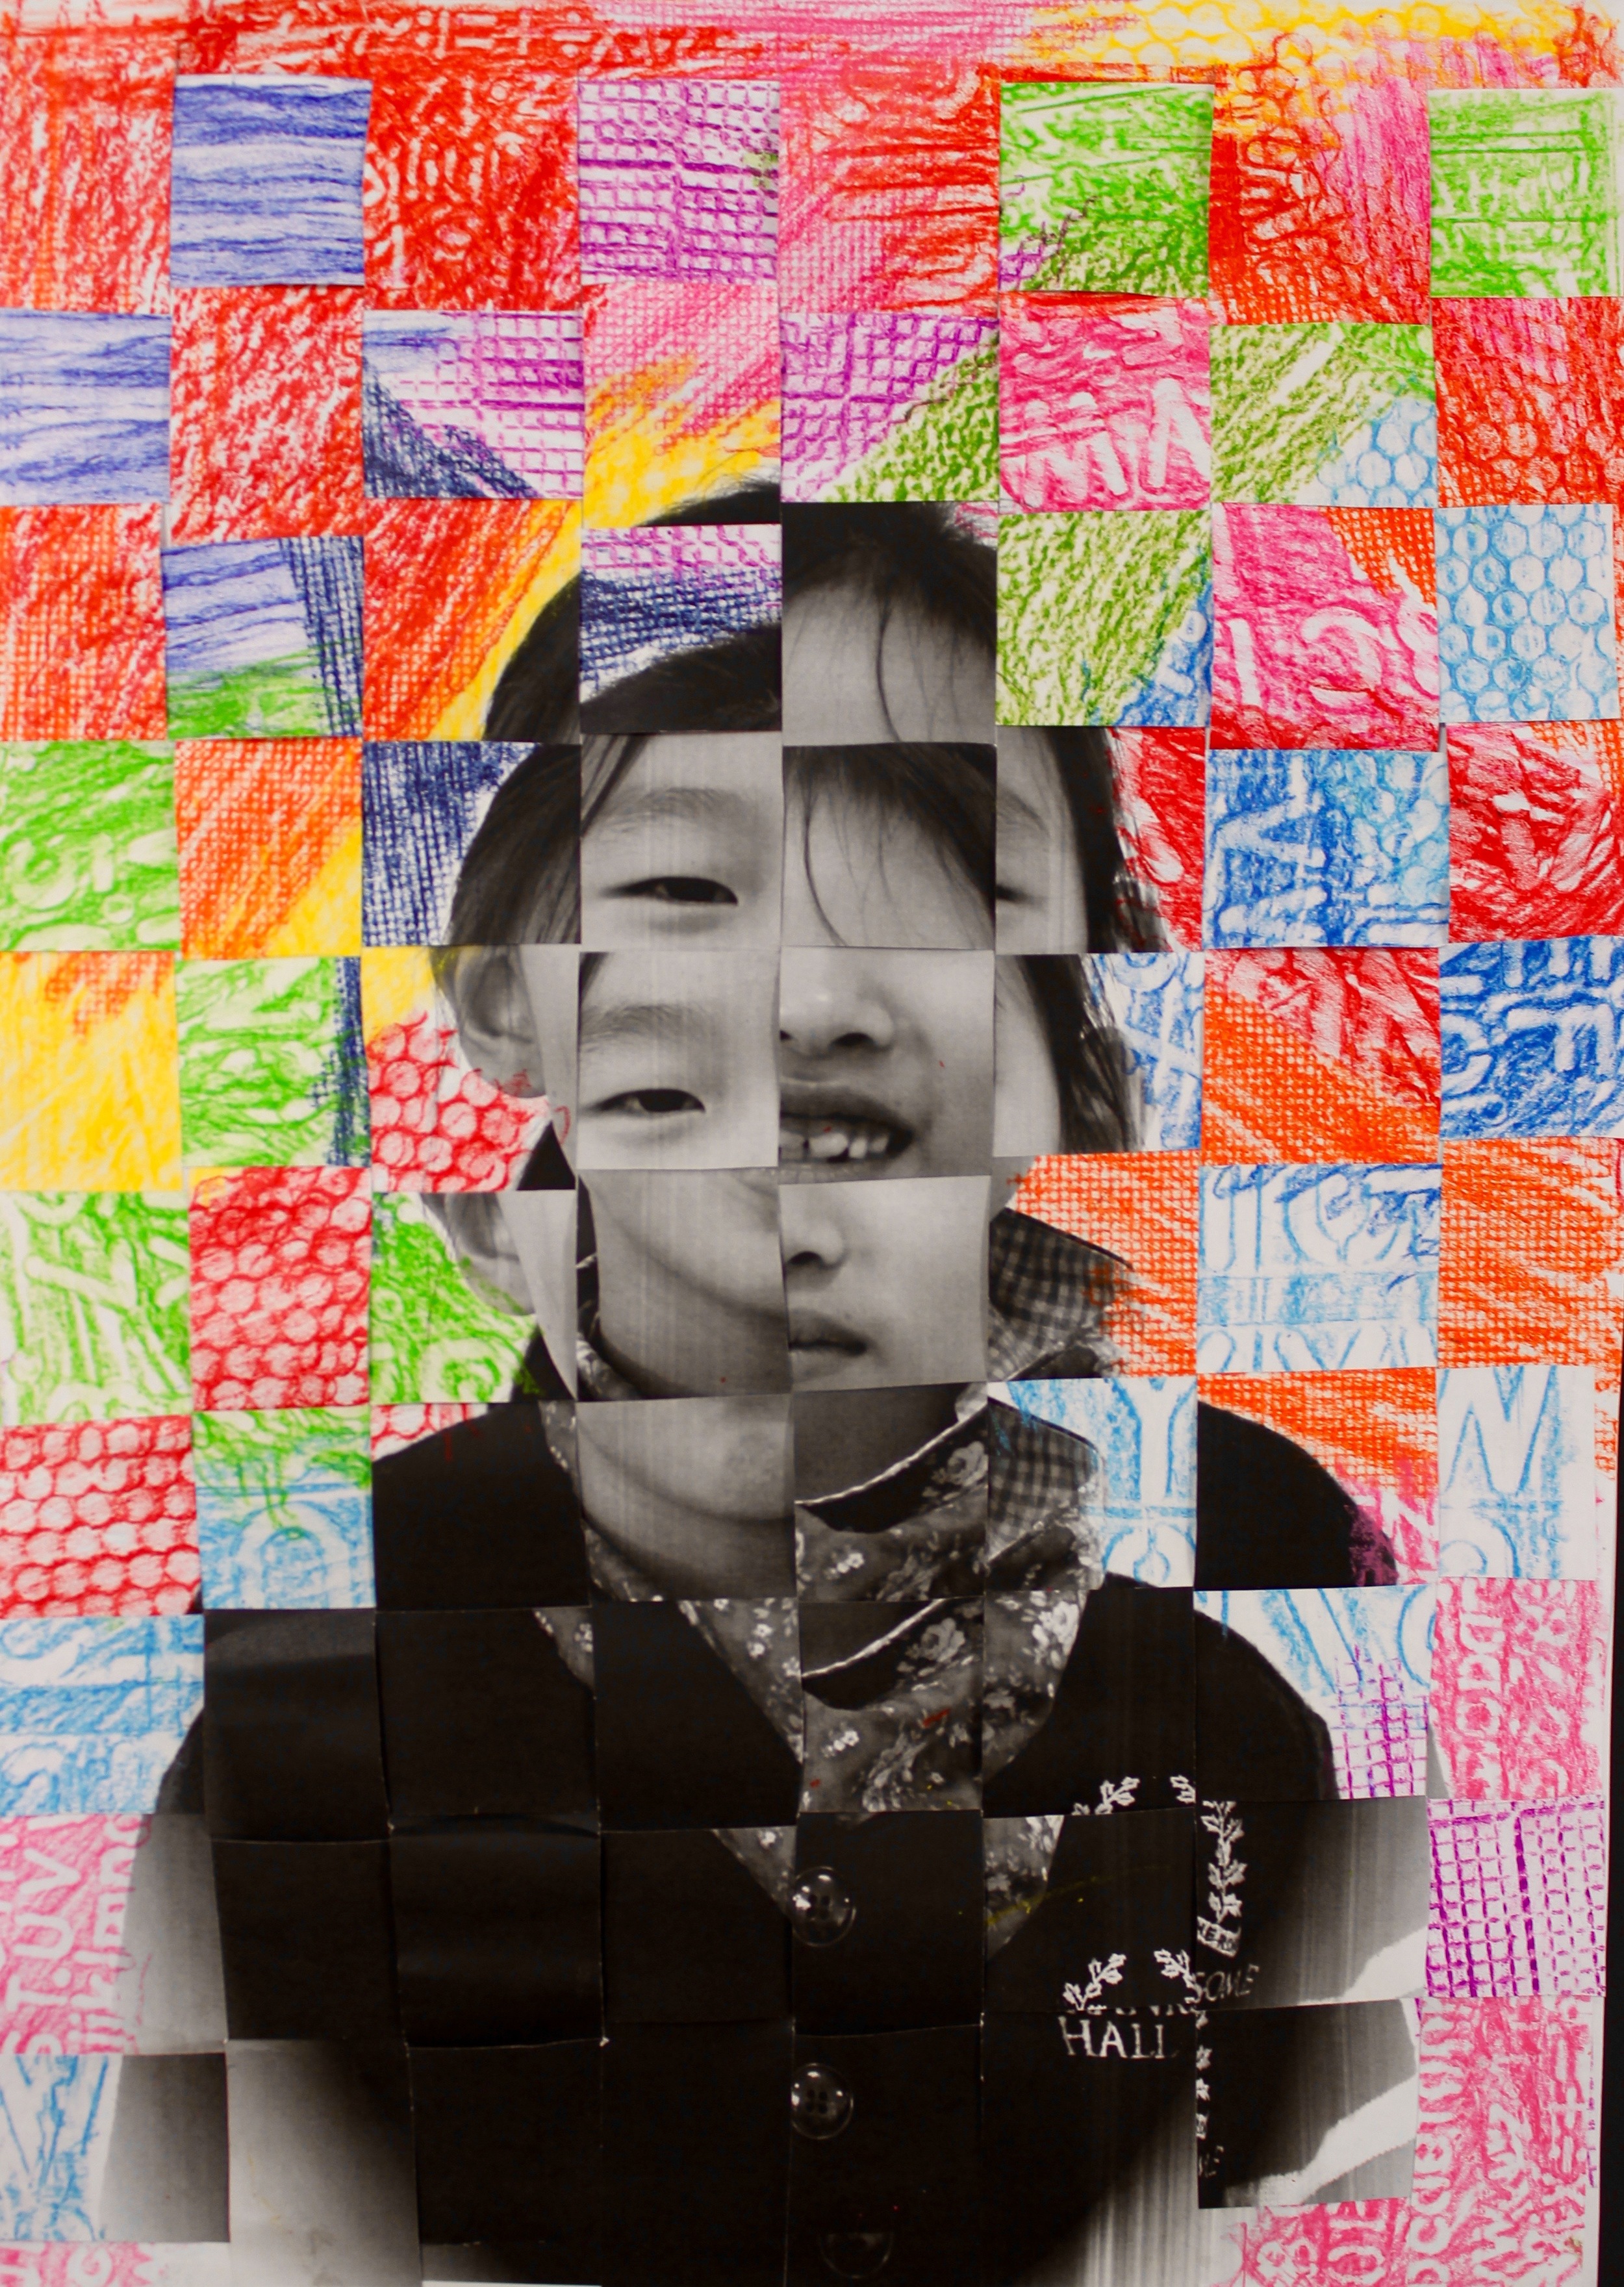
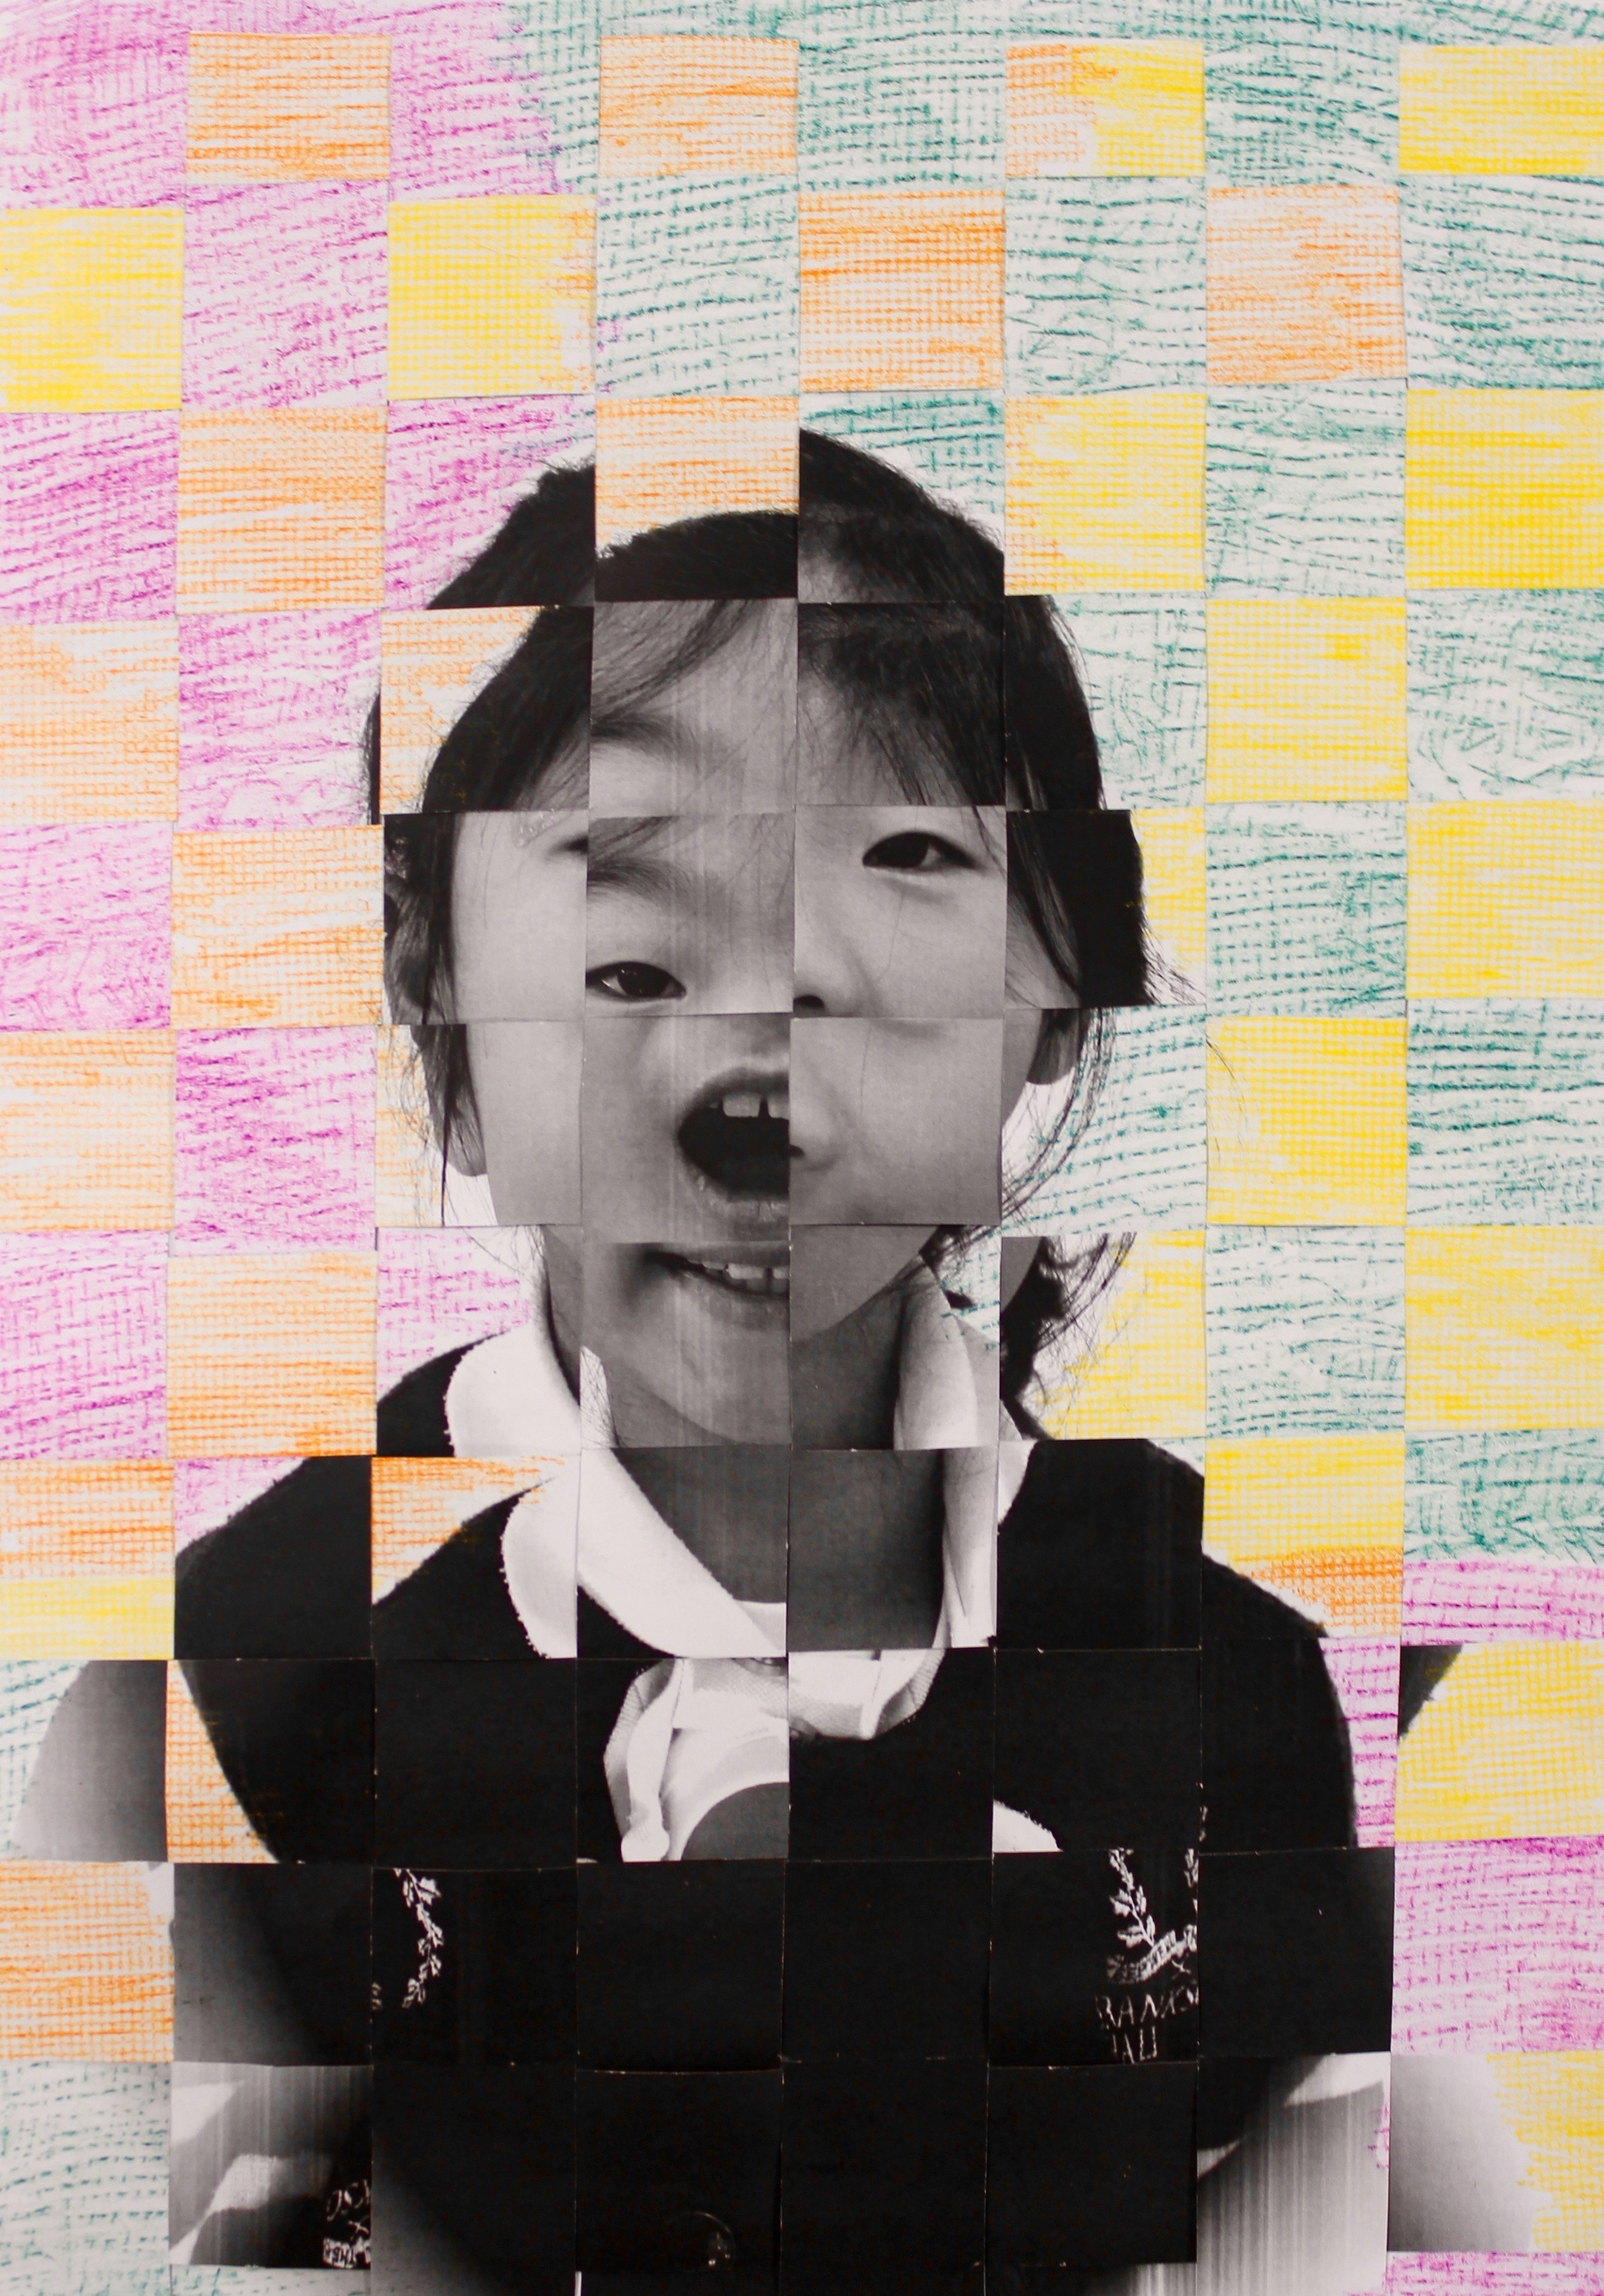
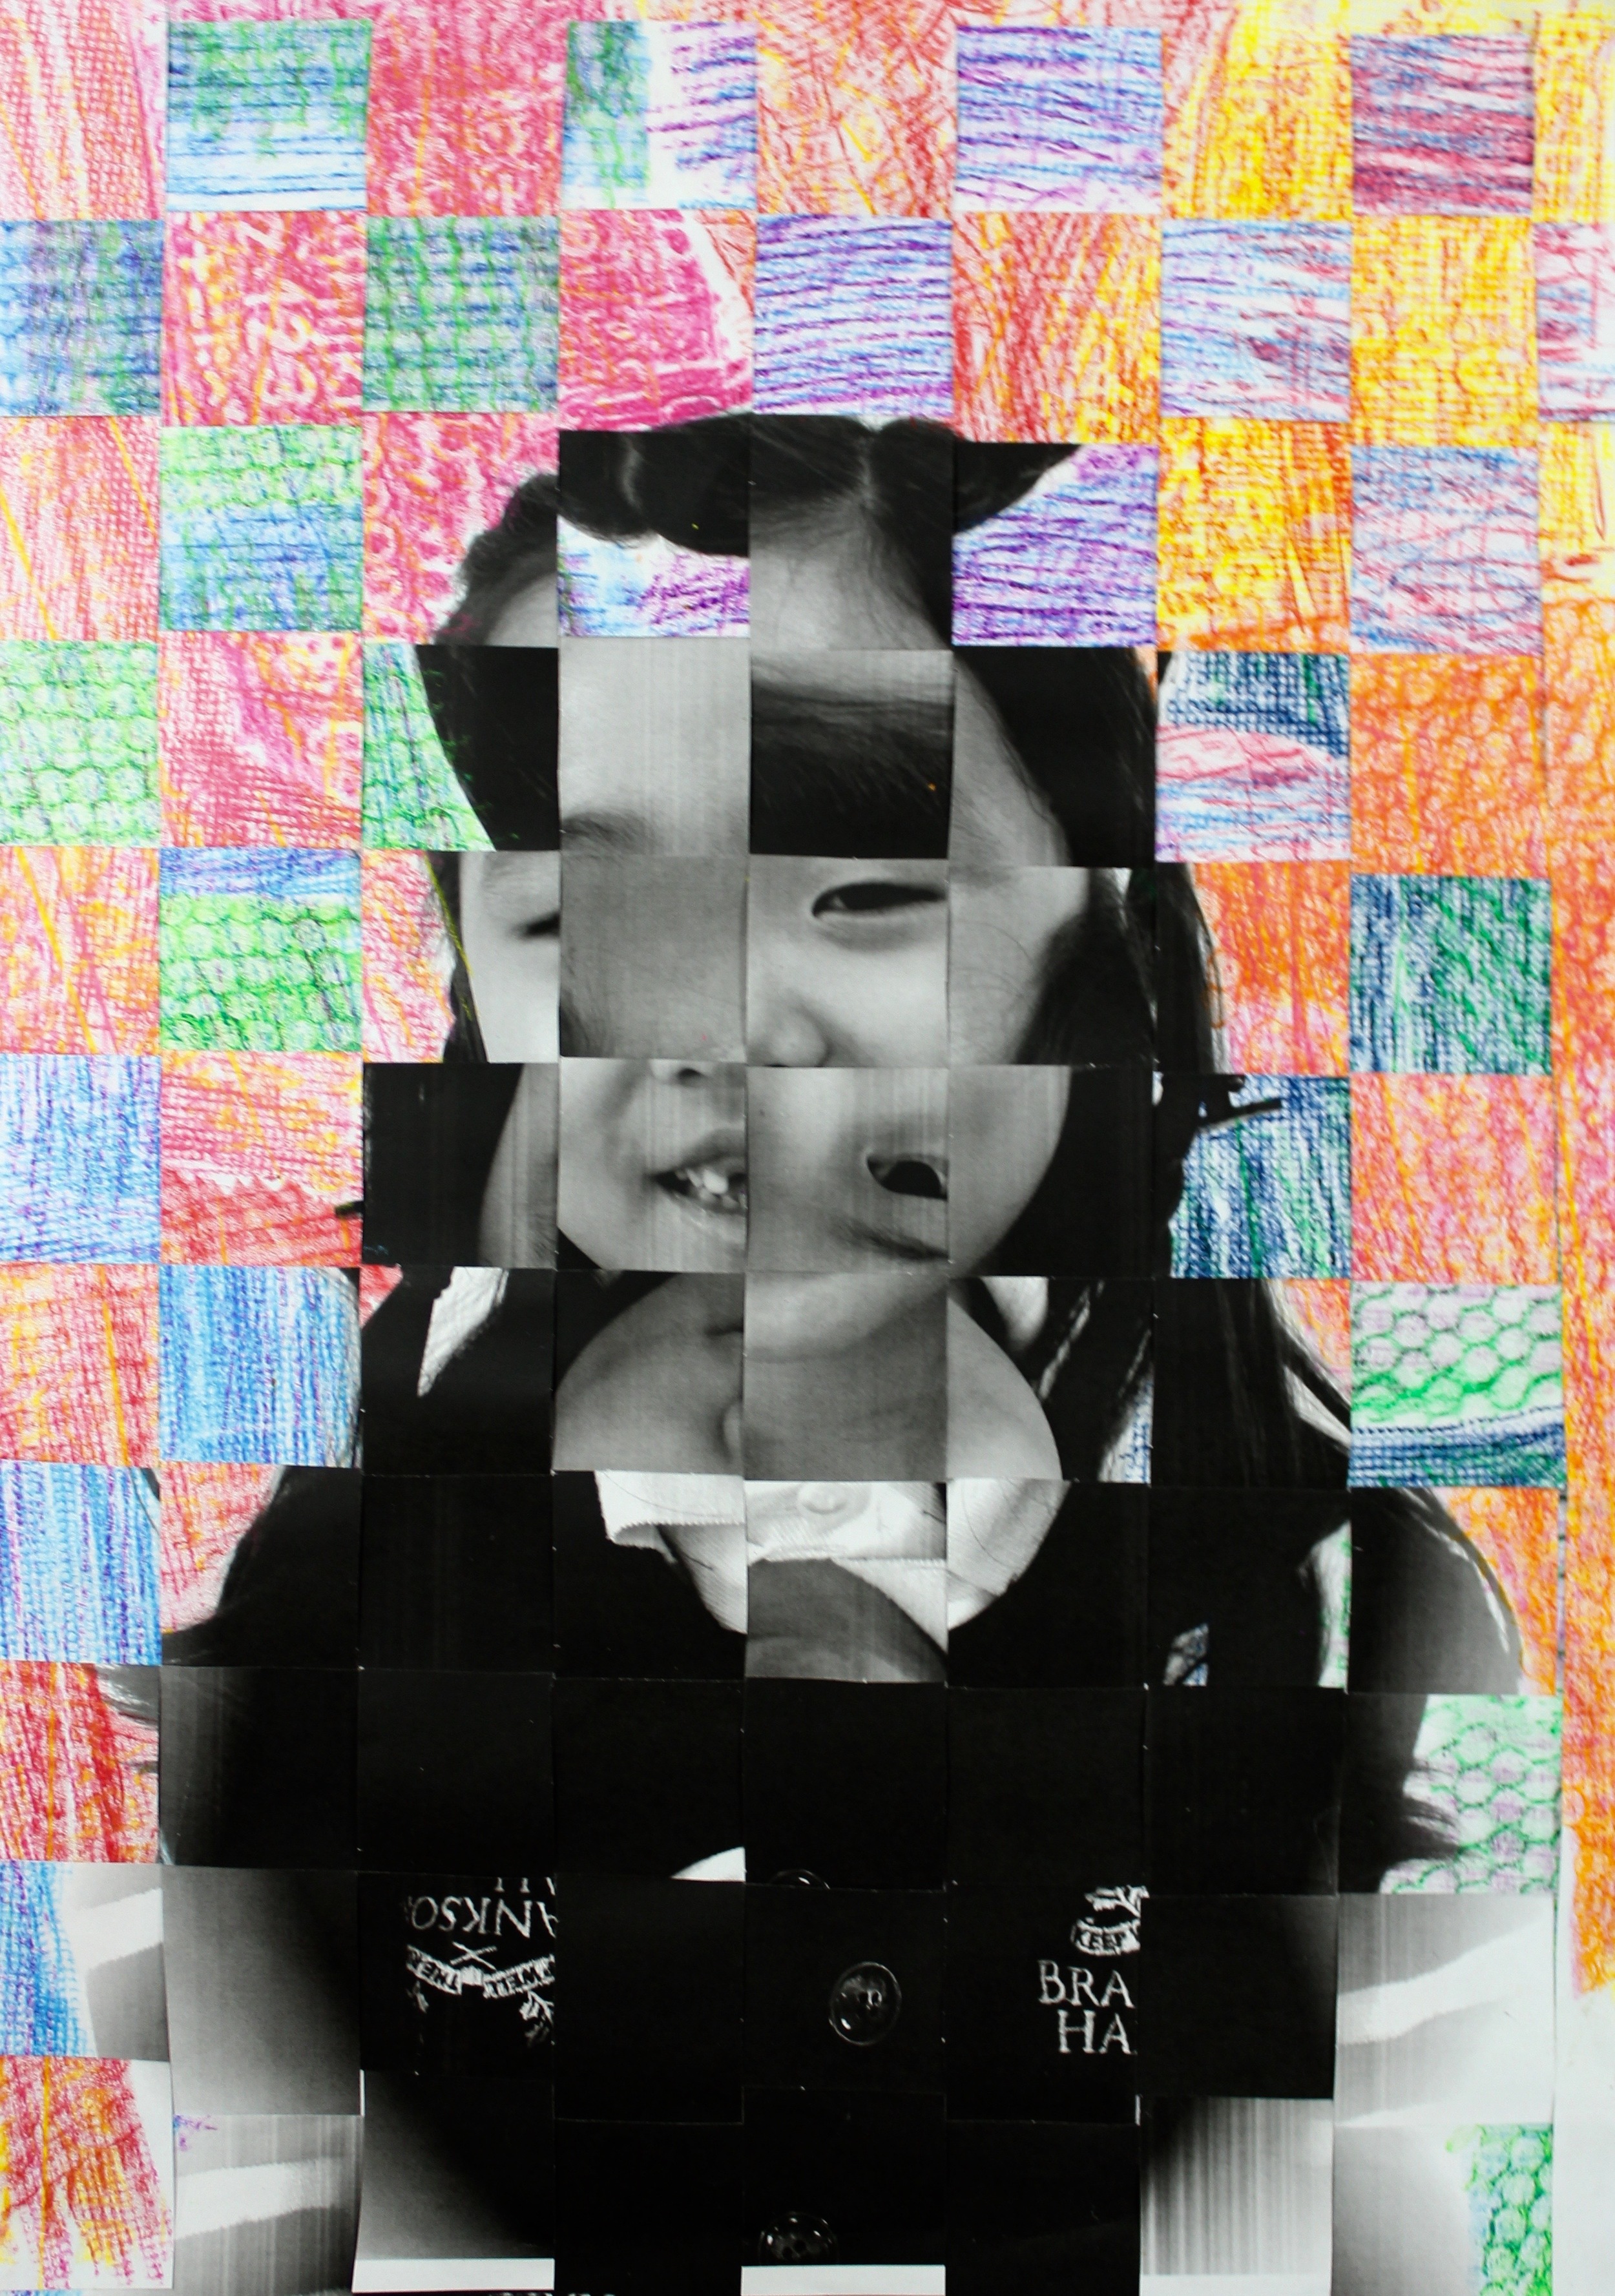
This was the second year I was the program director for the Branksome Hall Asia Summer Series--our school's intensive two weeks of art, performances, drama, music, and this year, sports.
We held over 80 distinct classes a day, taught by artists, international educators, and professionals from around Korea and the world.
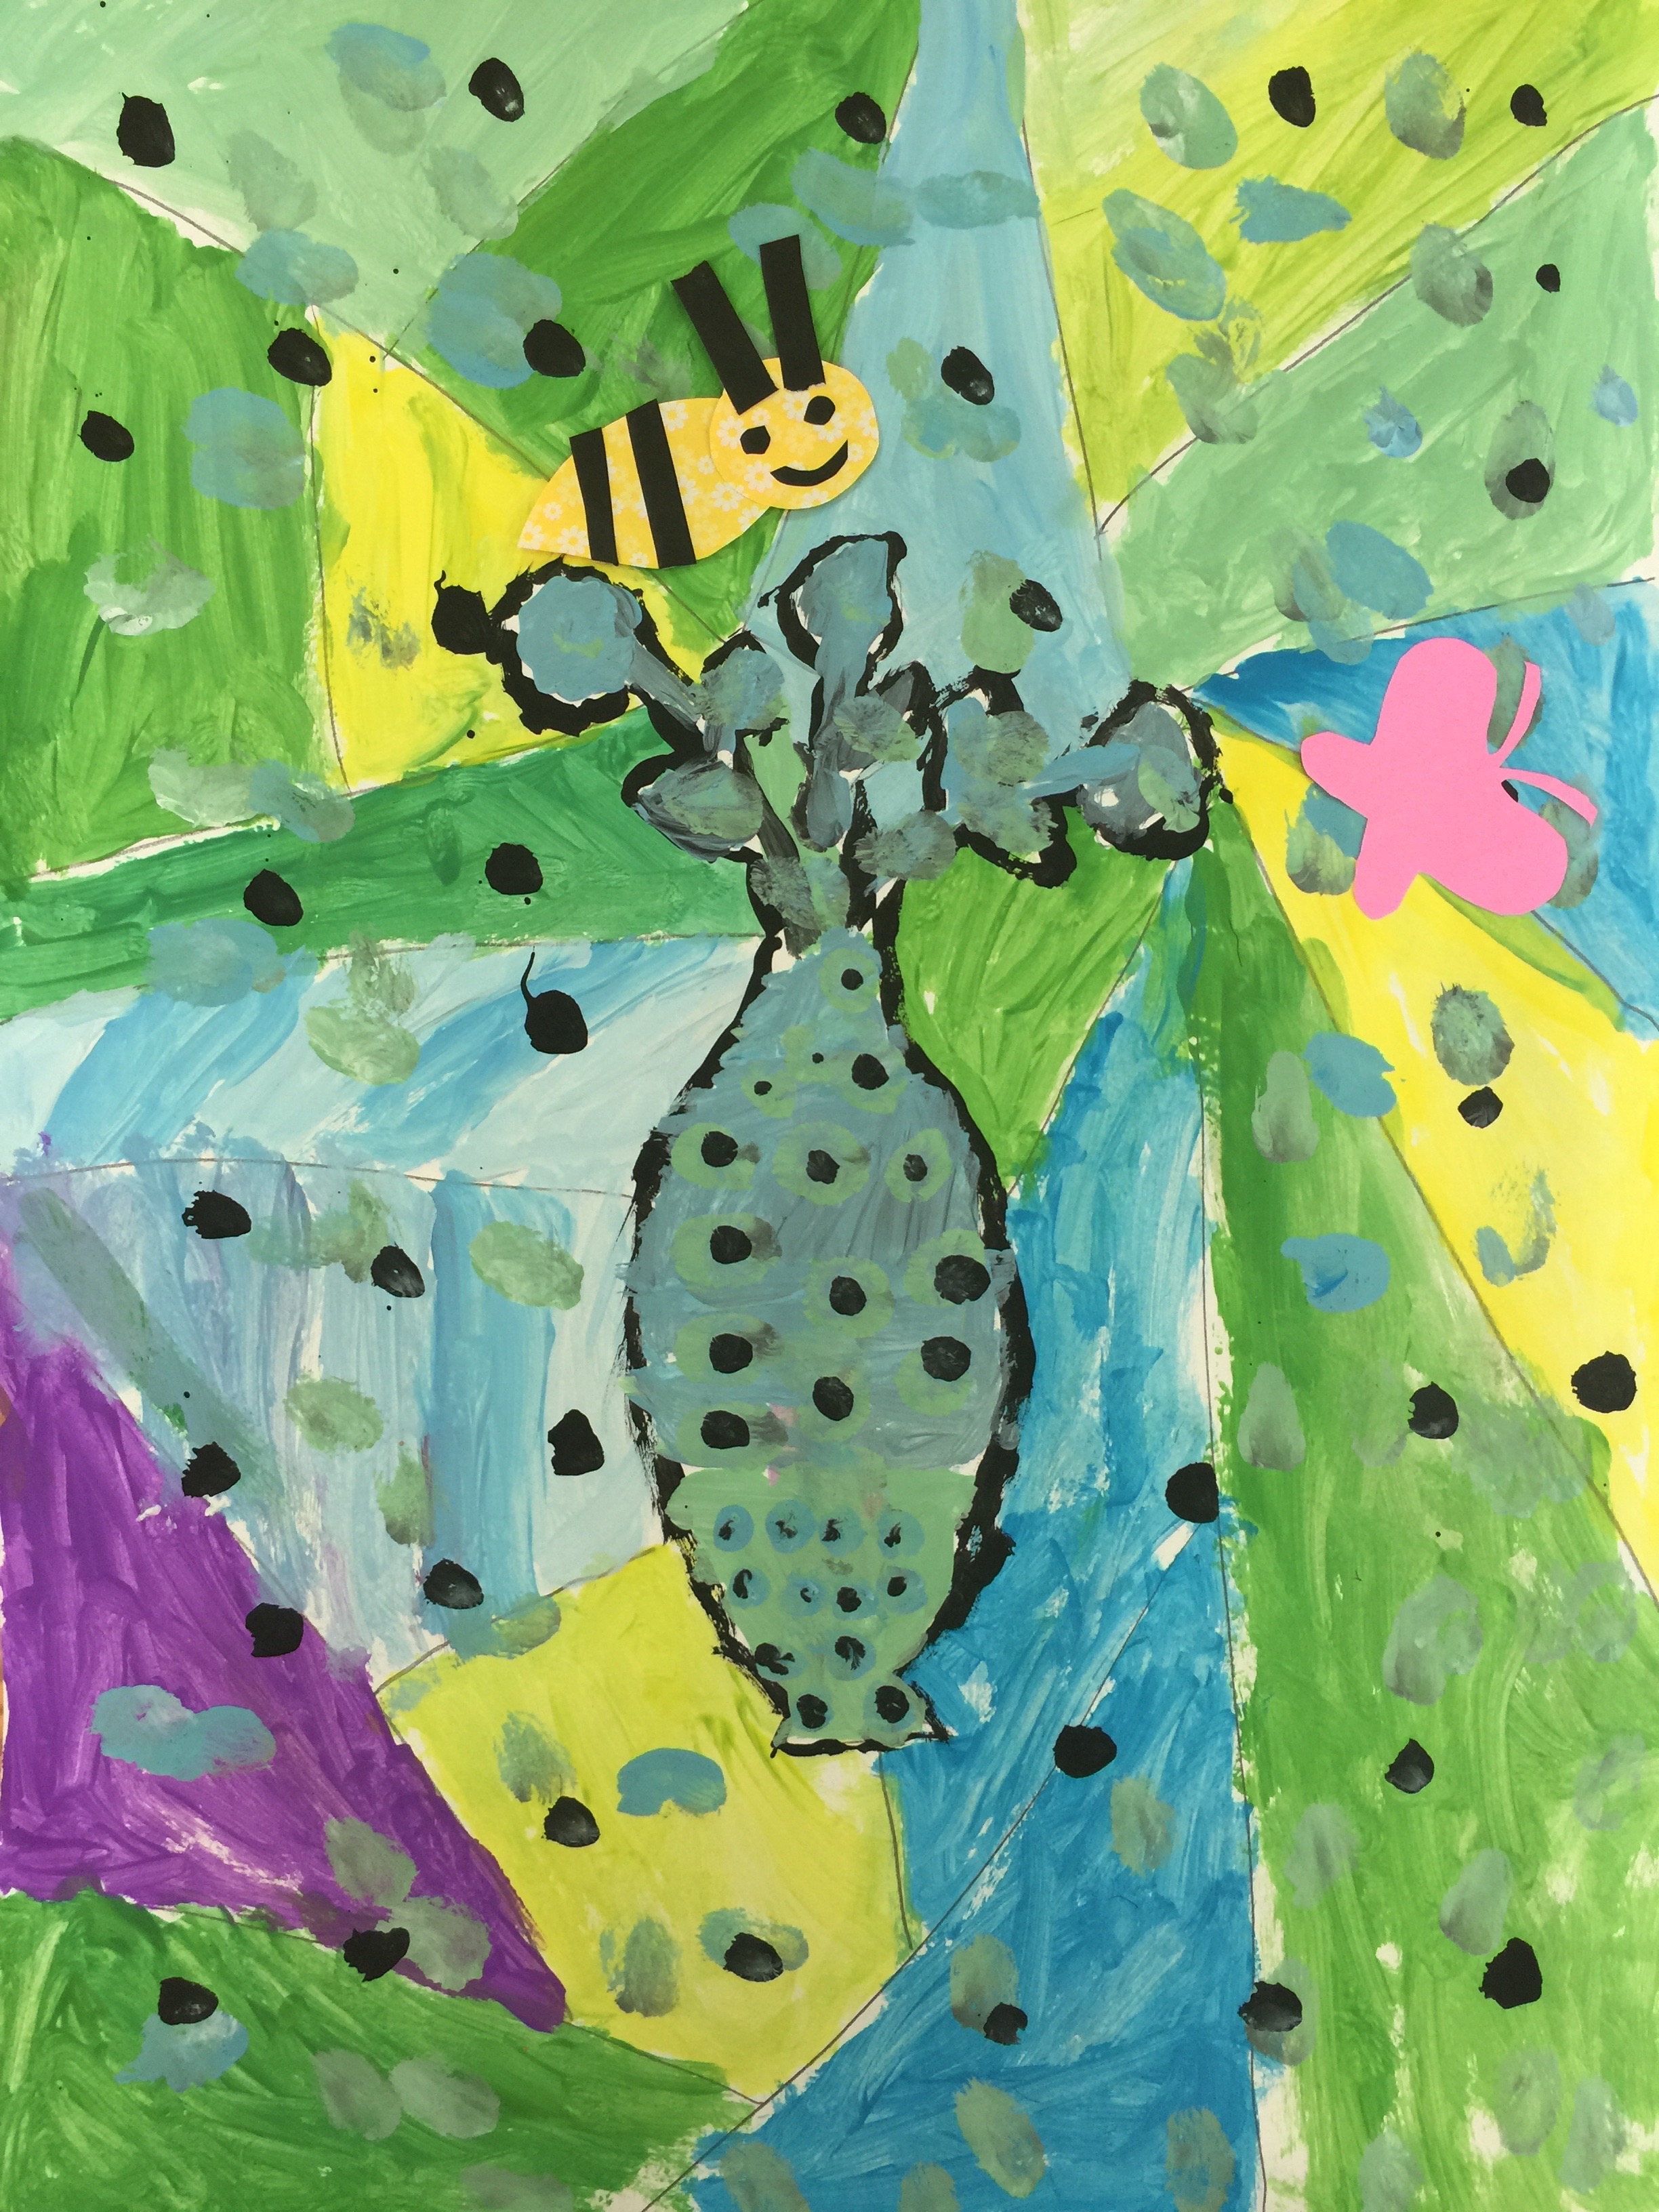
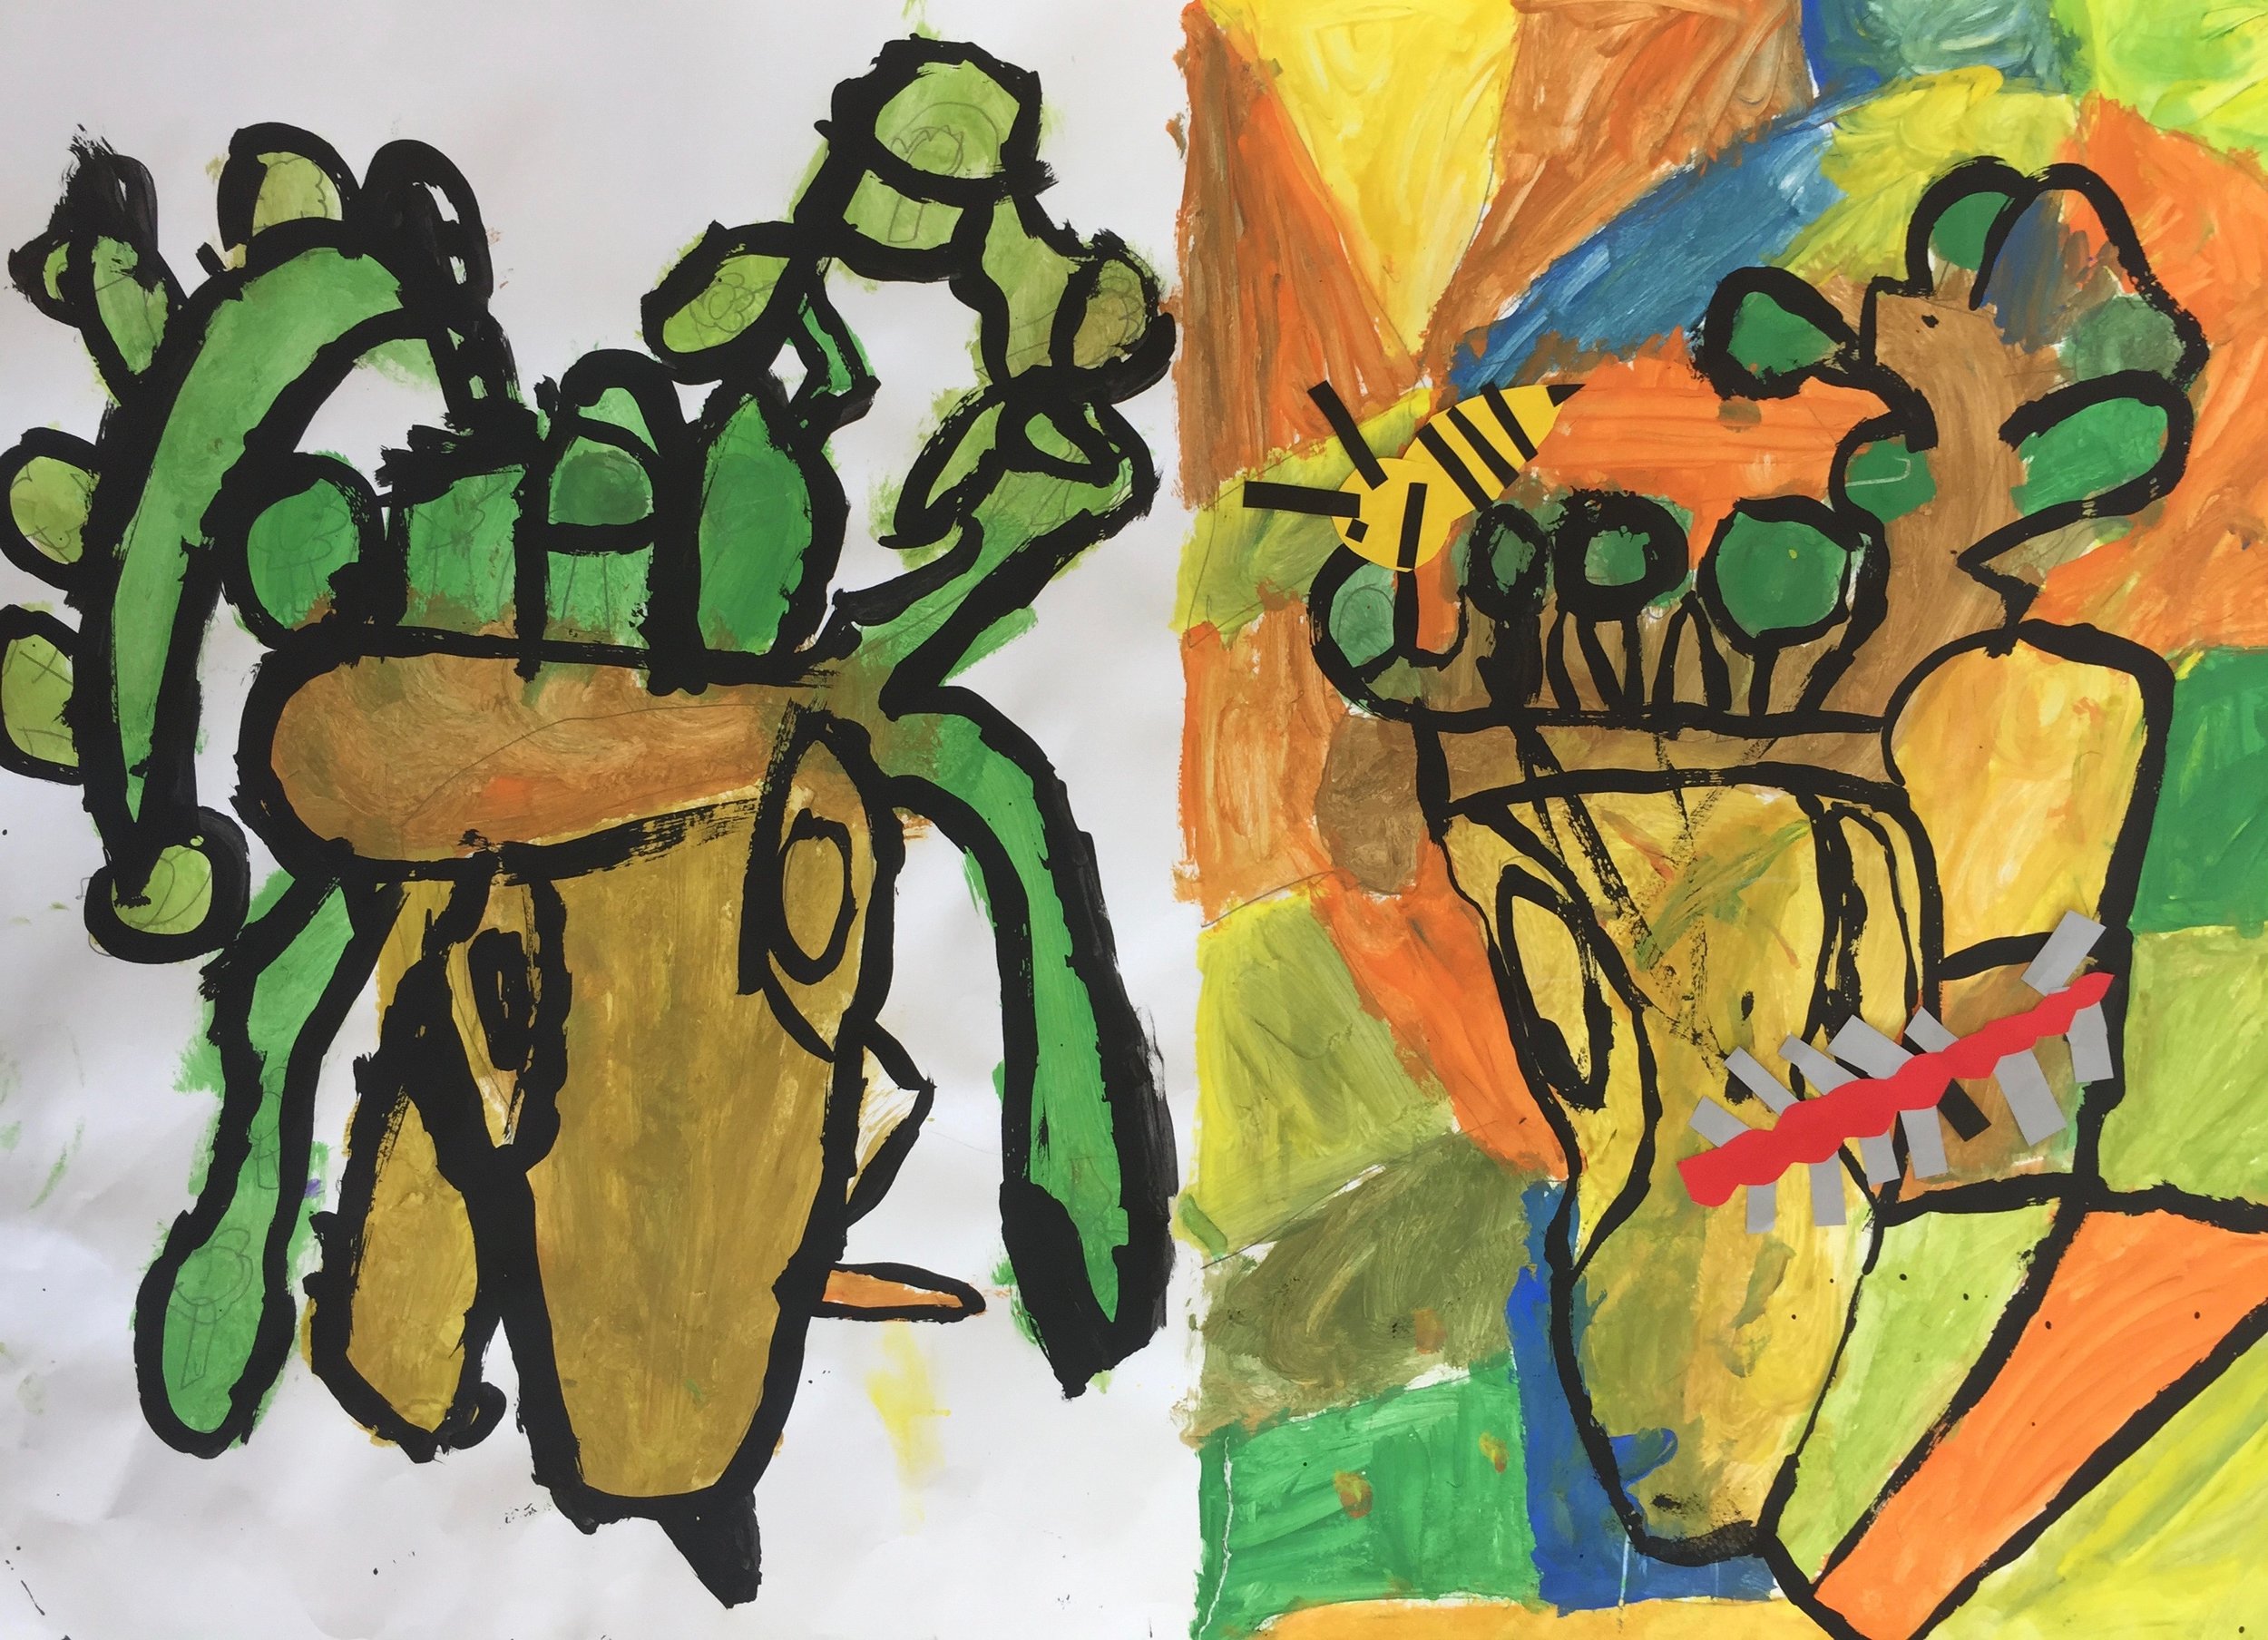
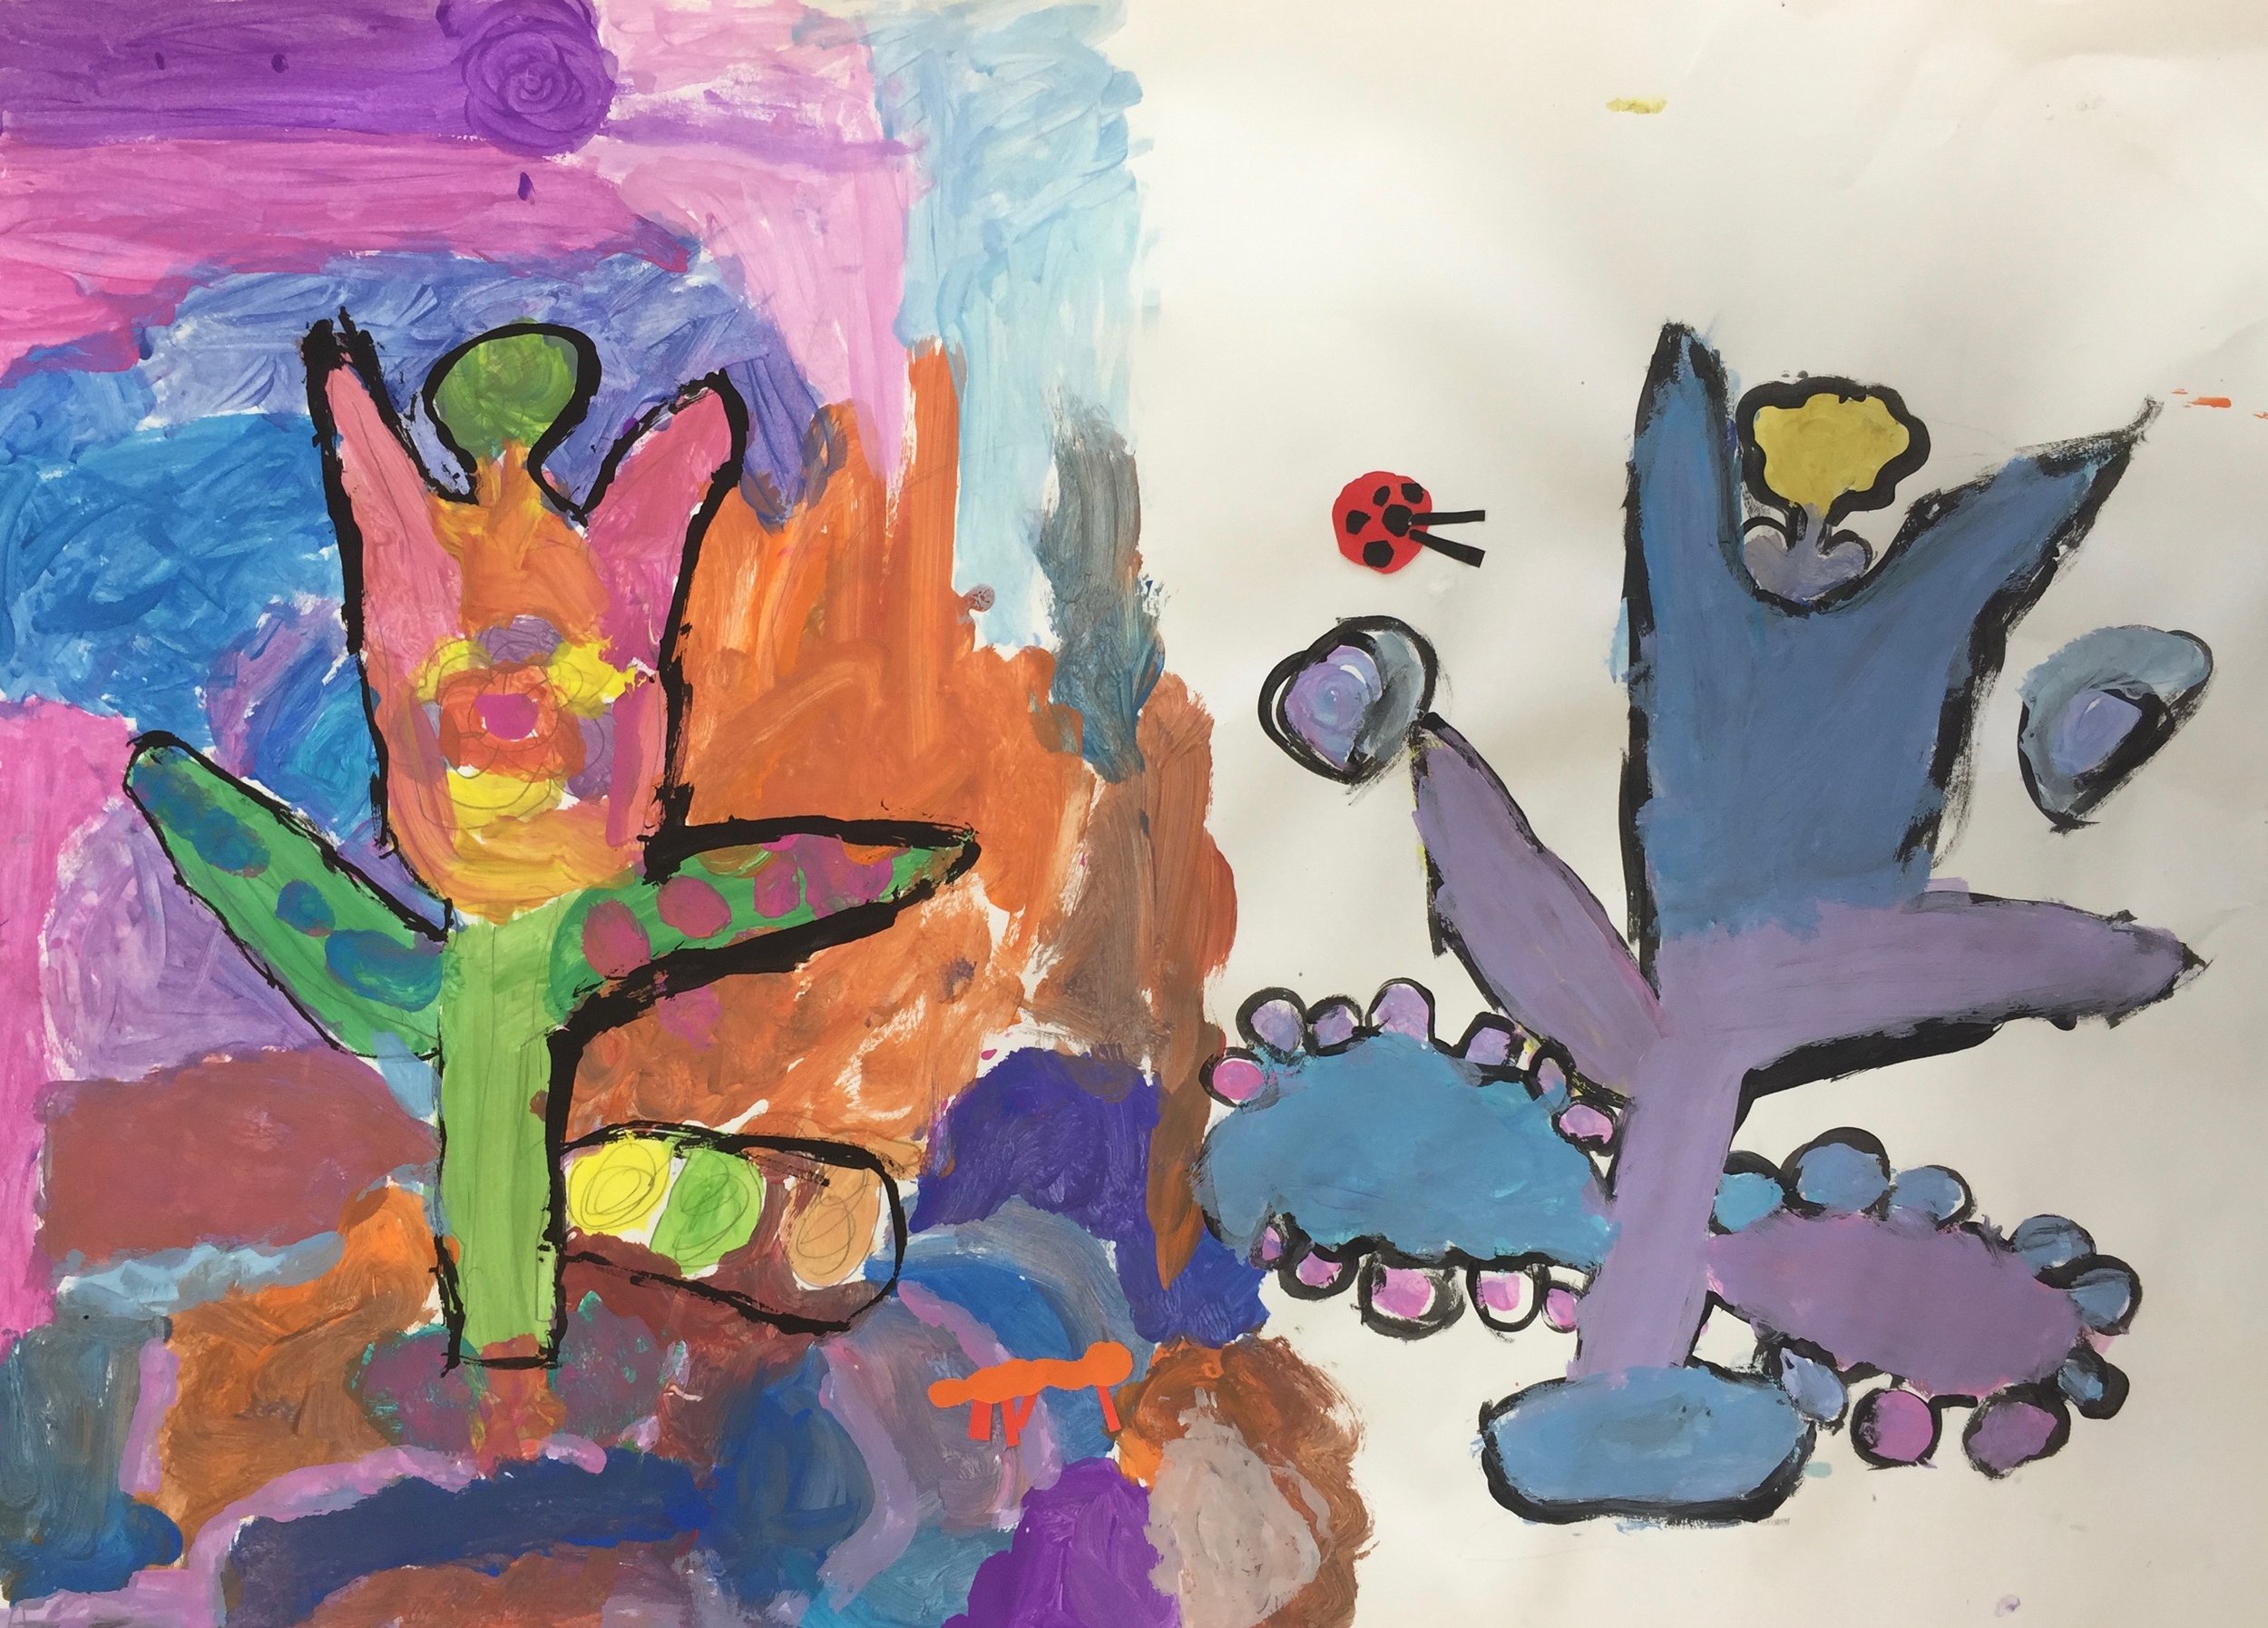
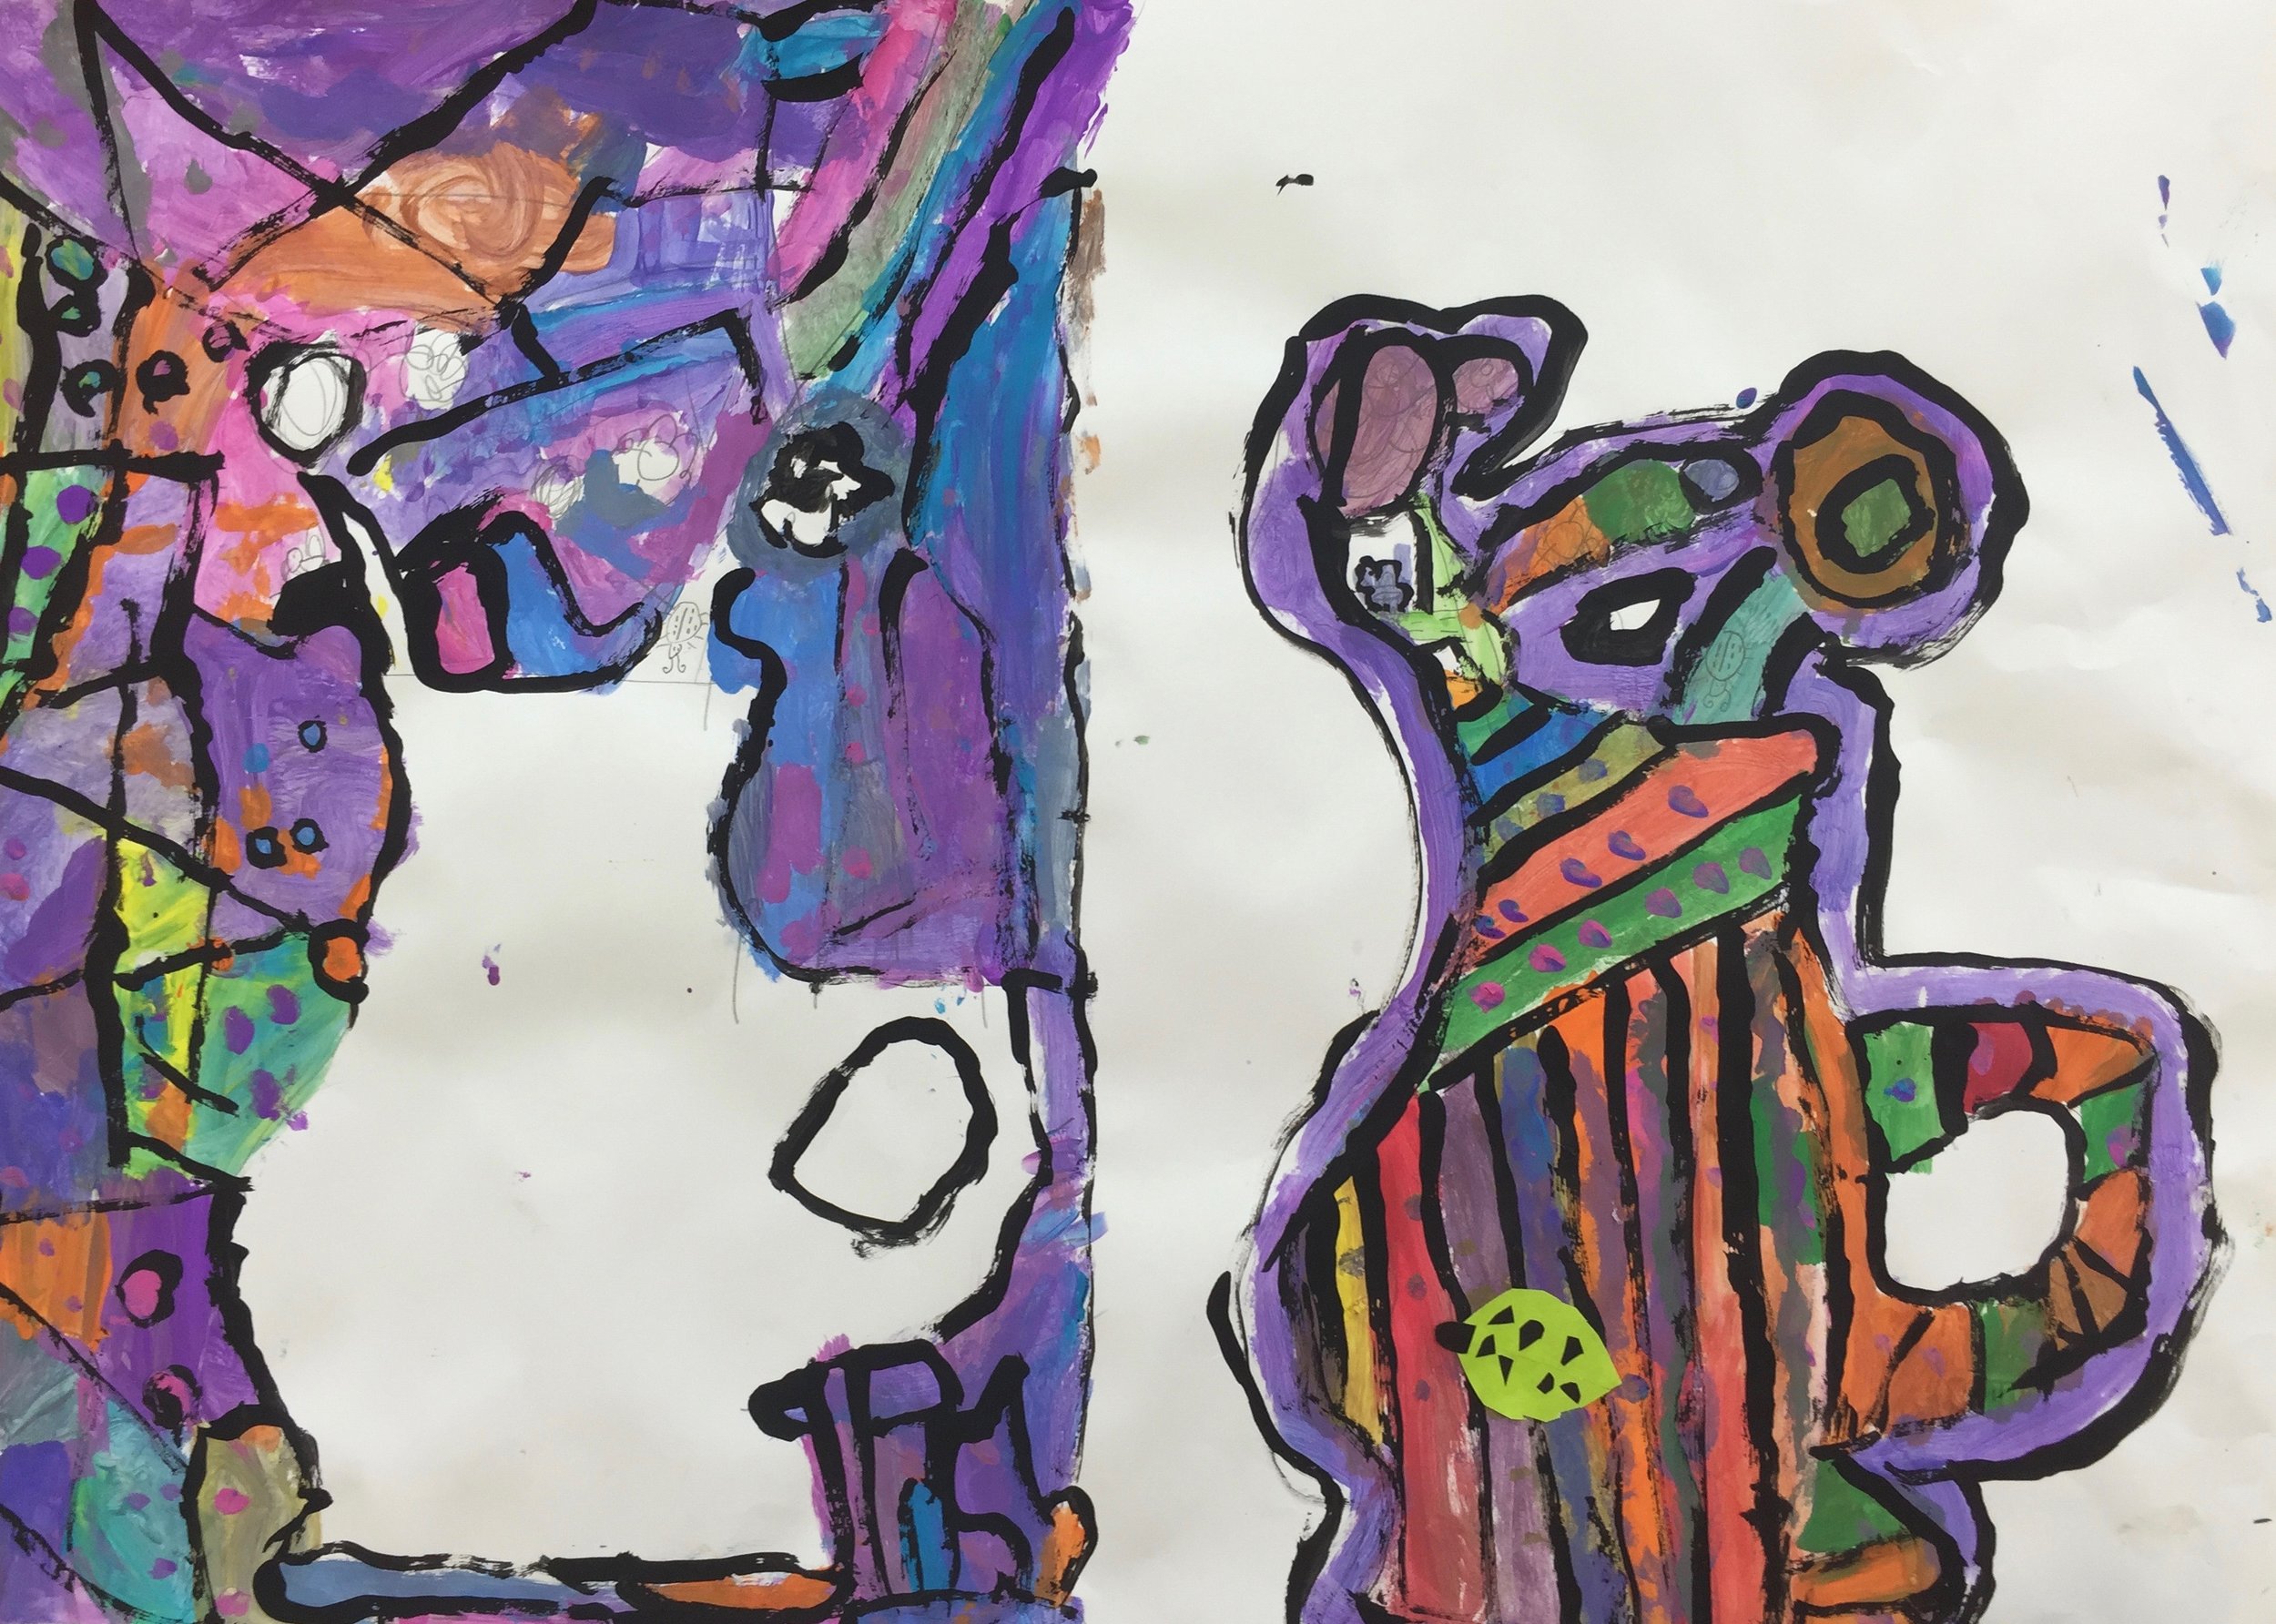
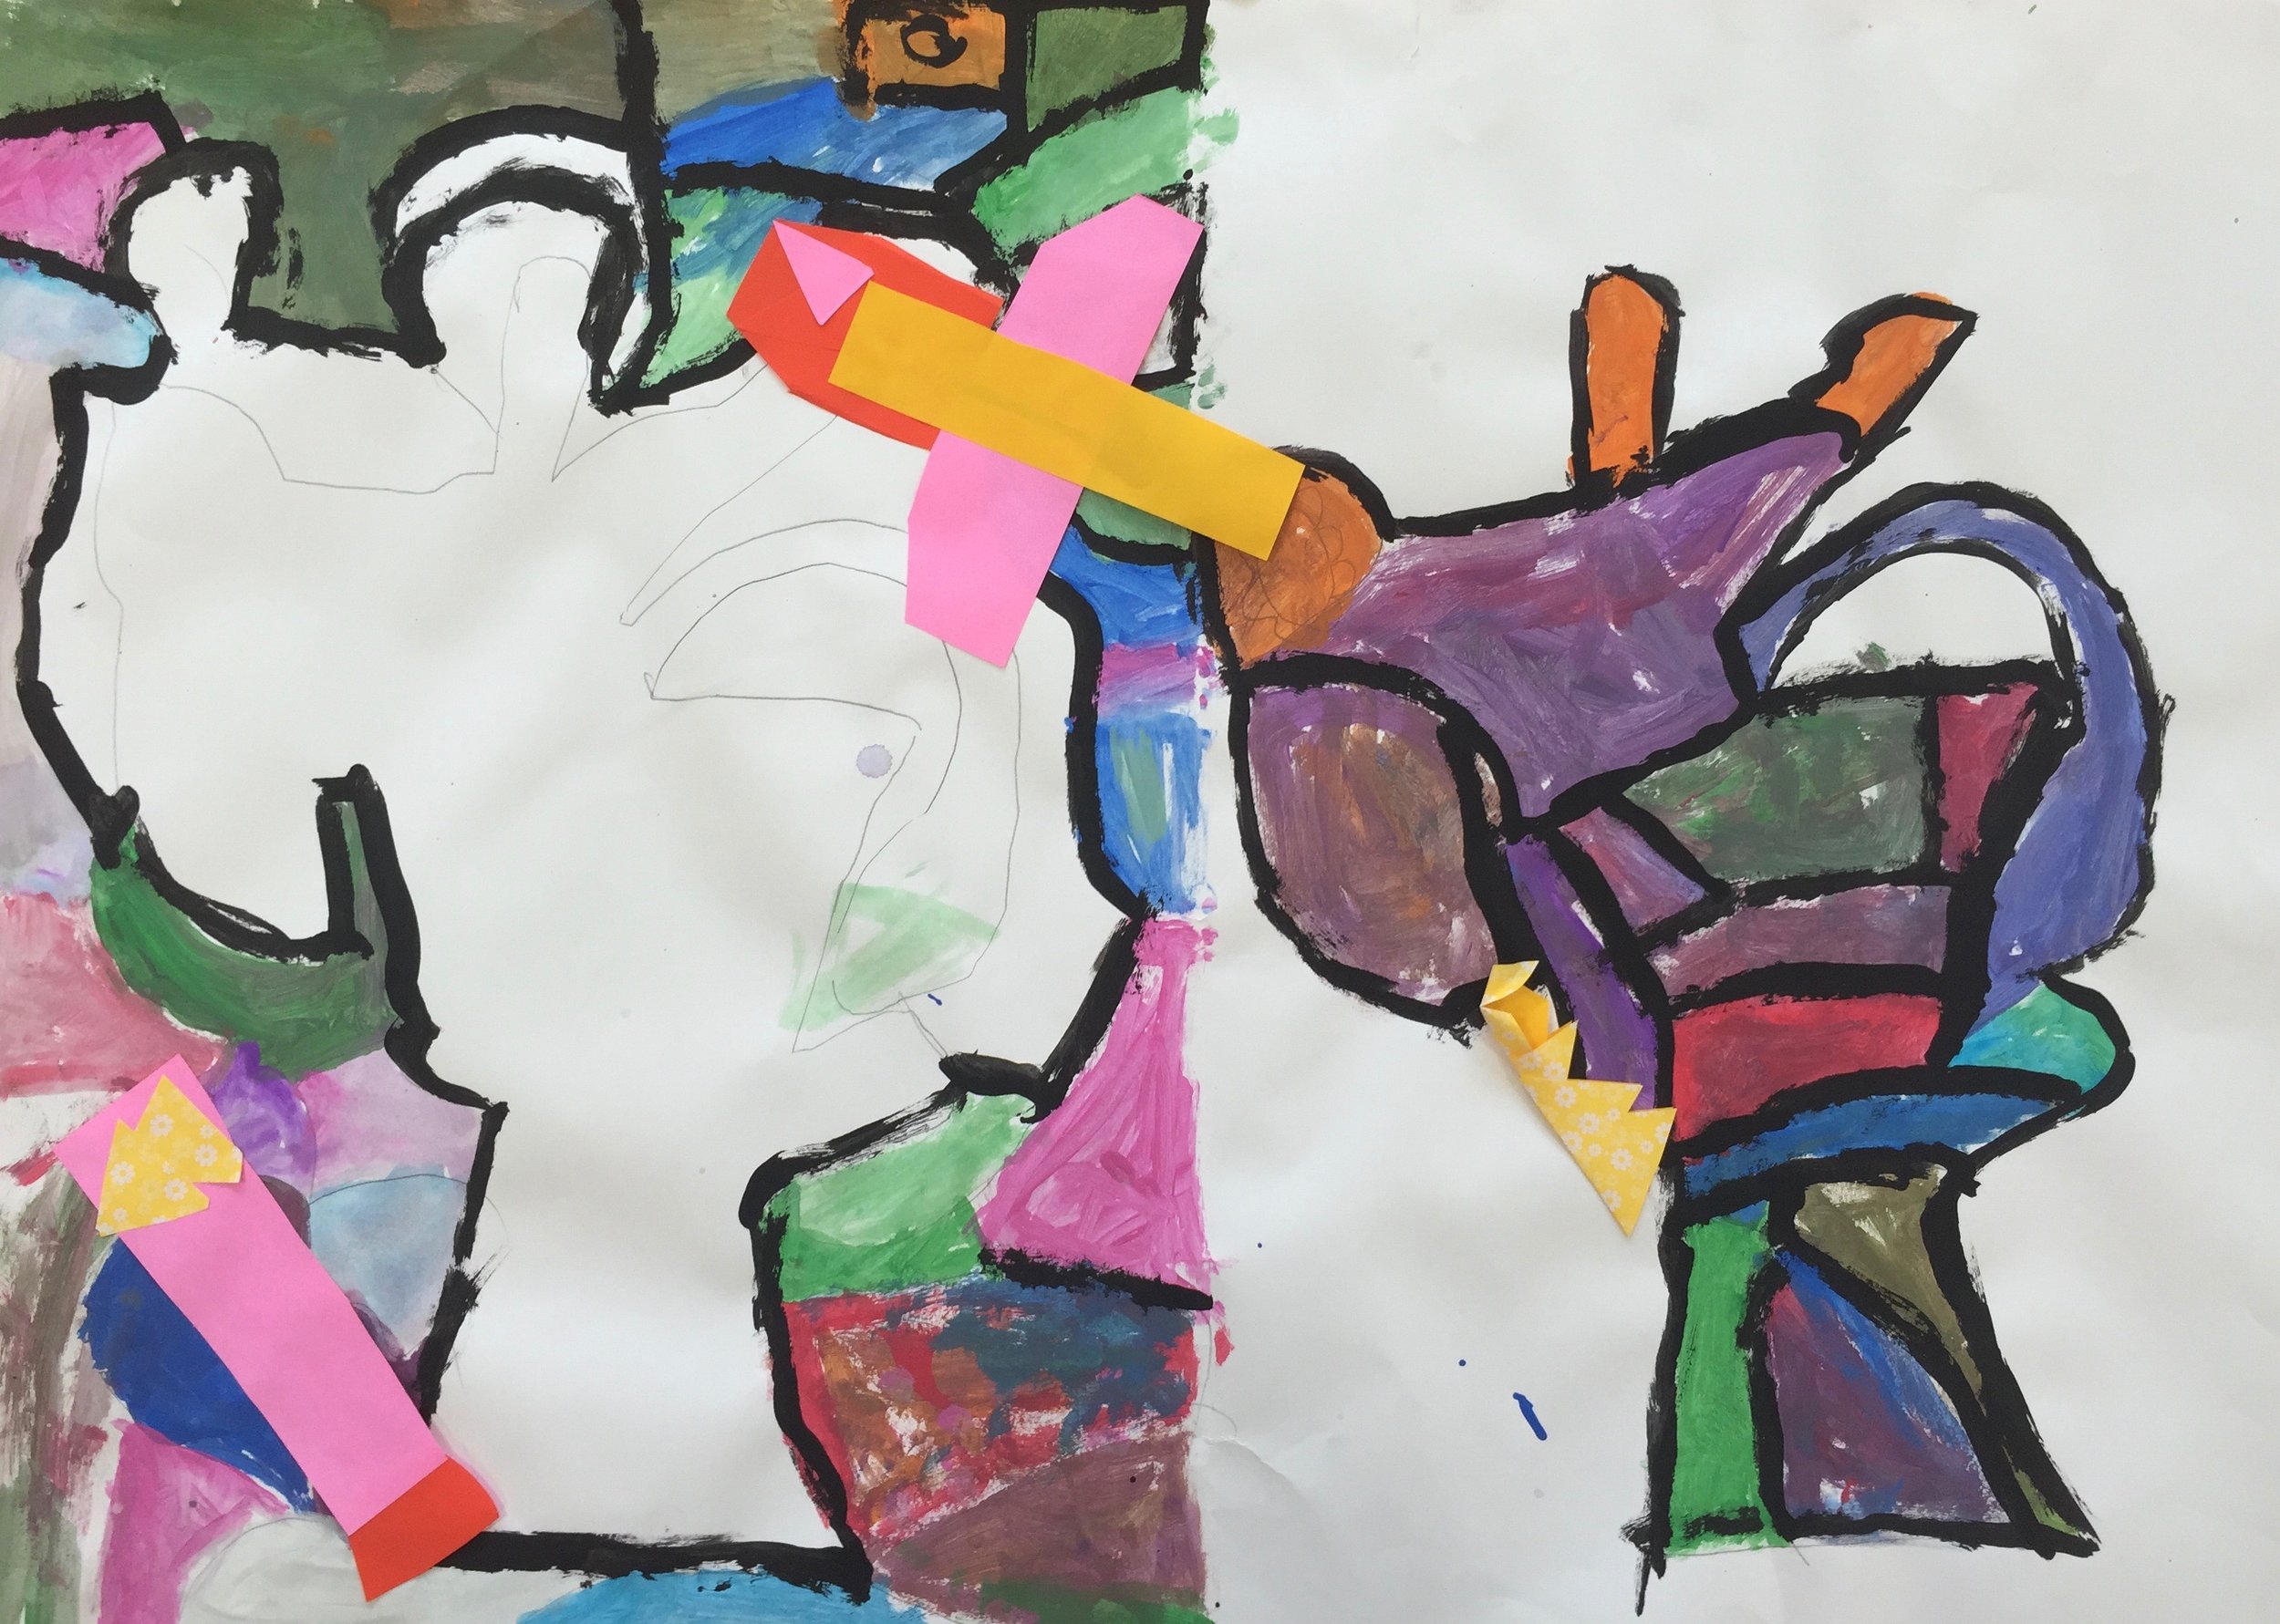
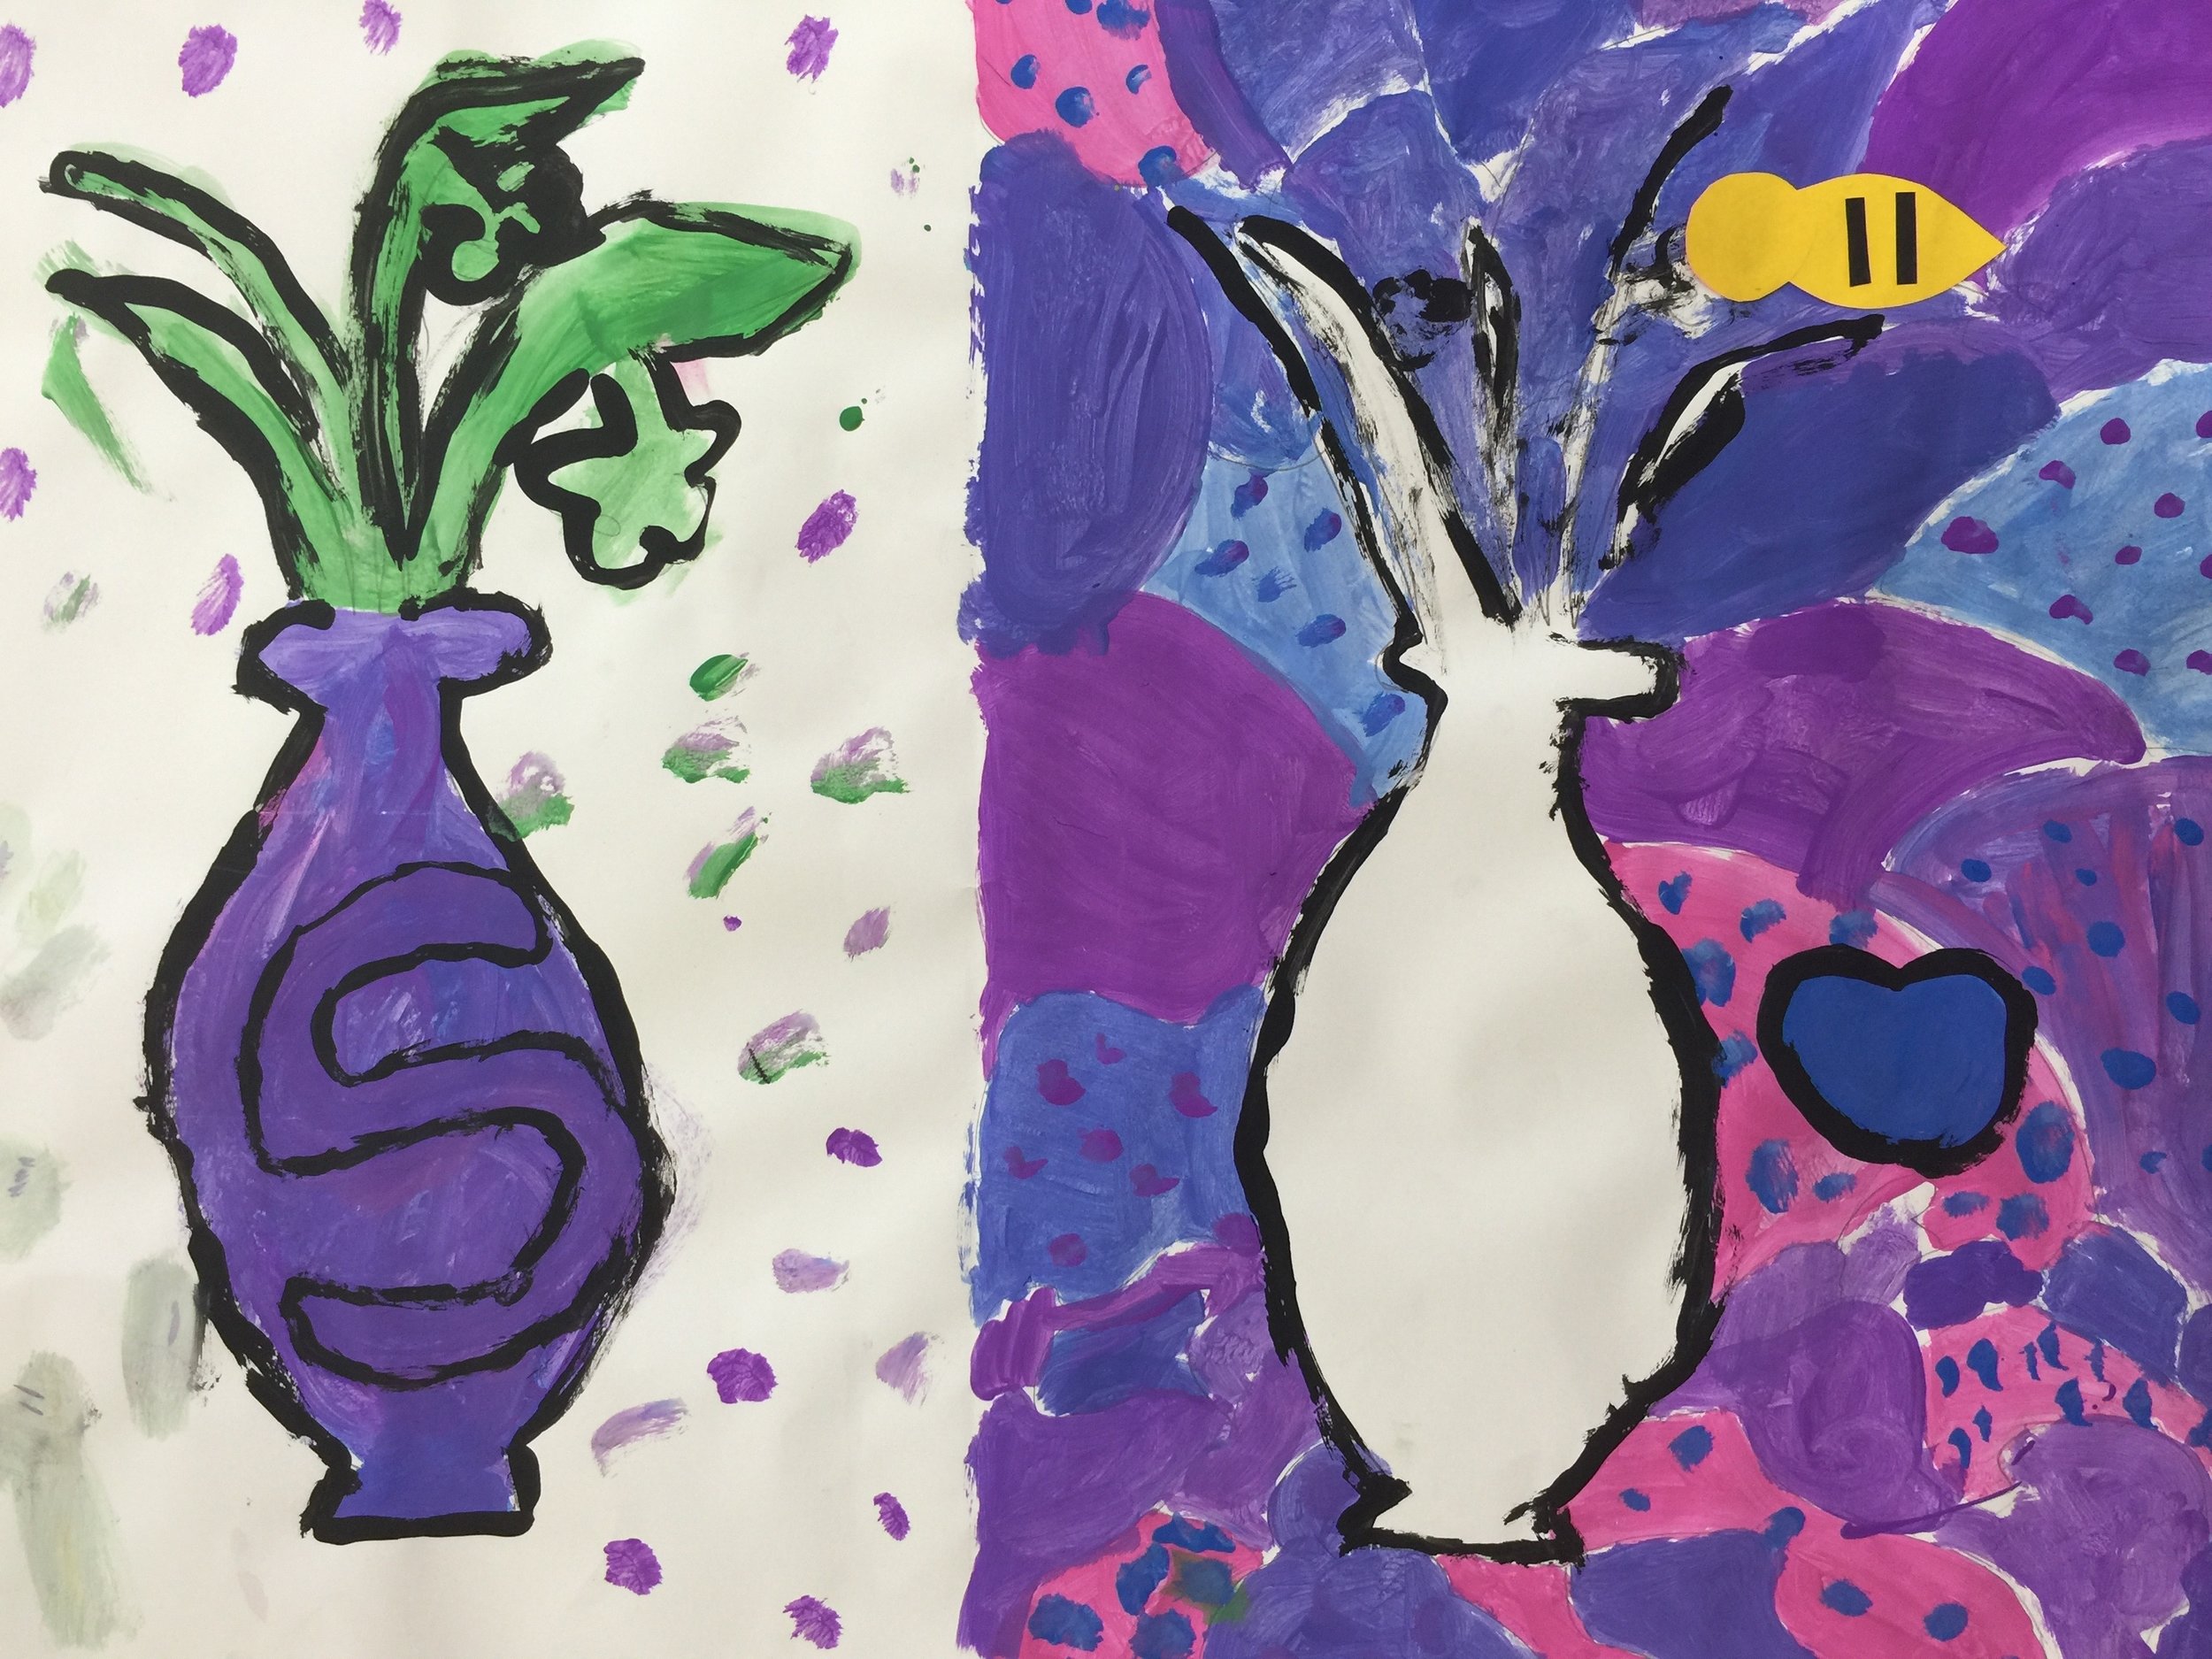
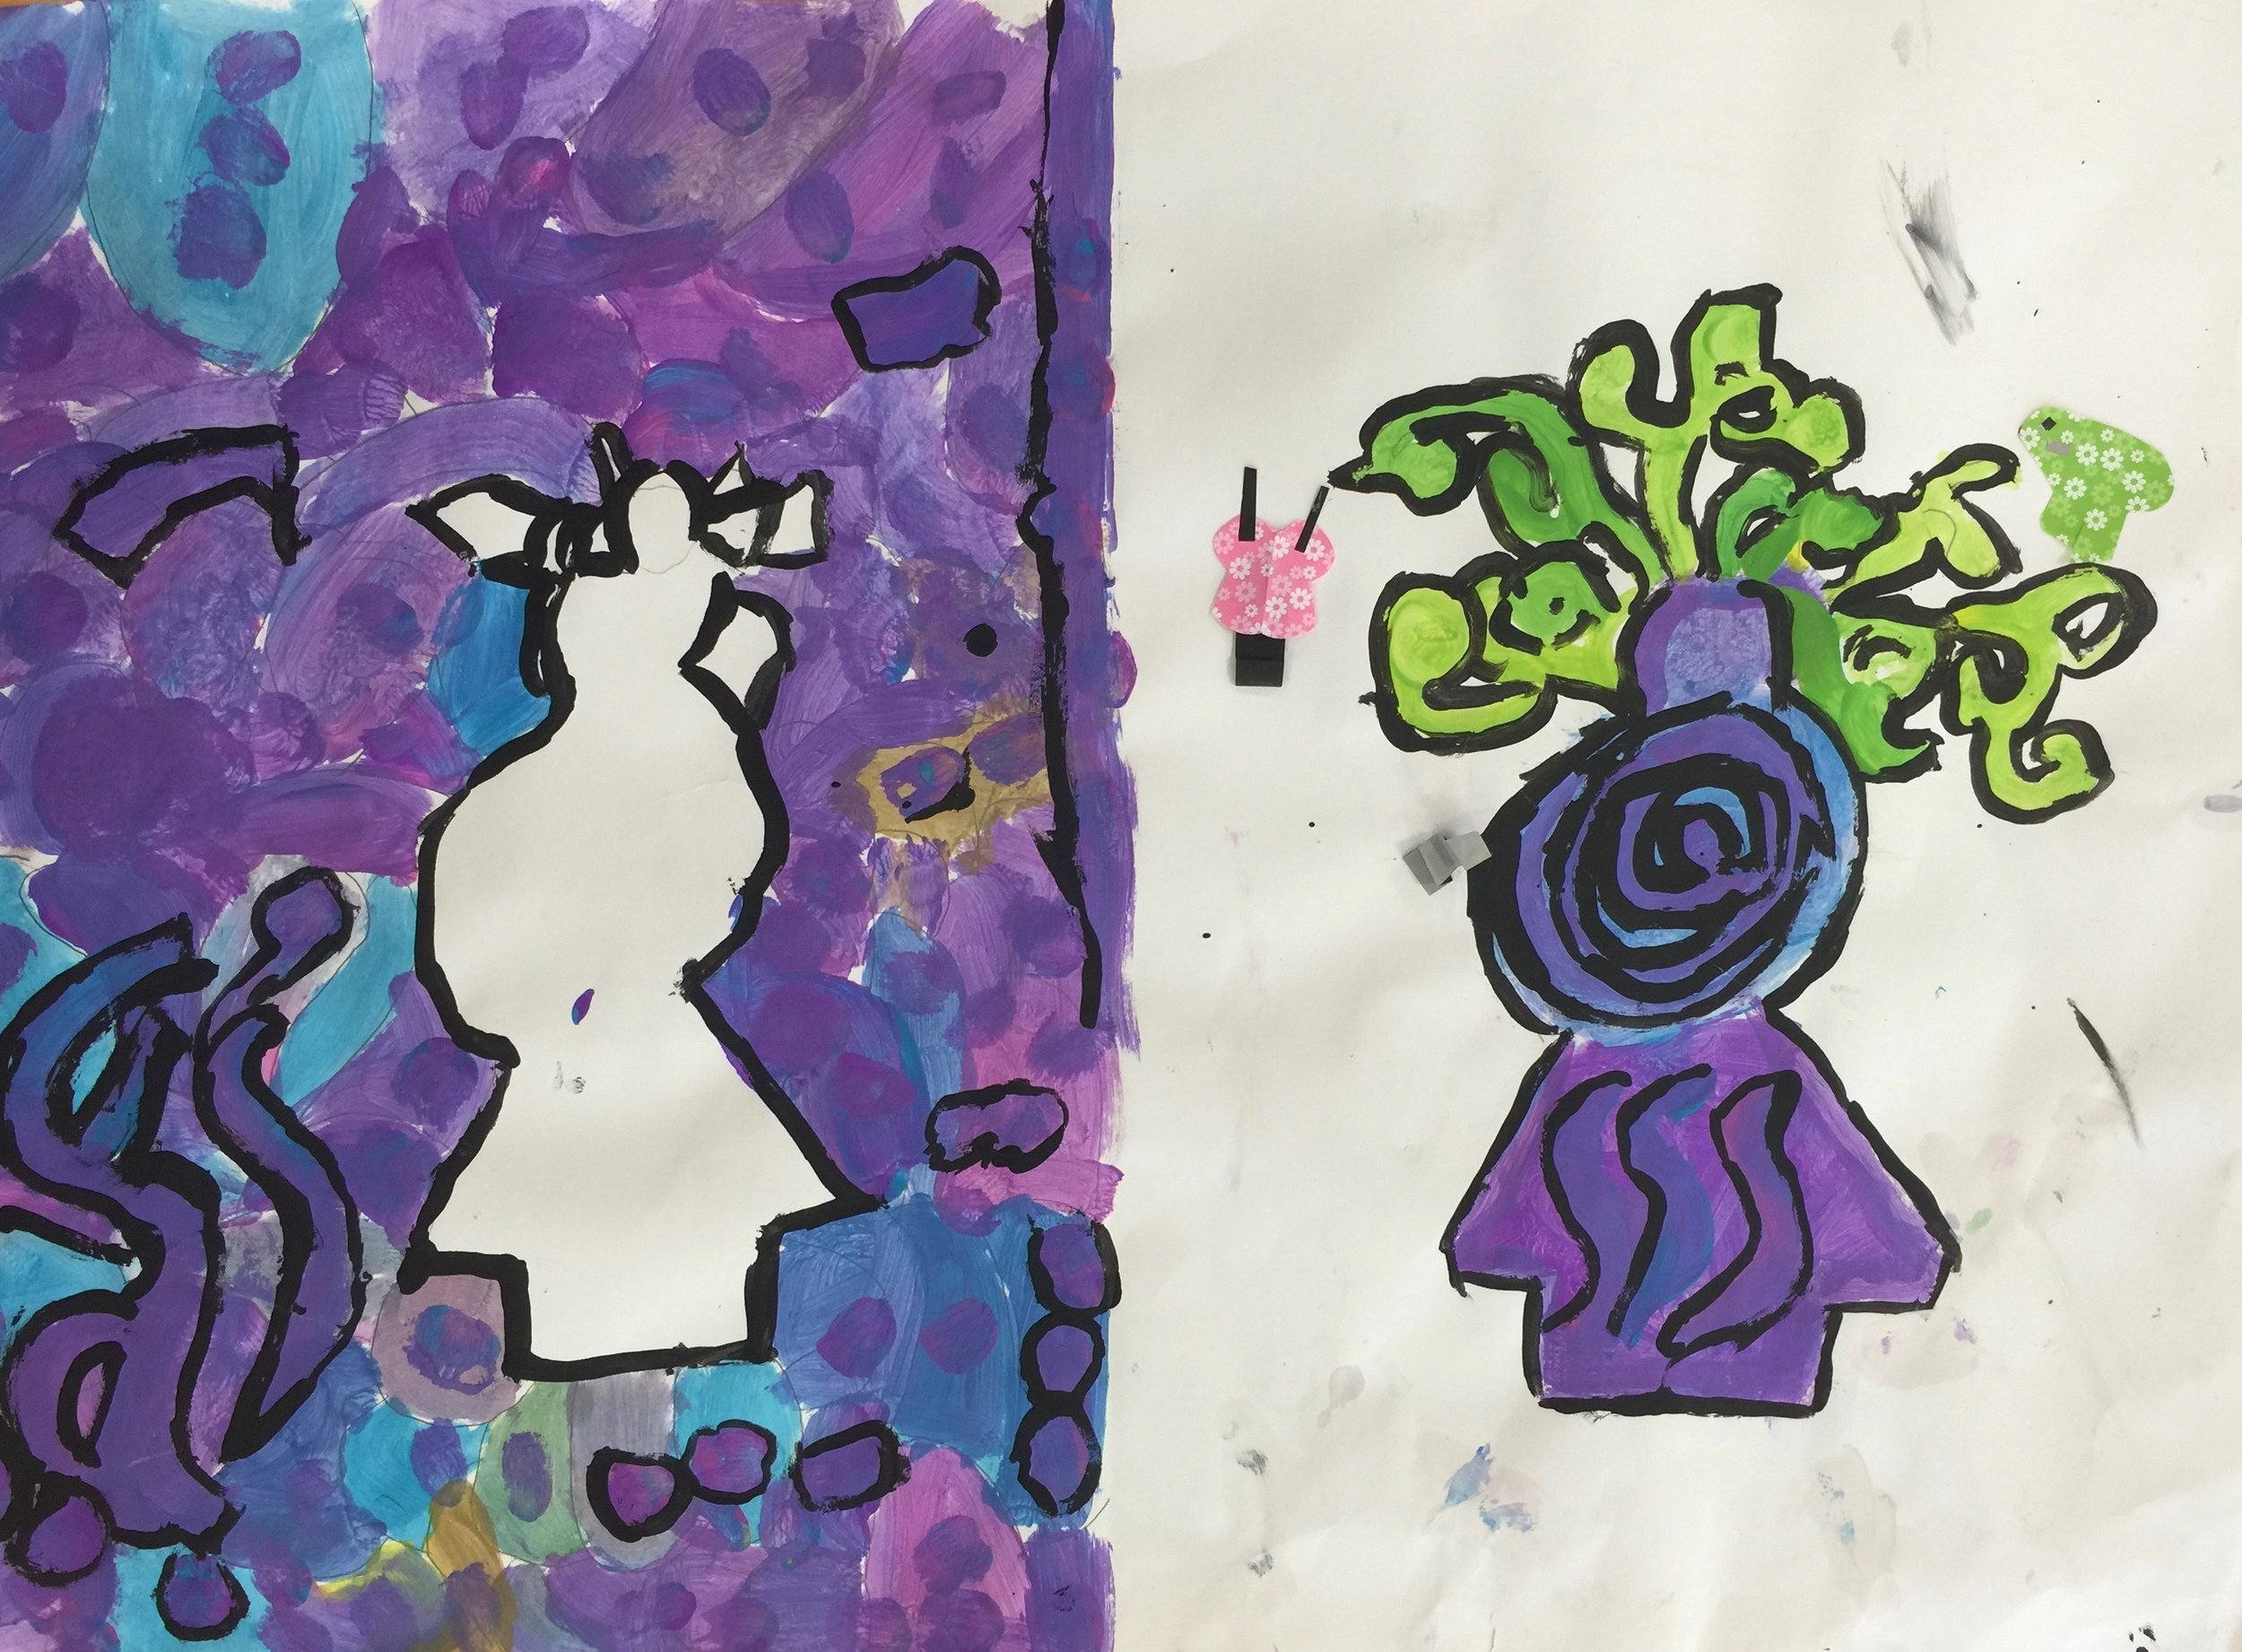
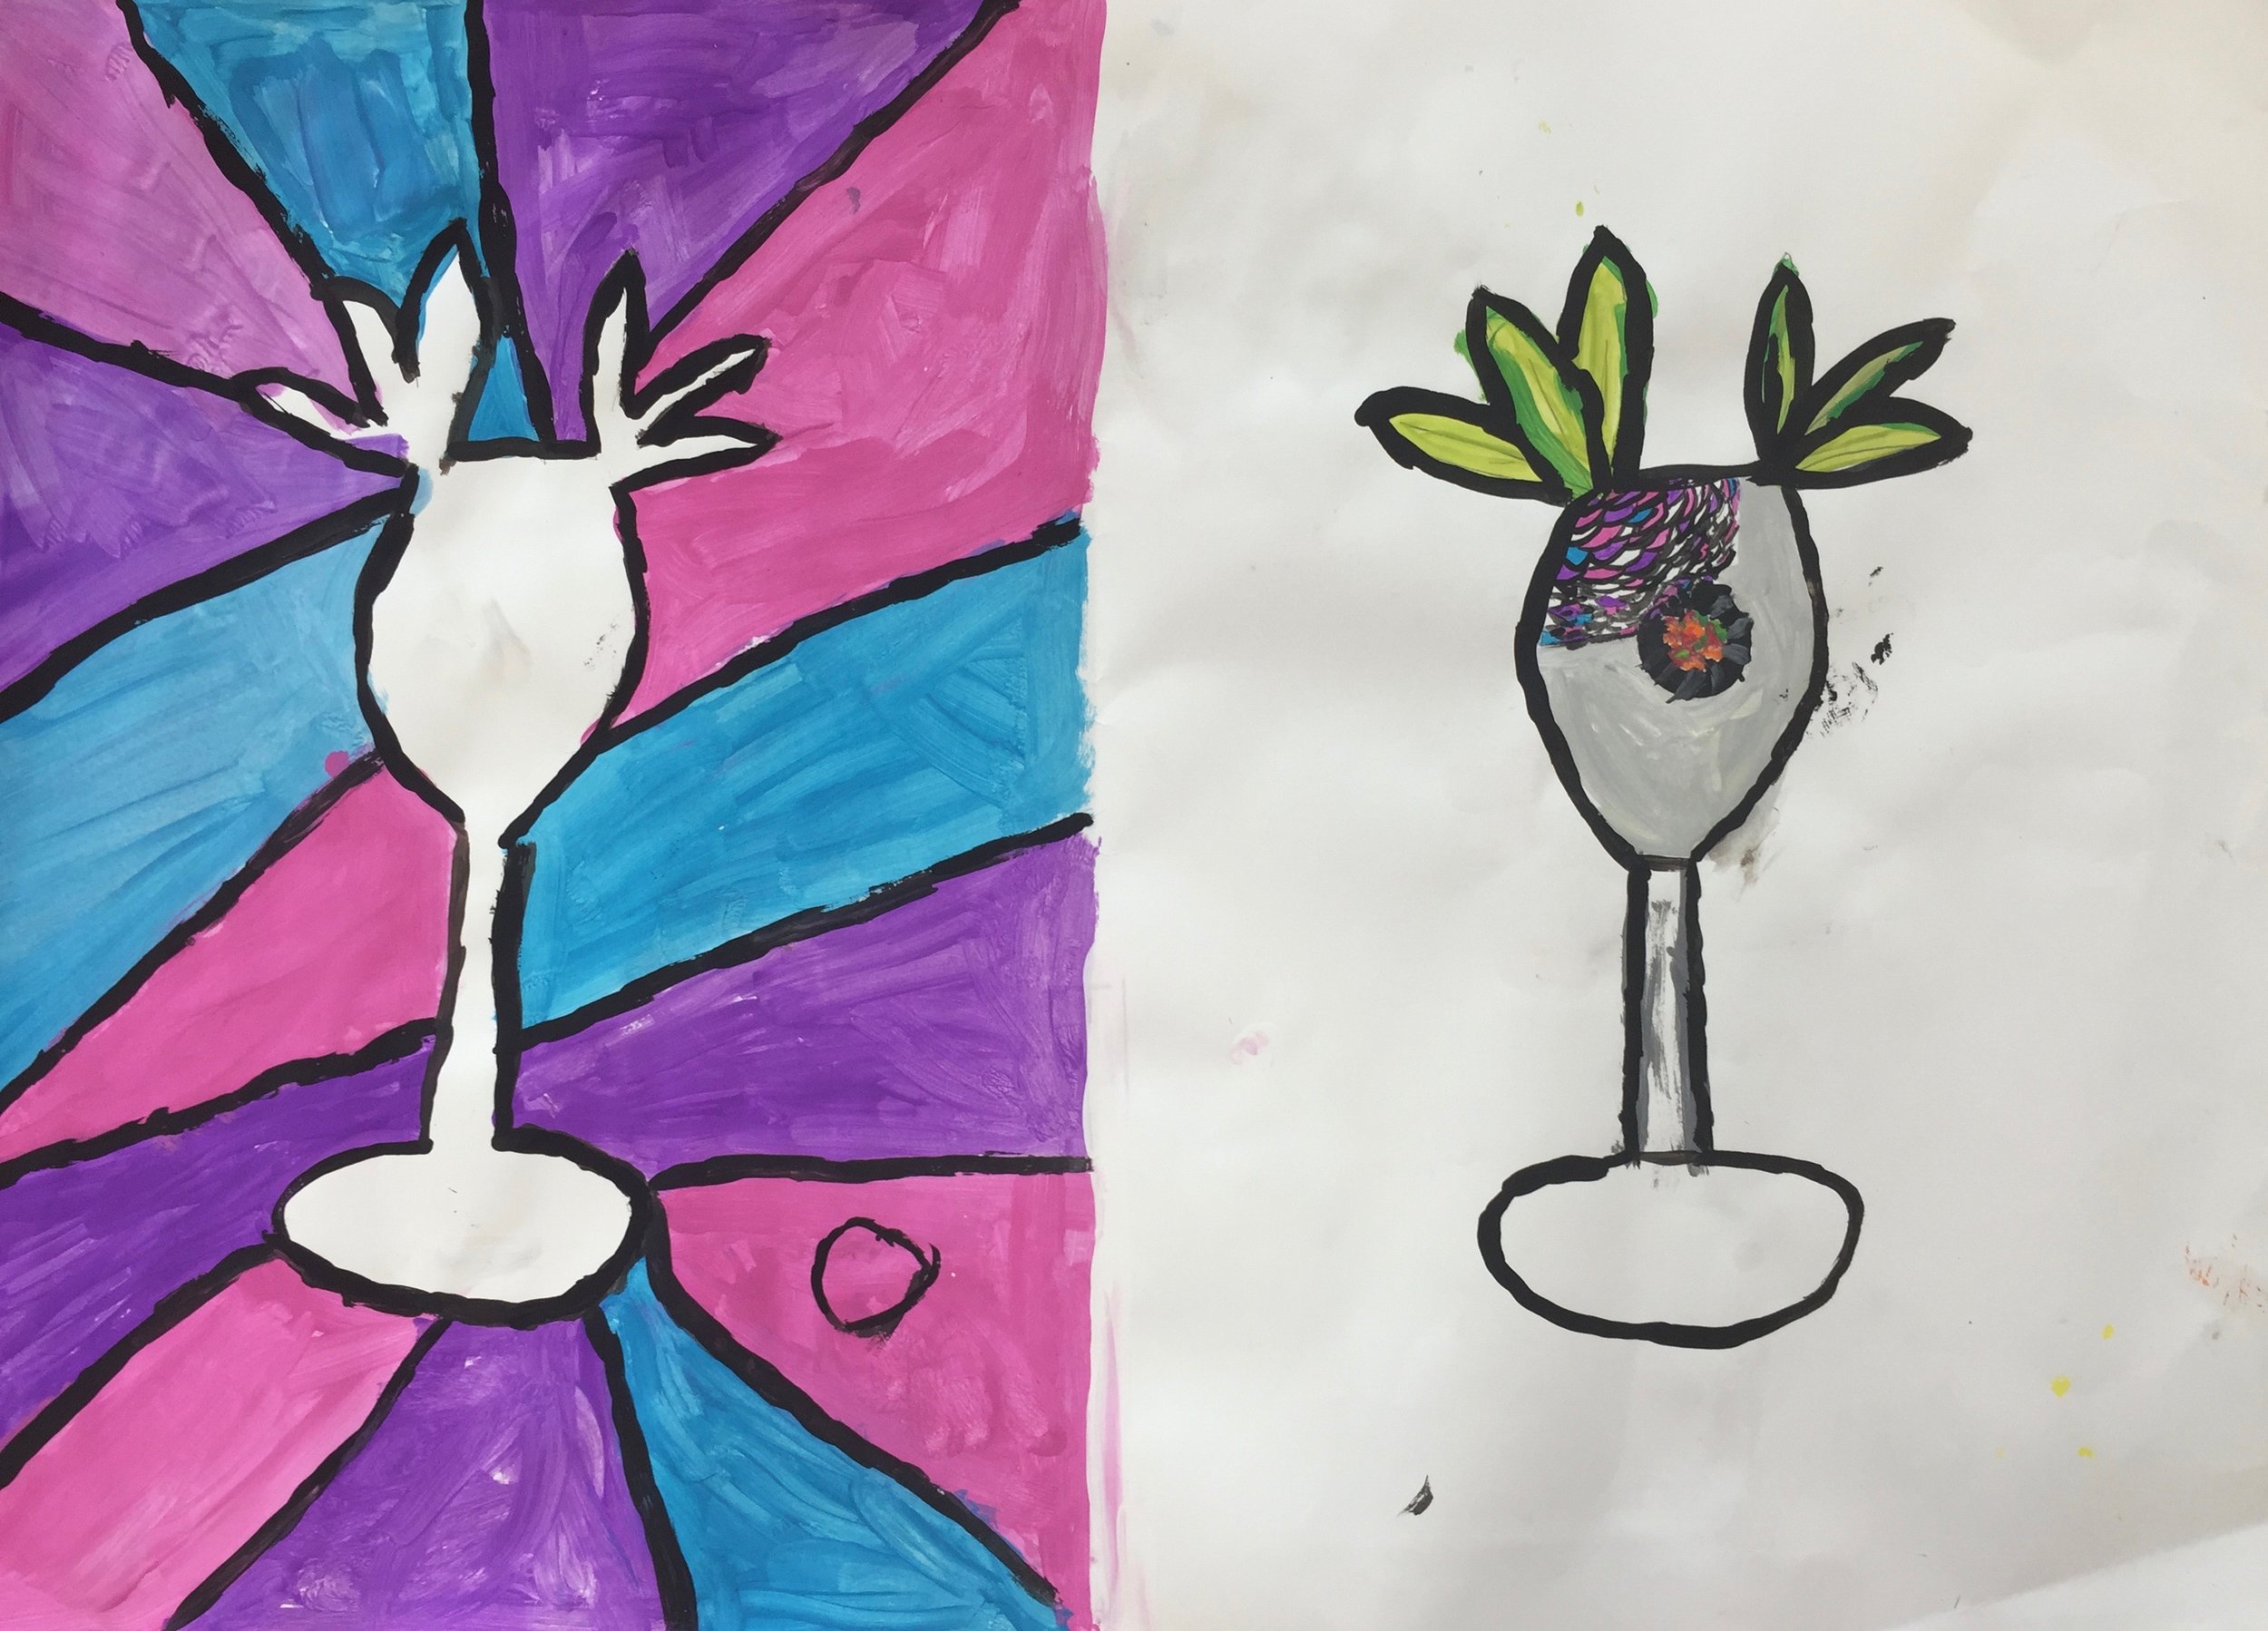
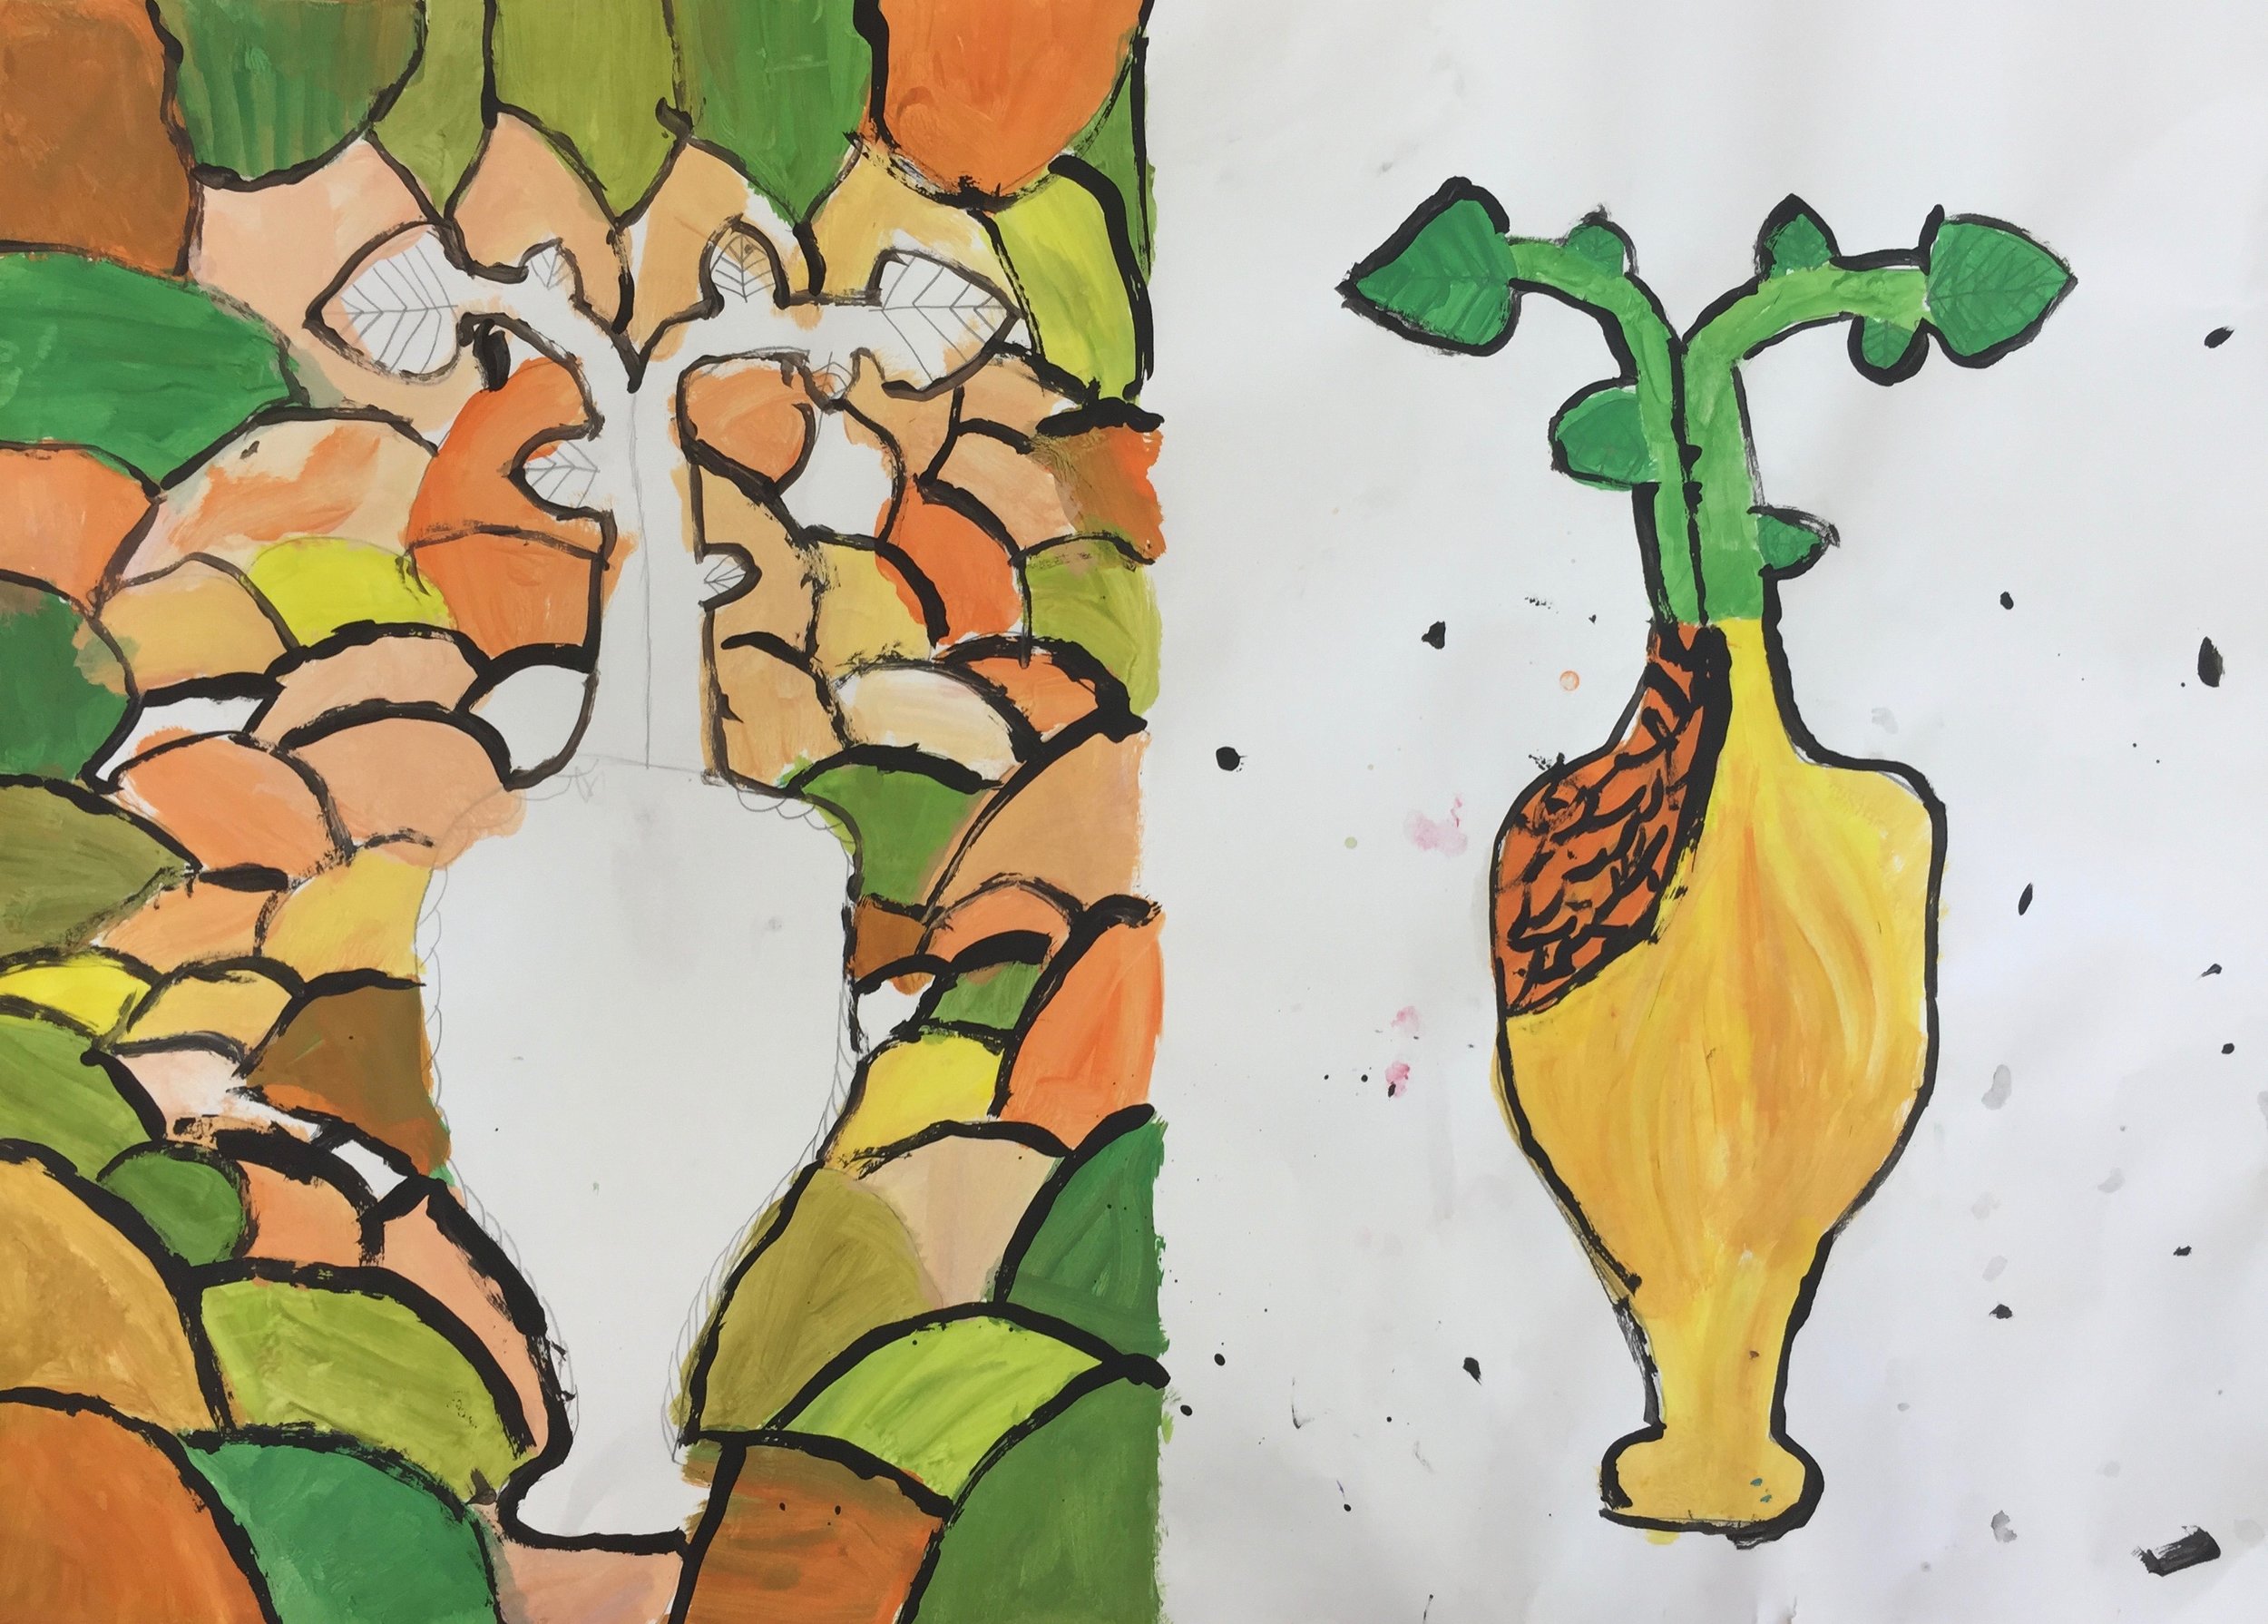
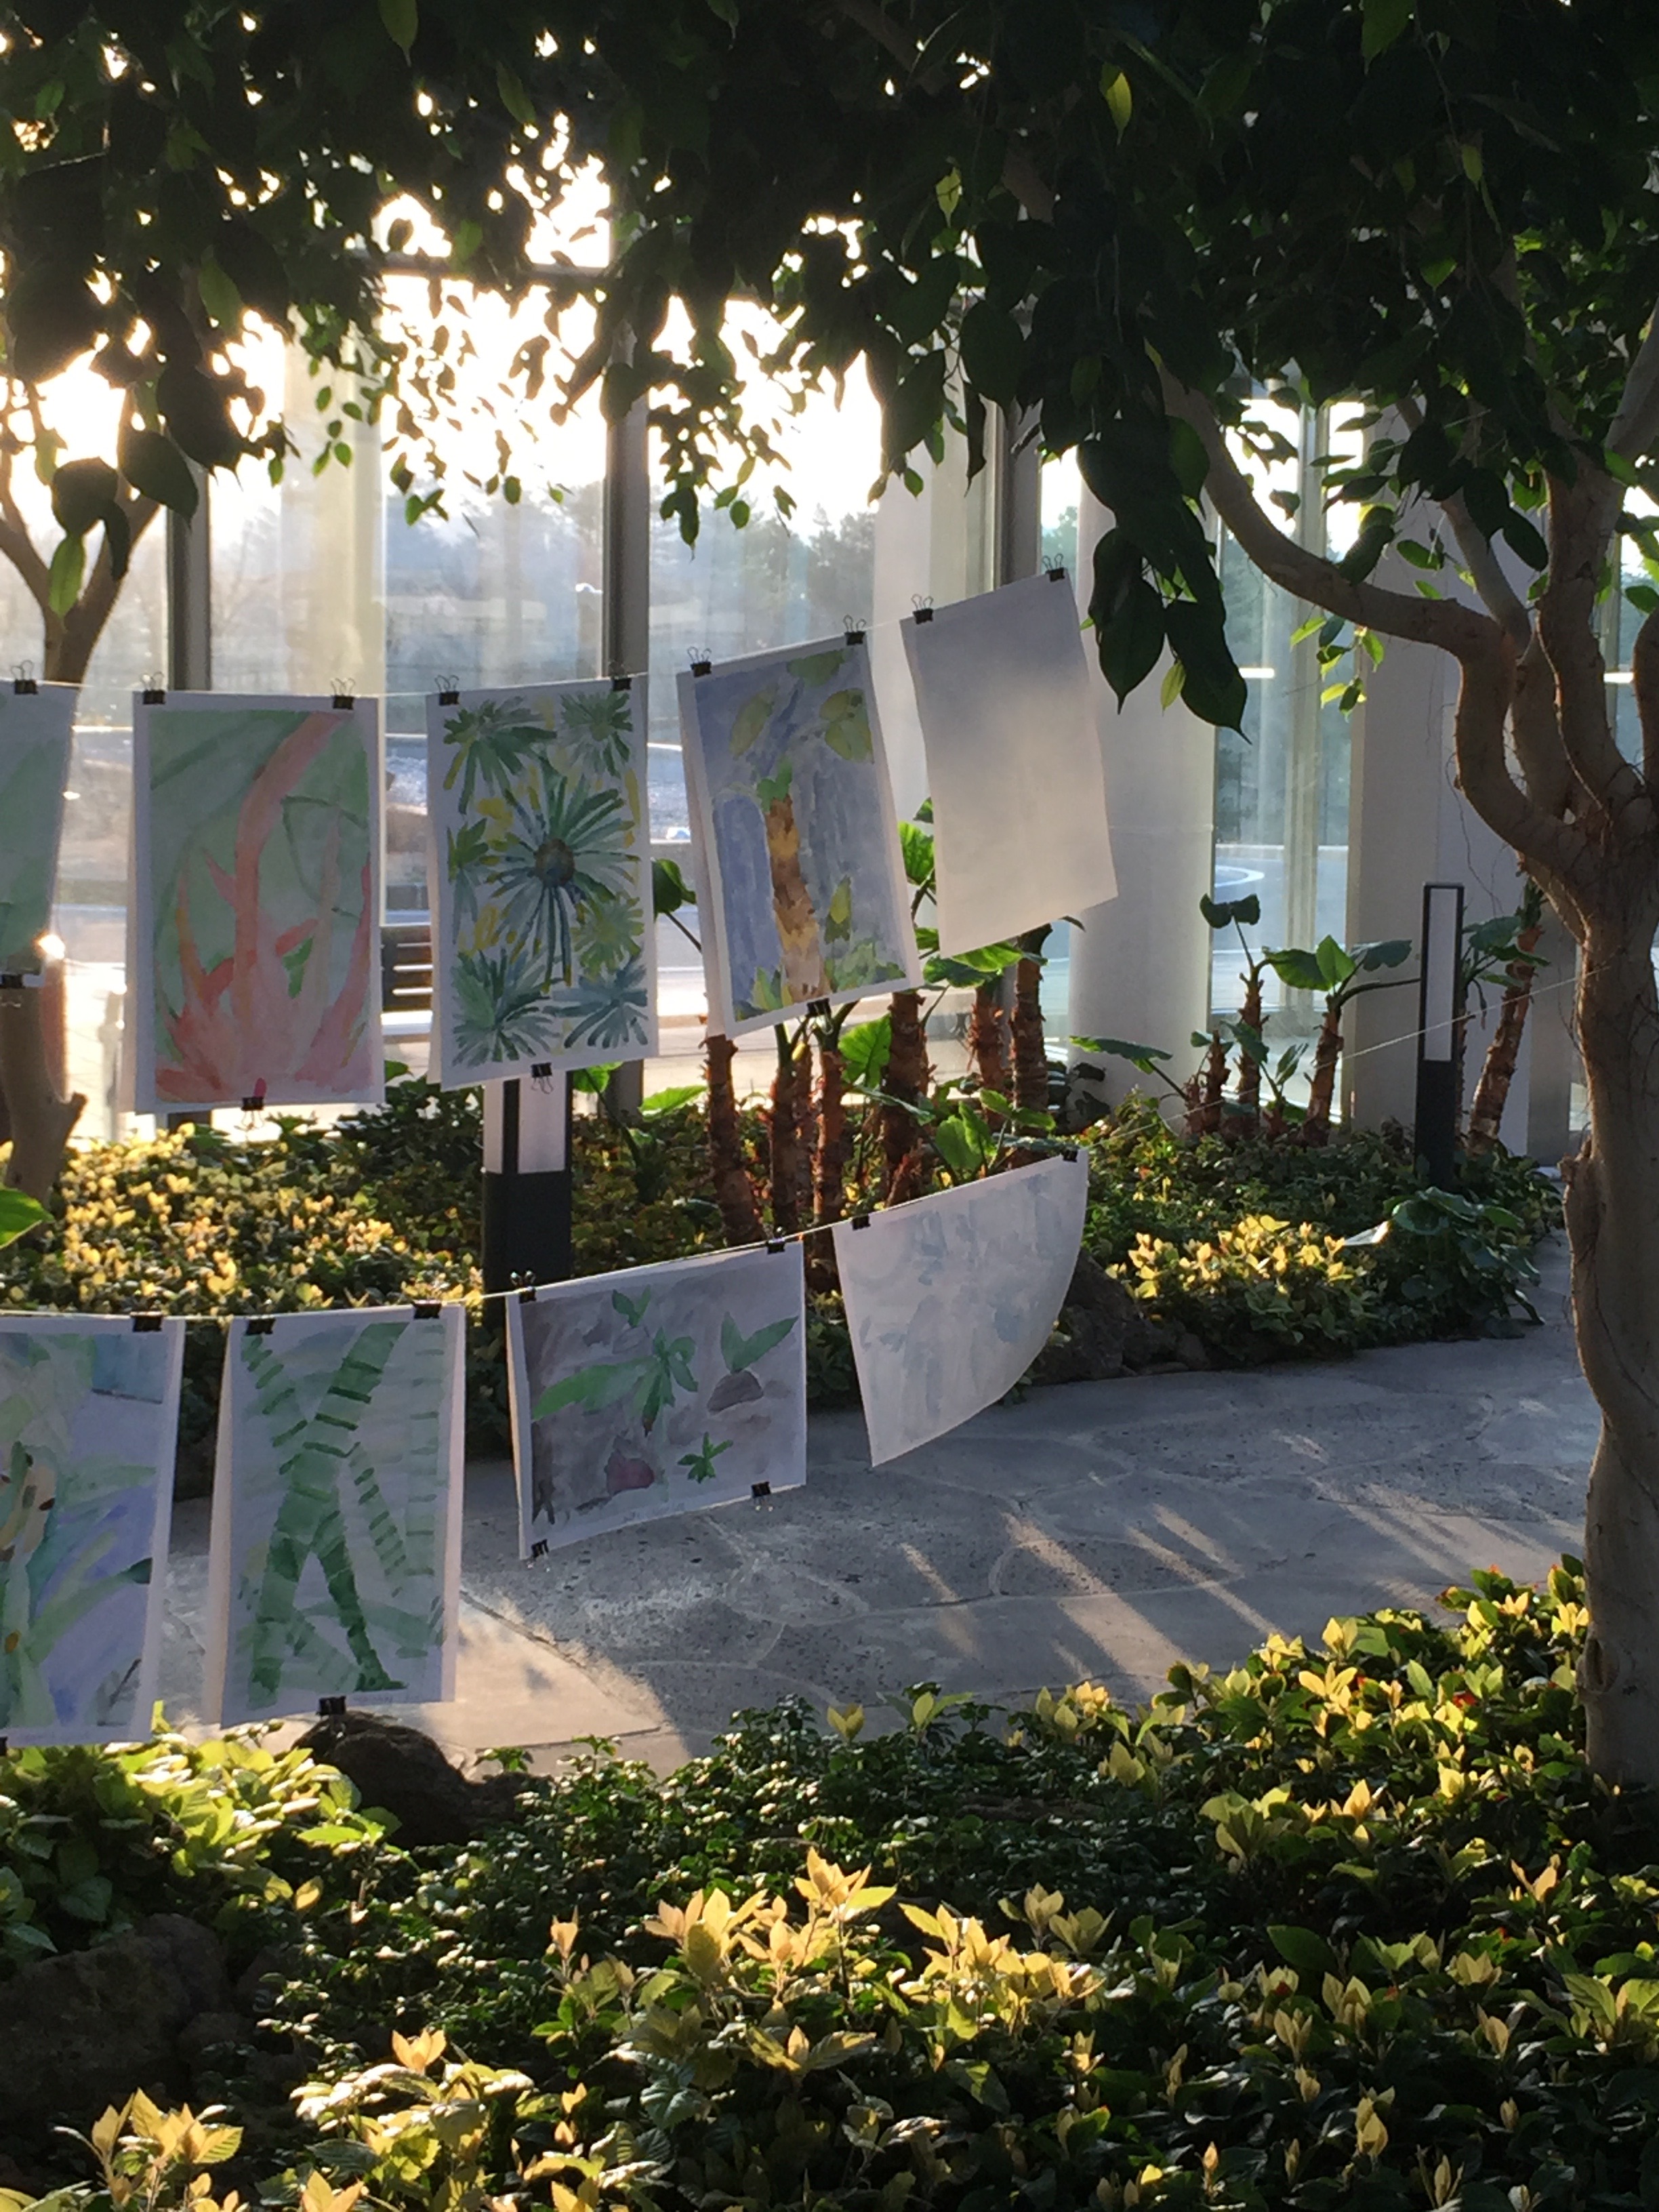
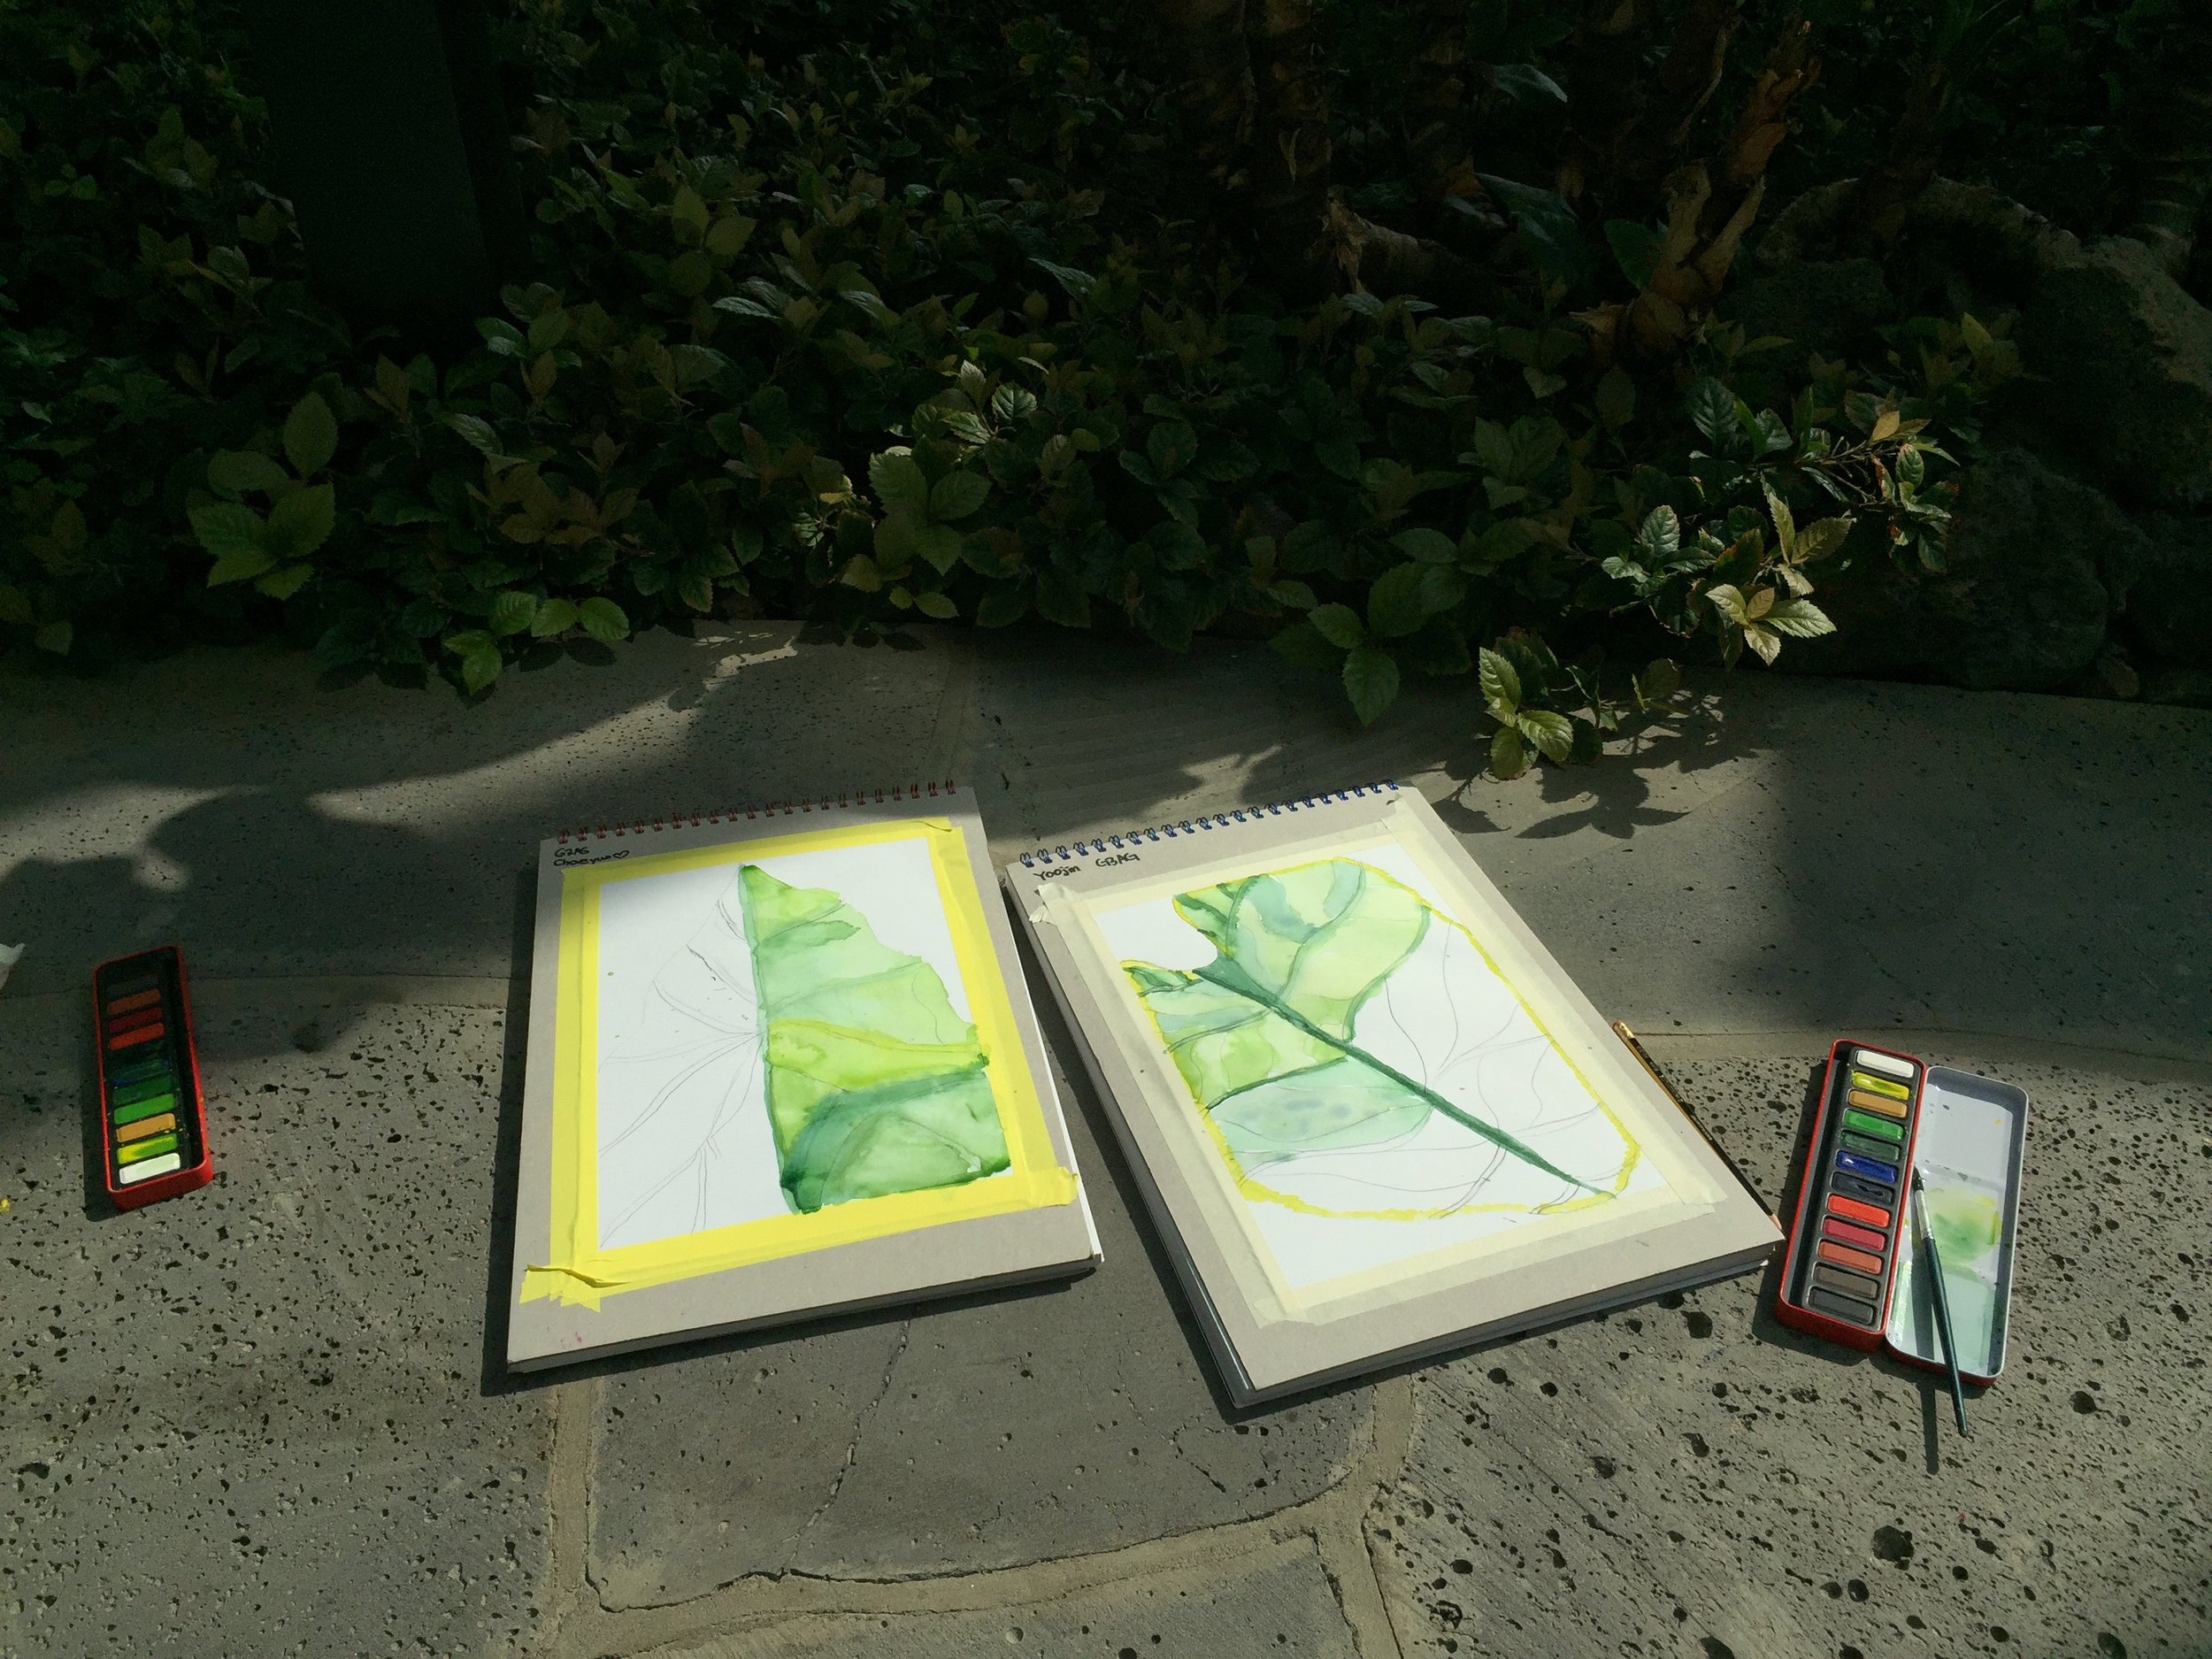
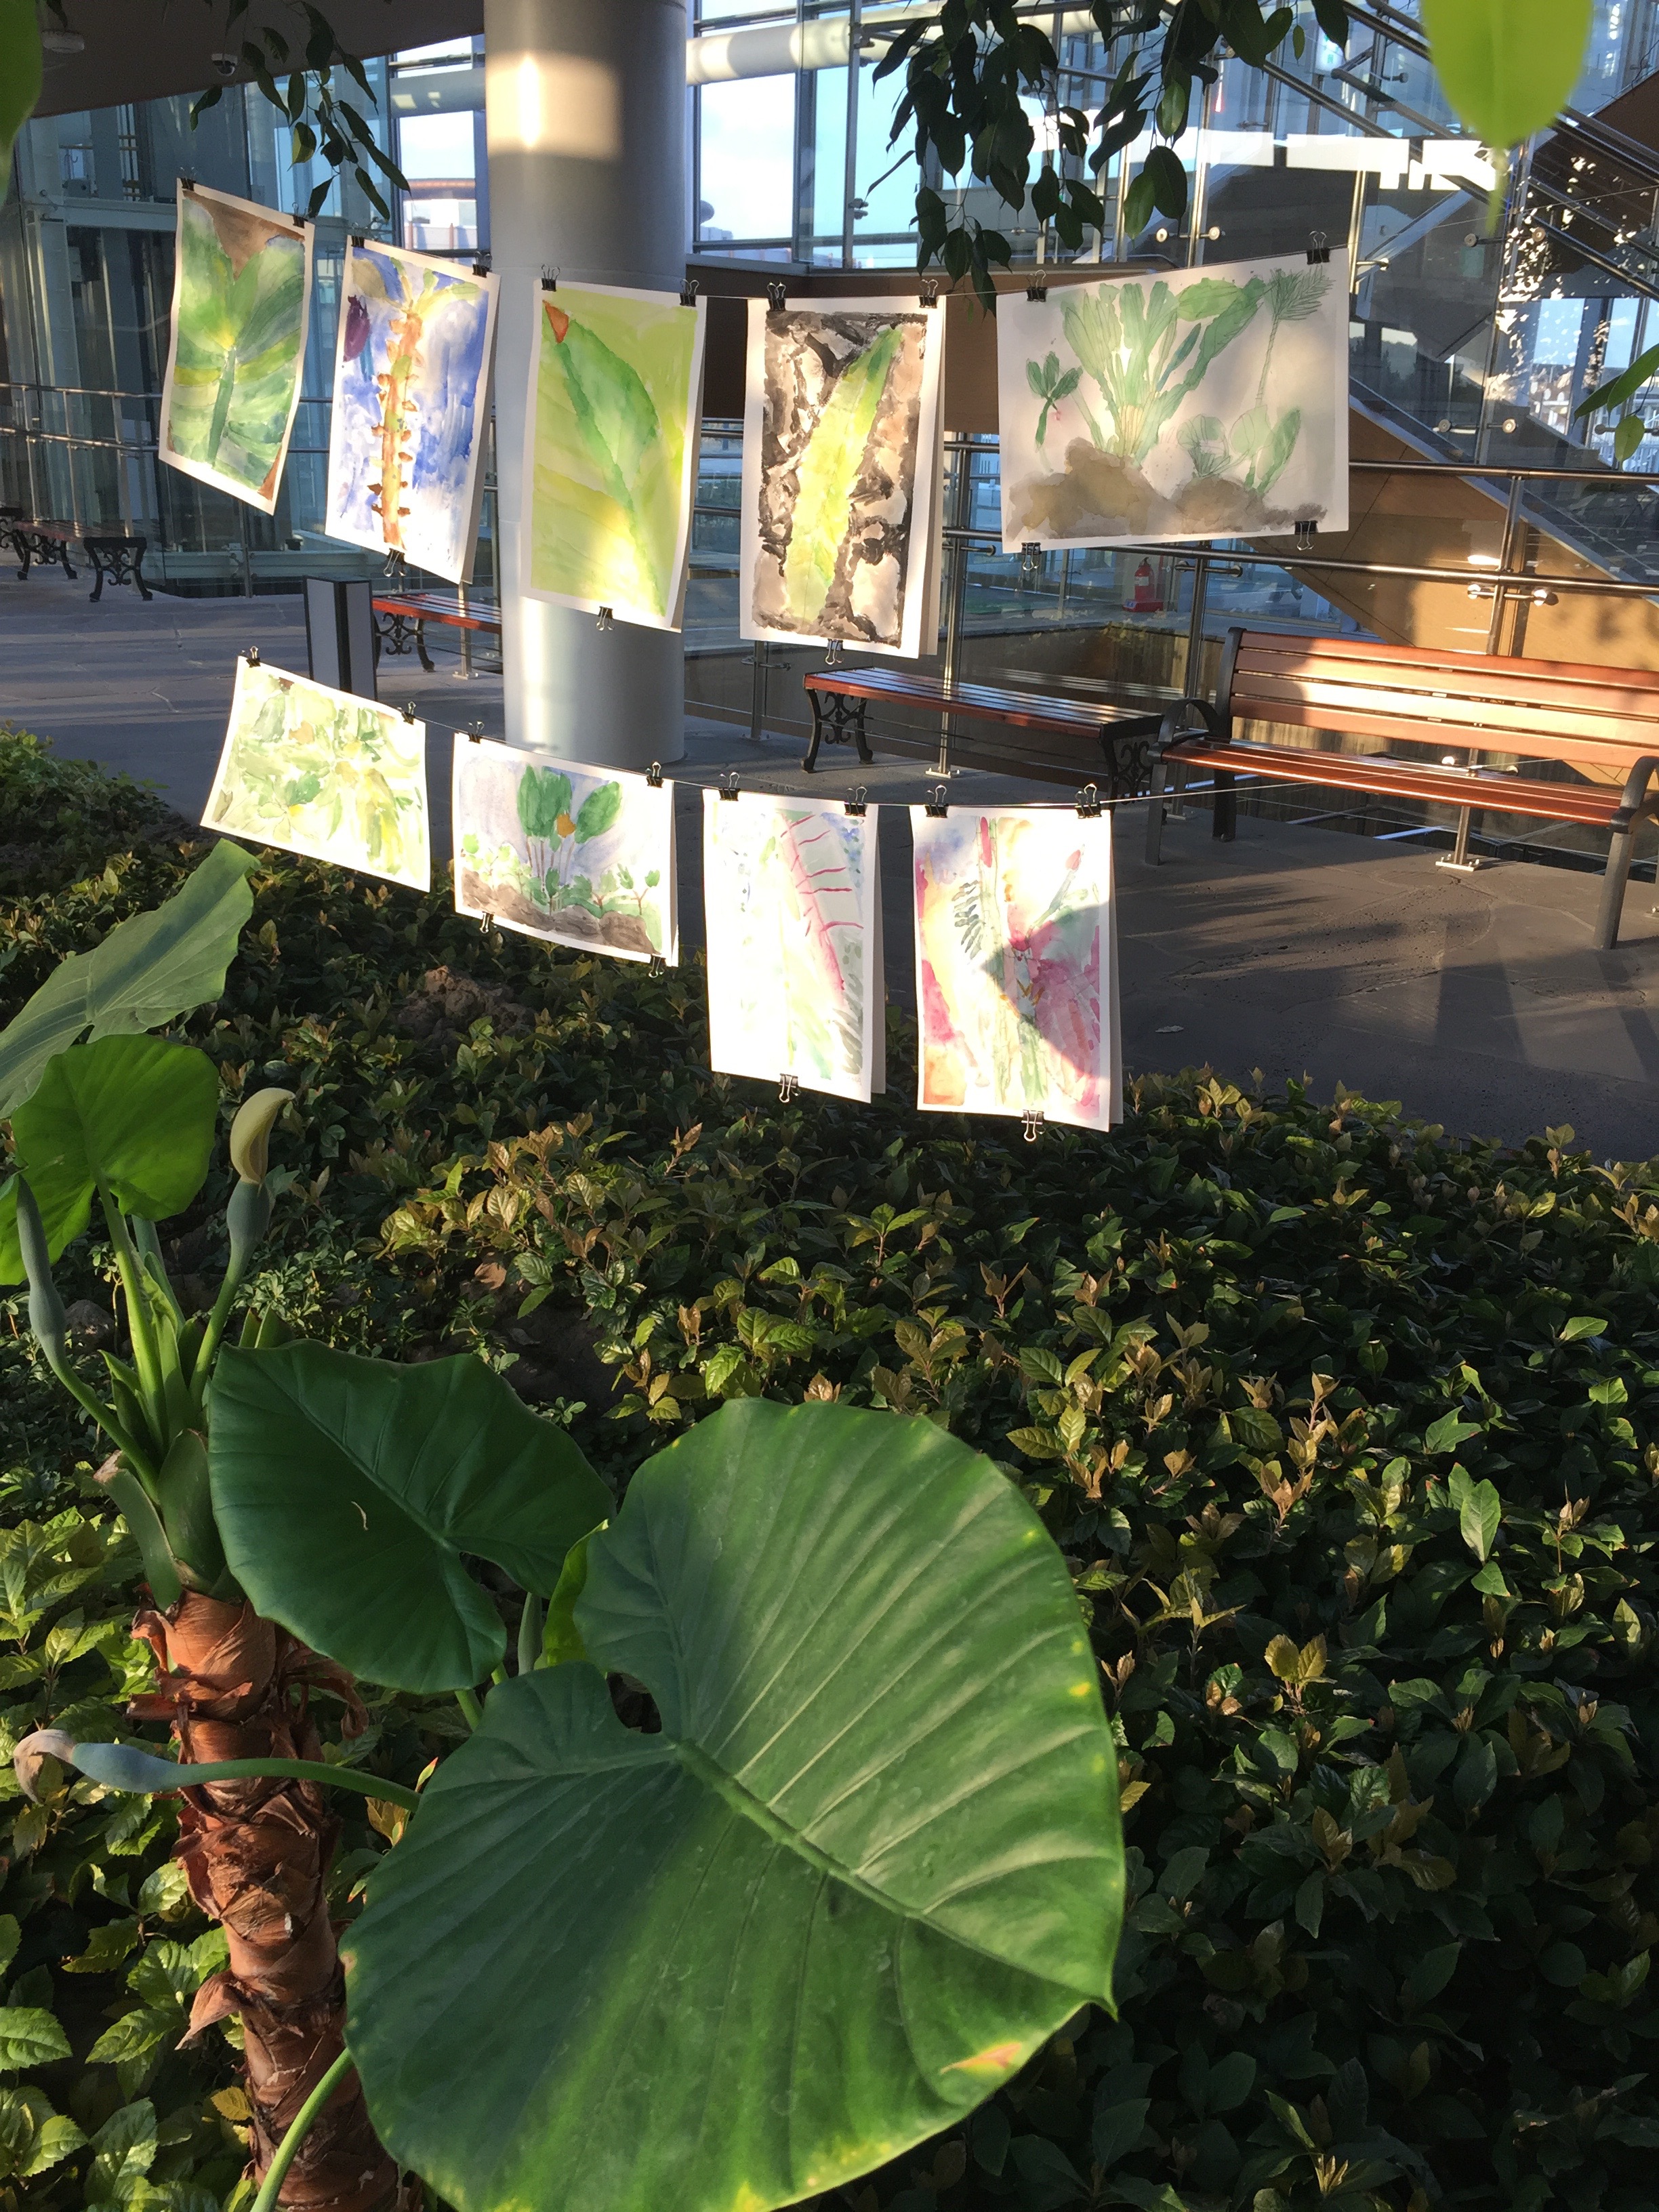
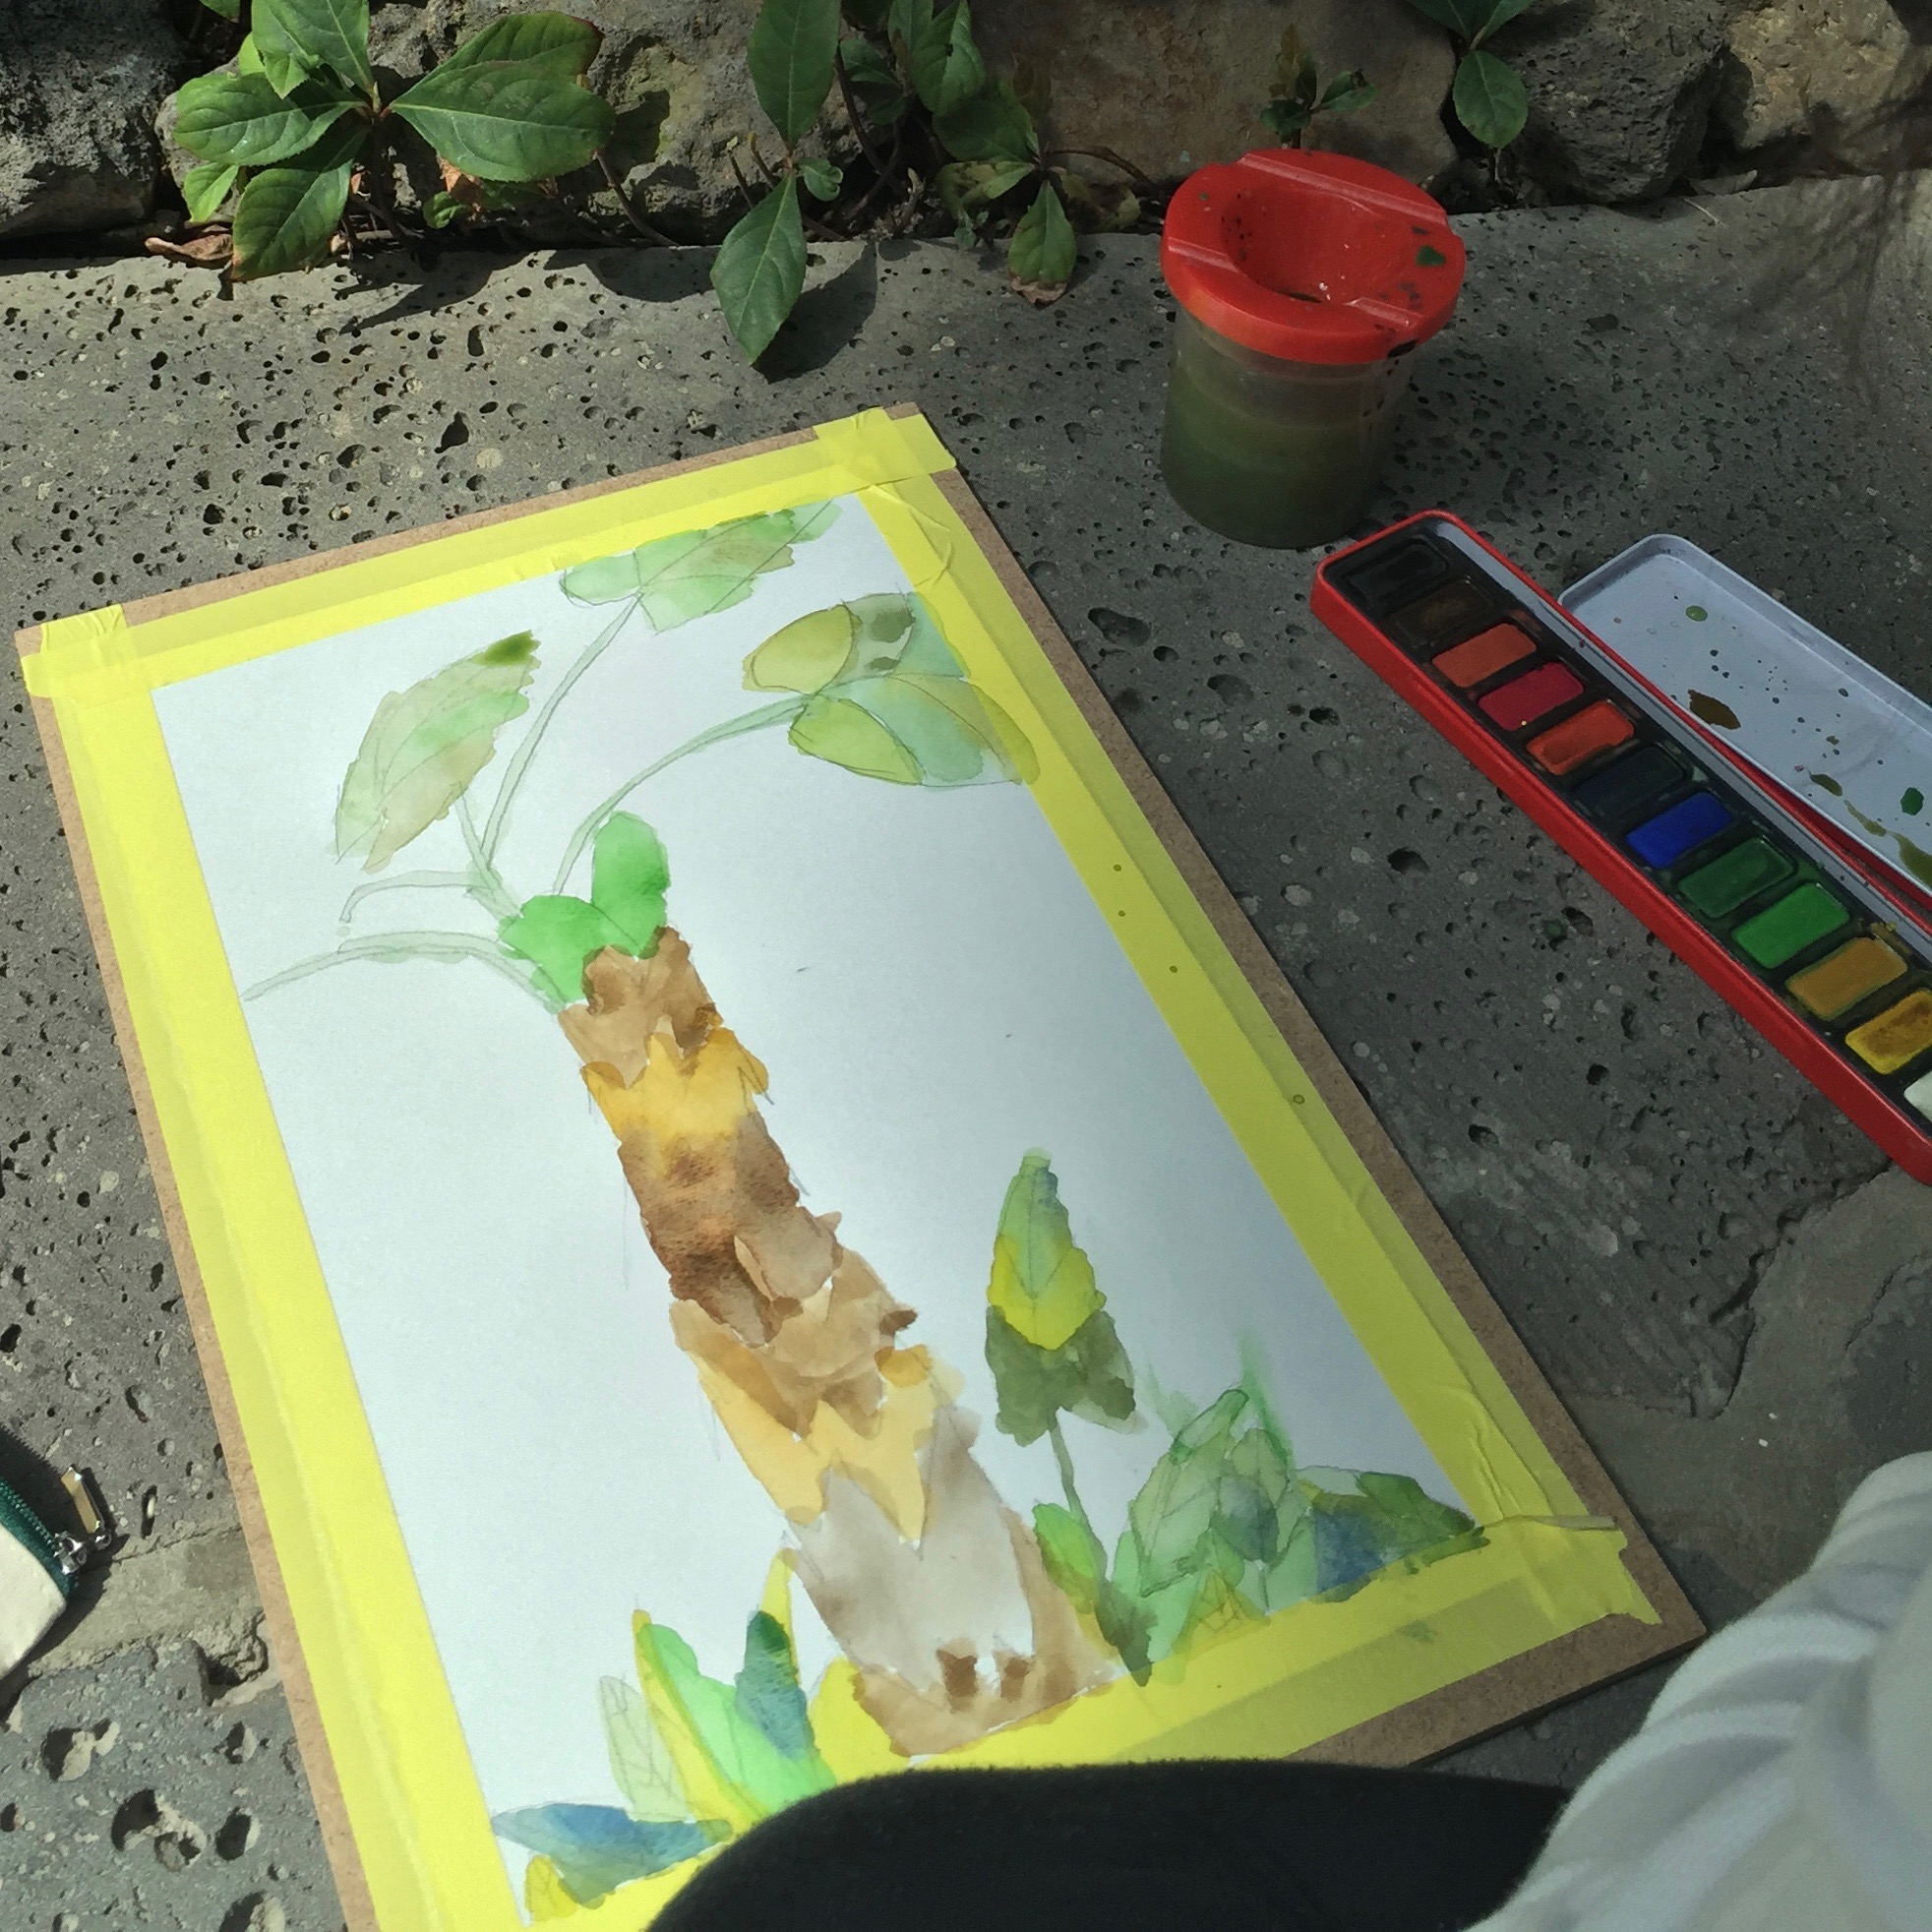
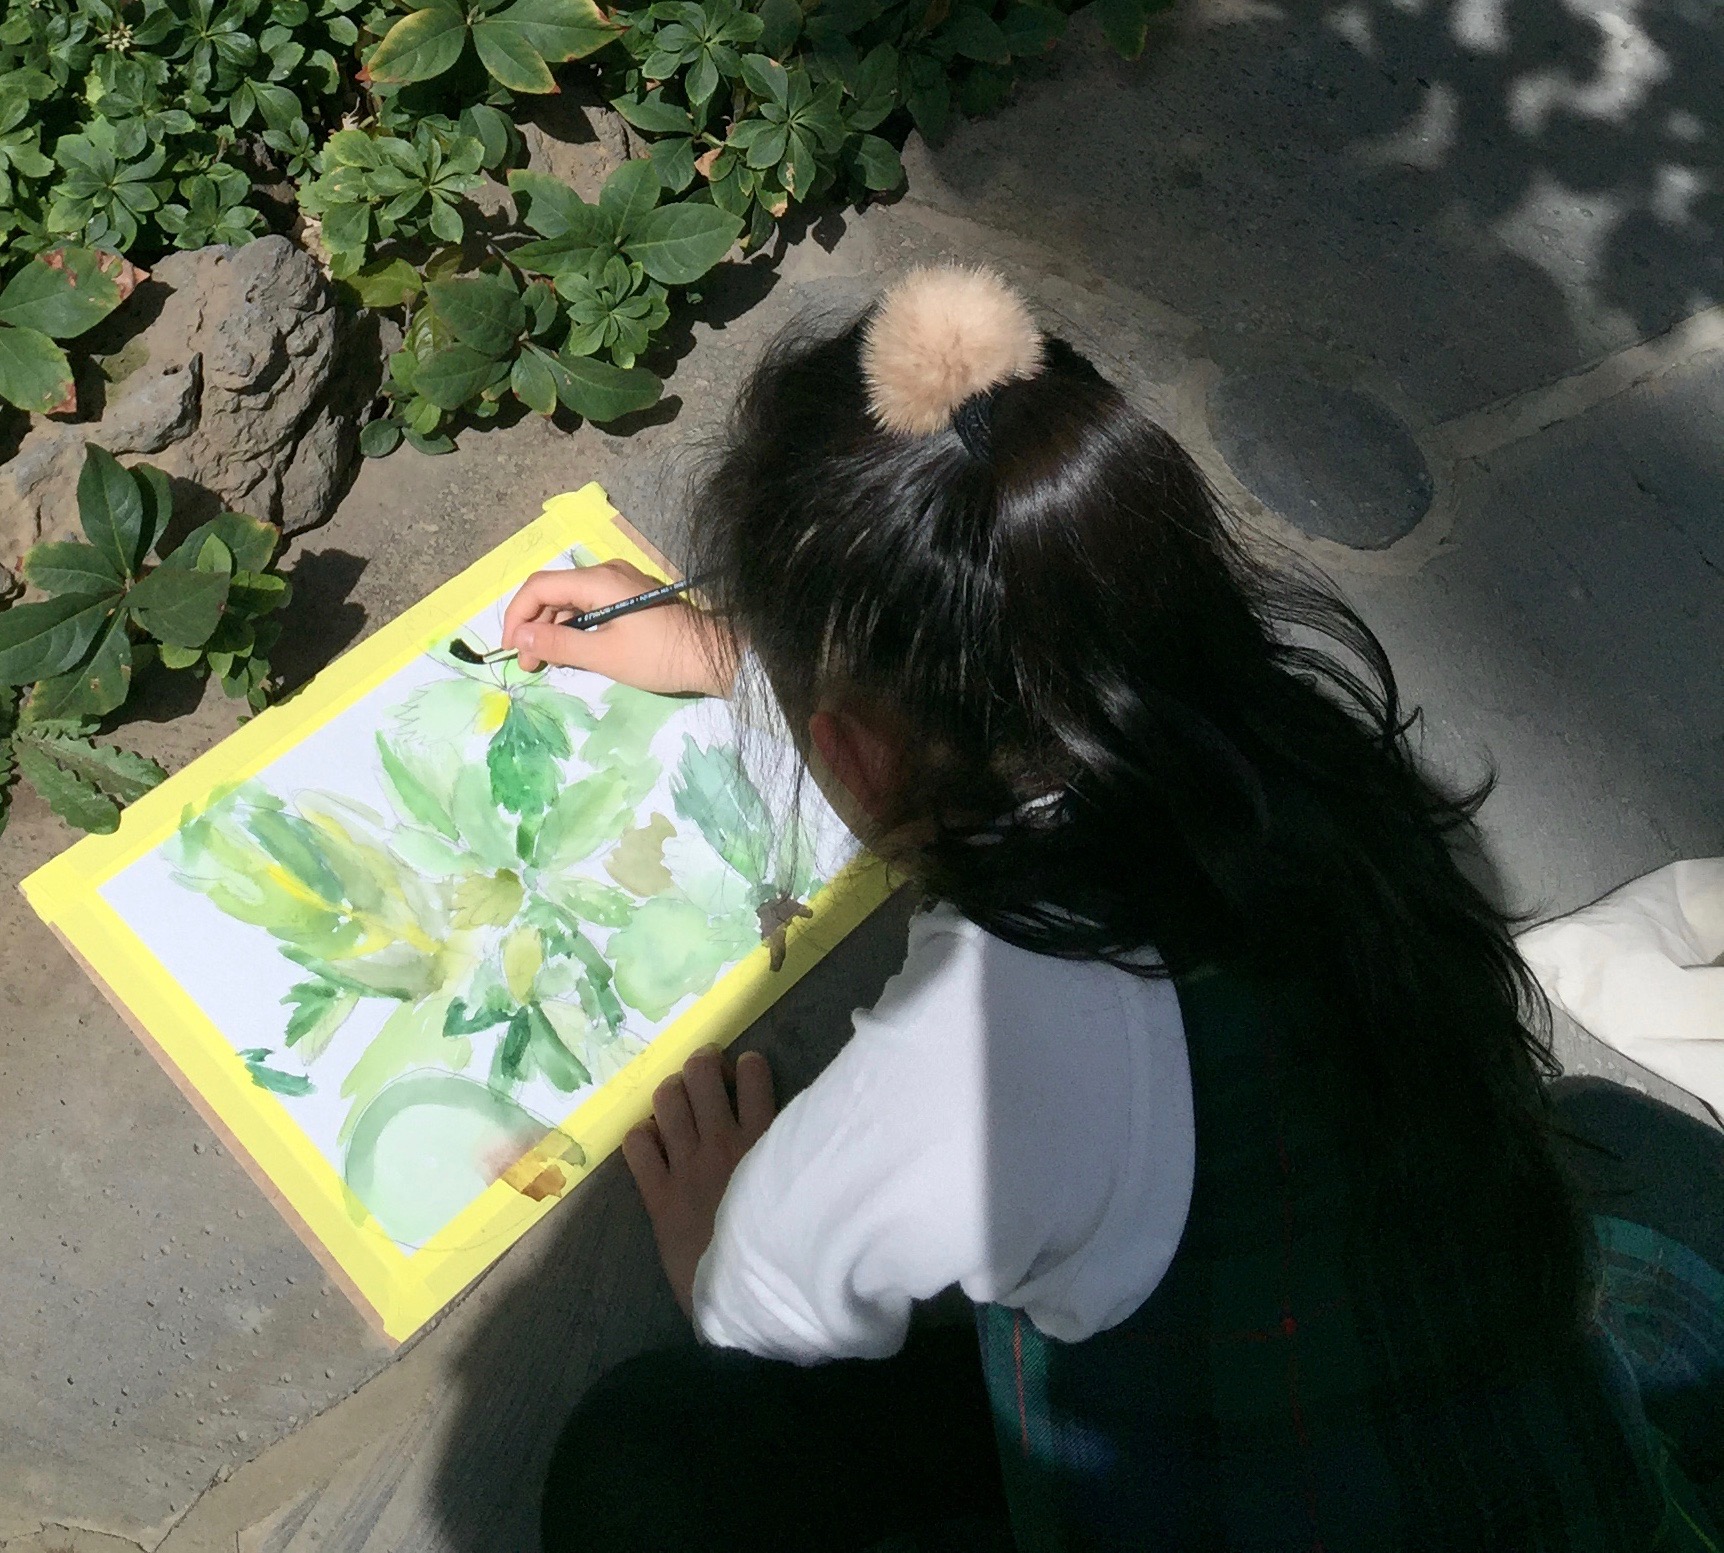
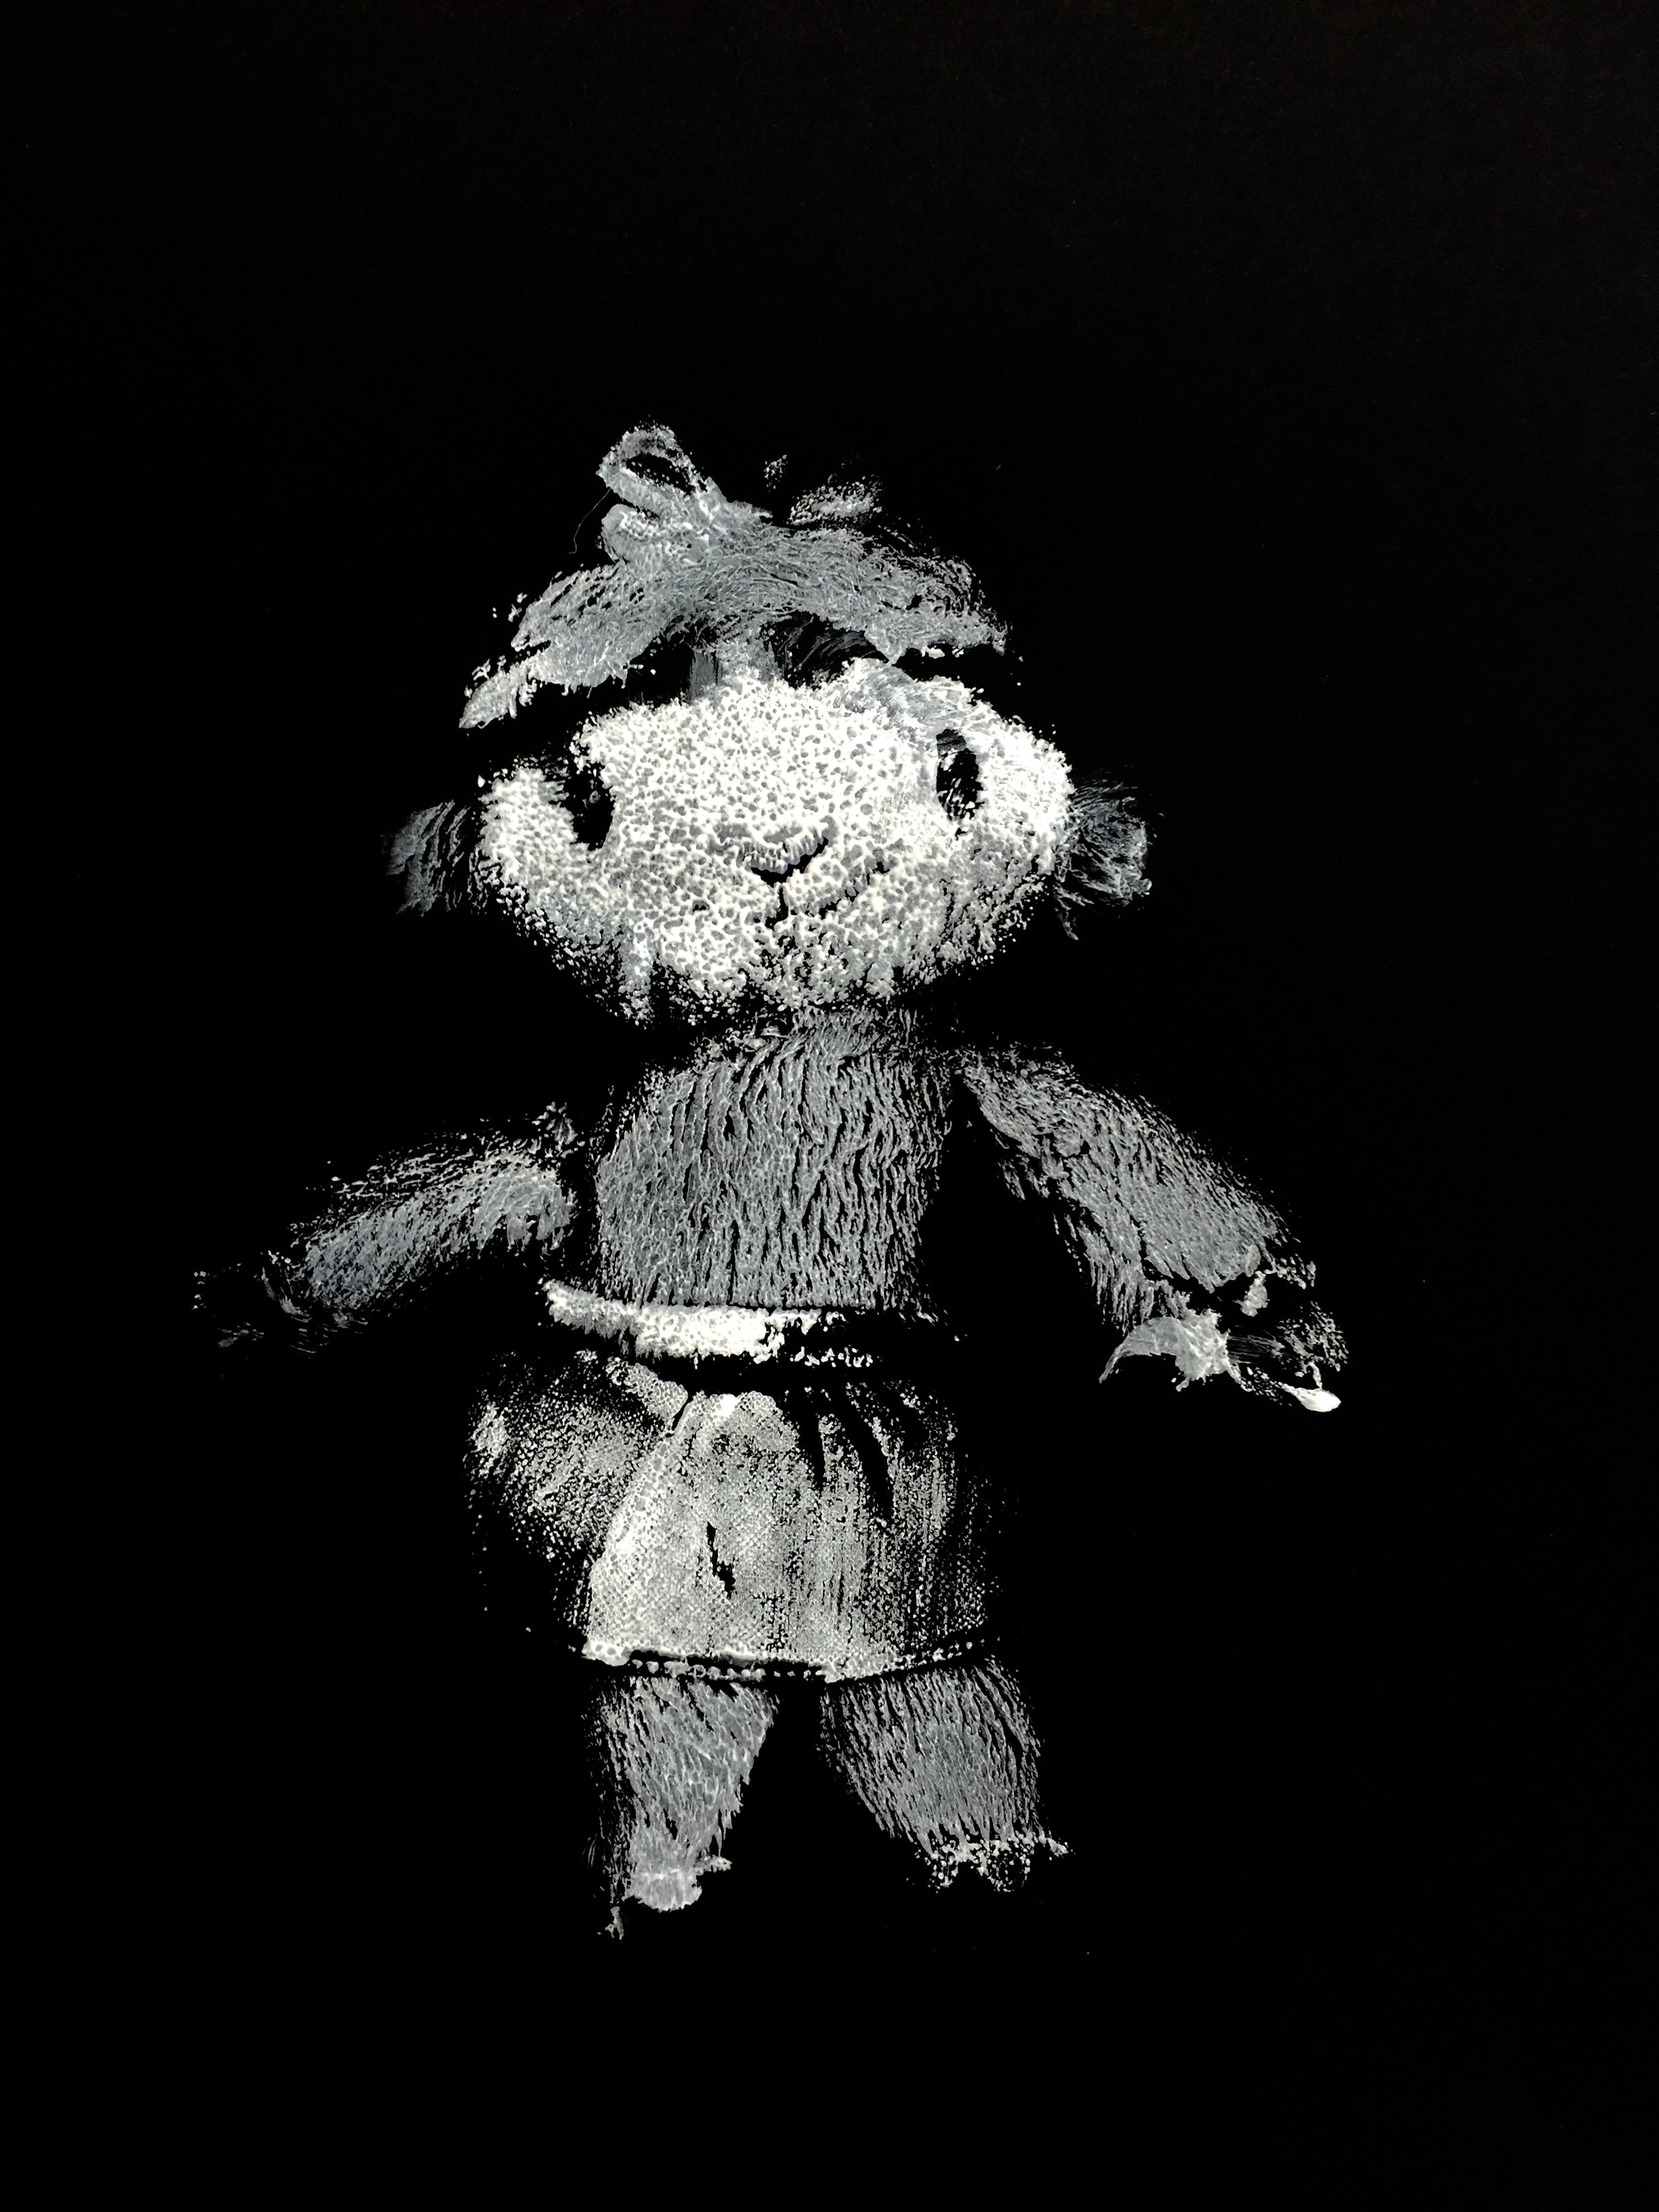
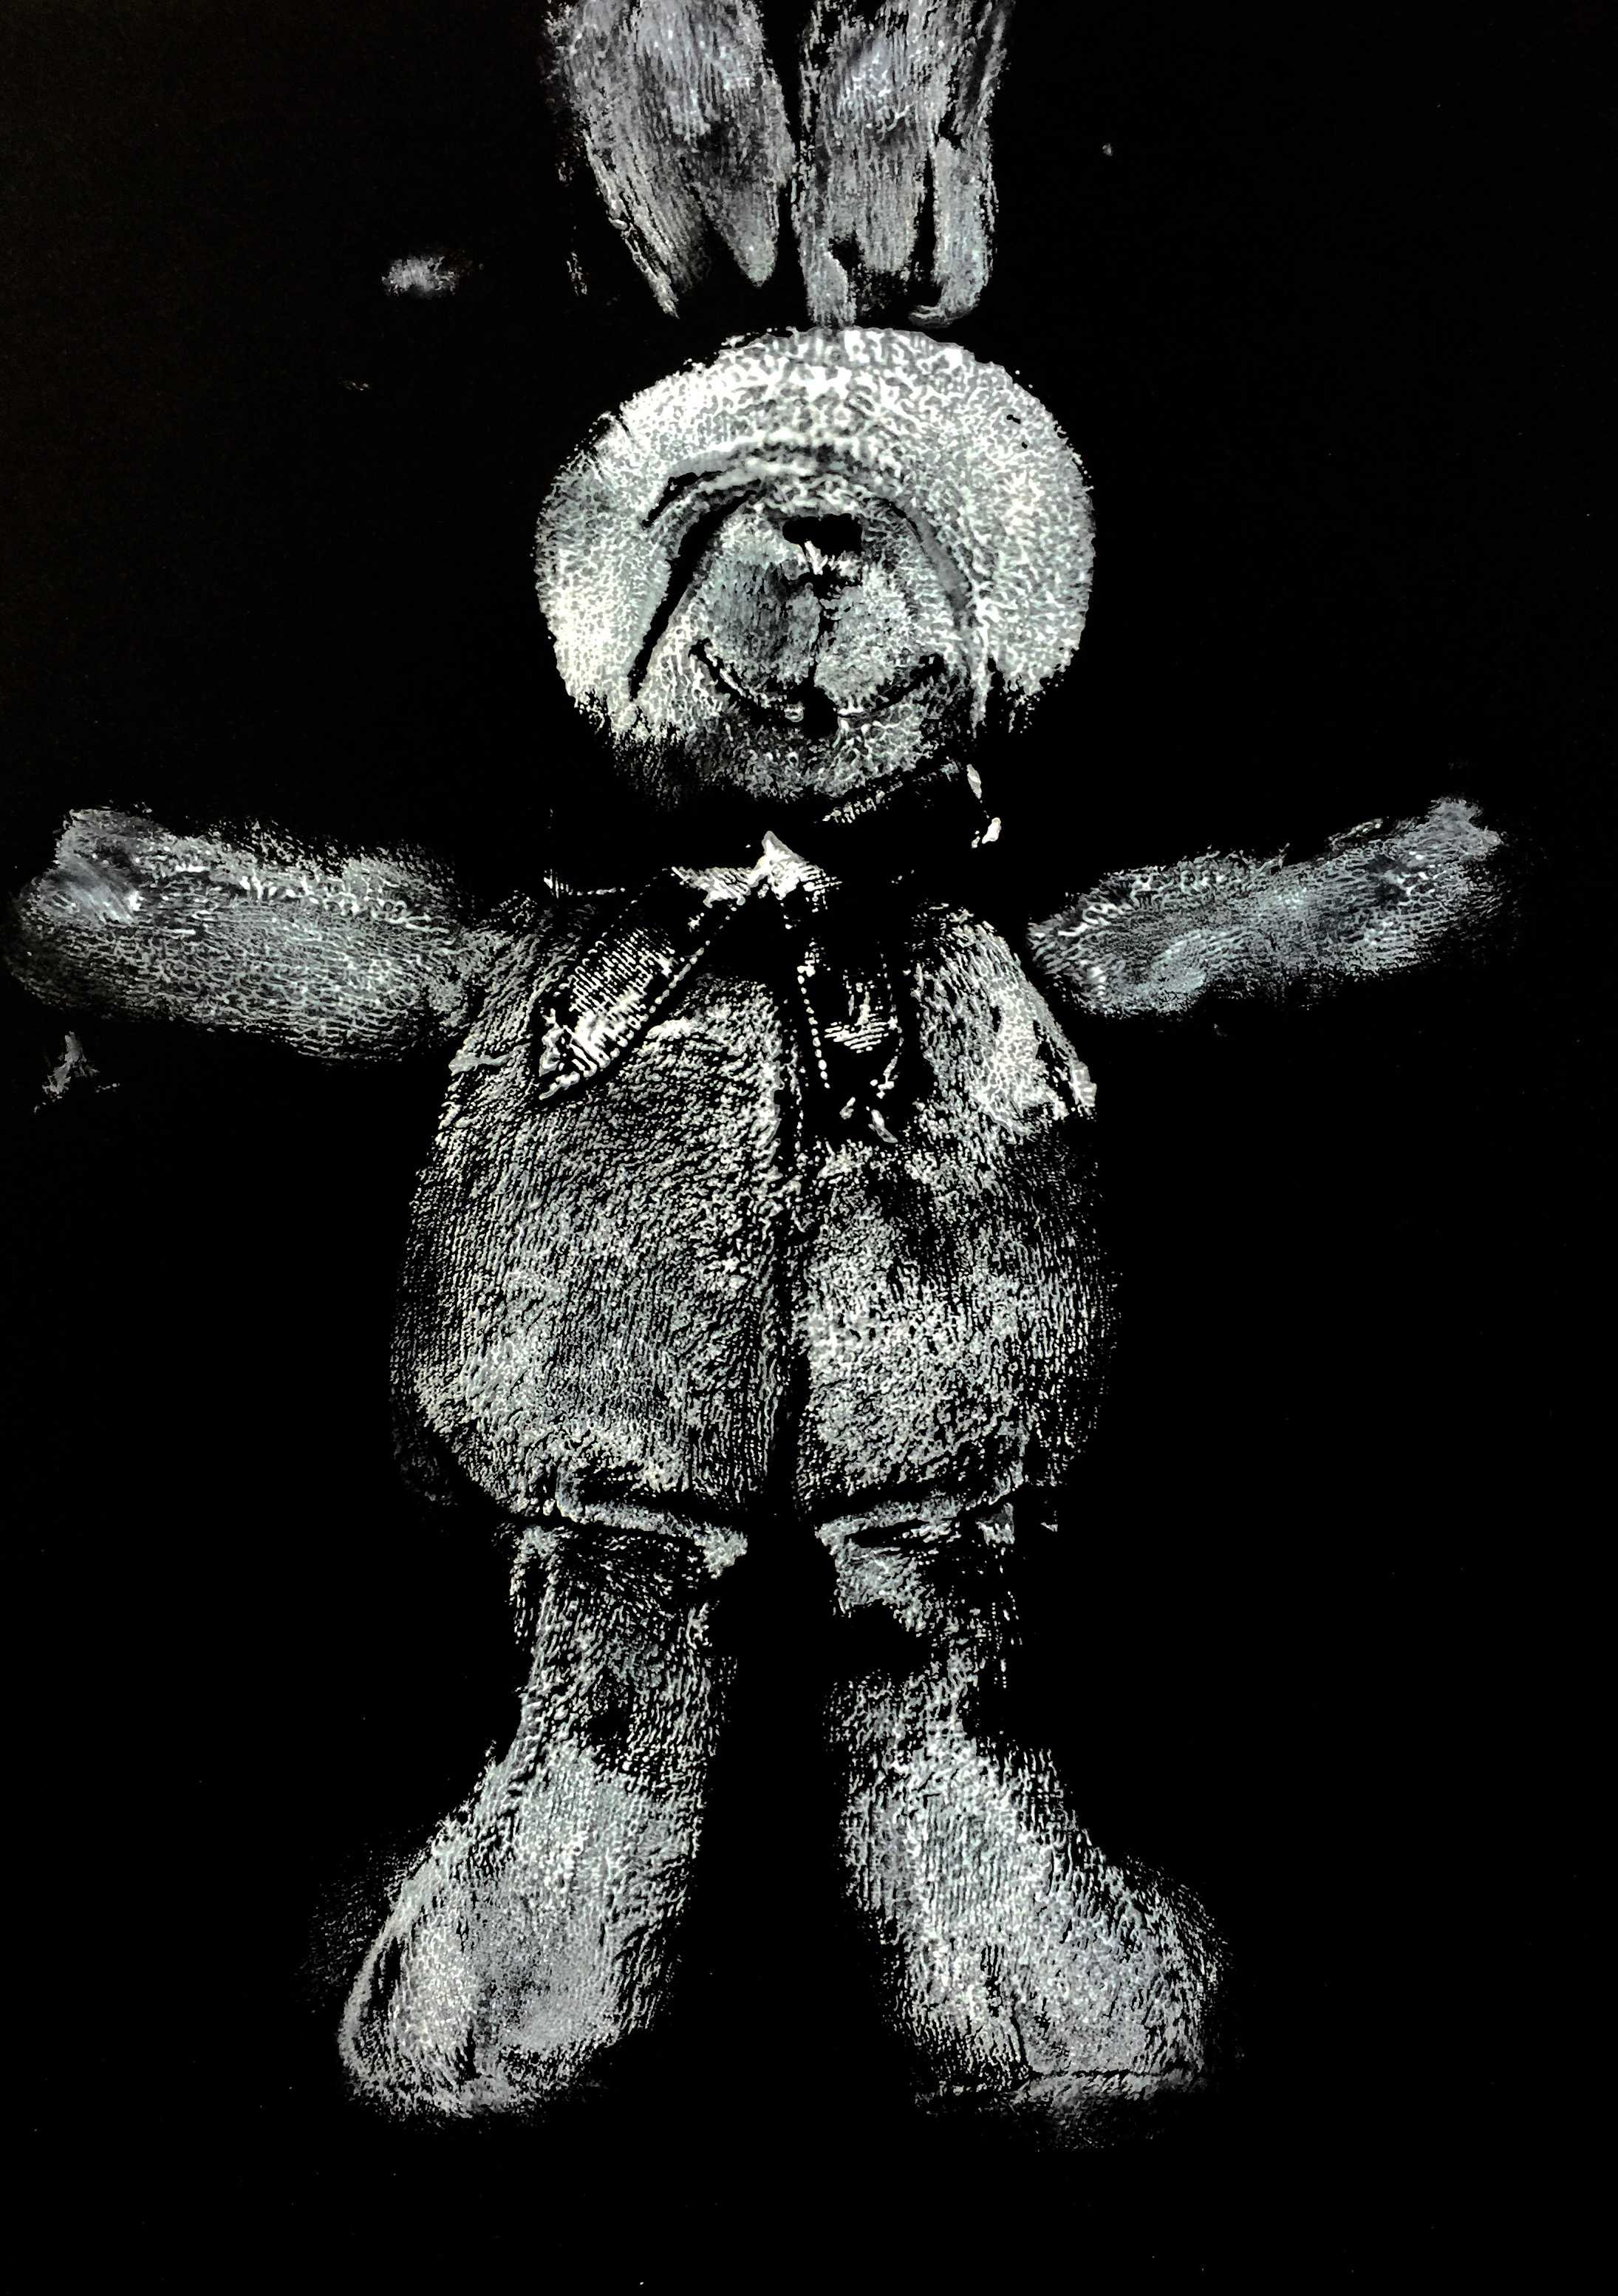
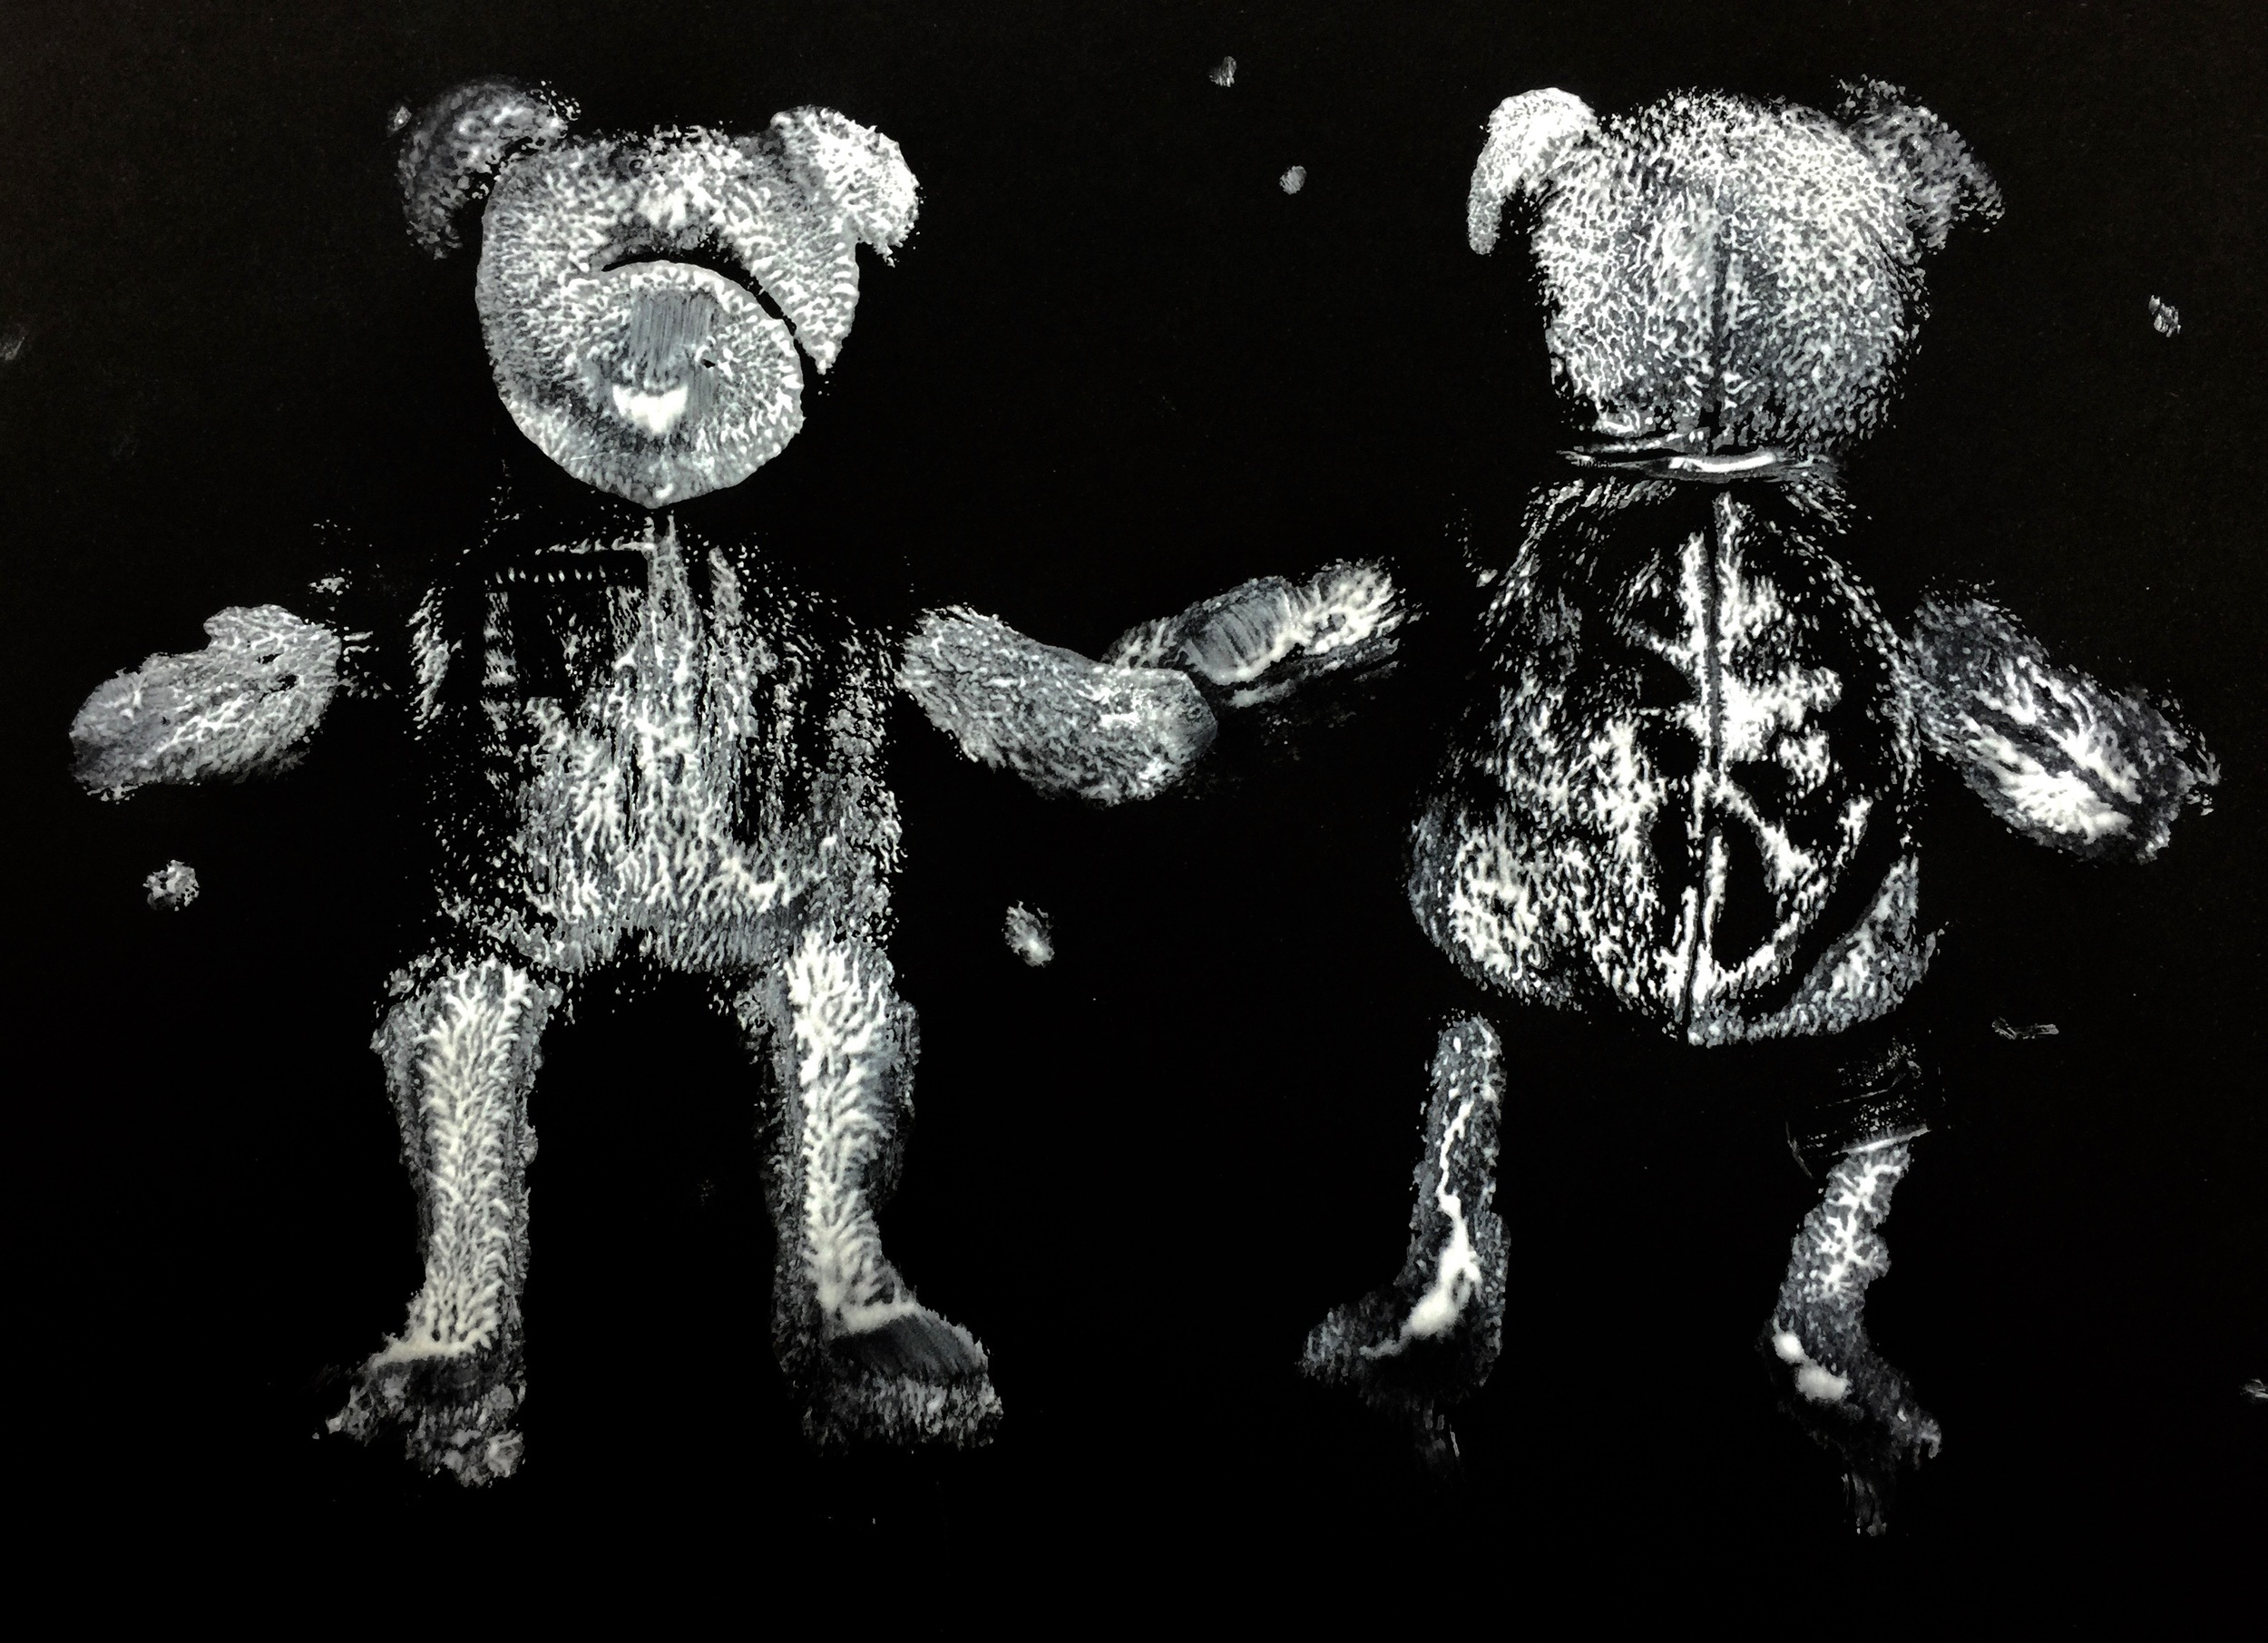
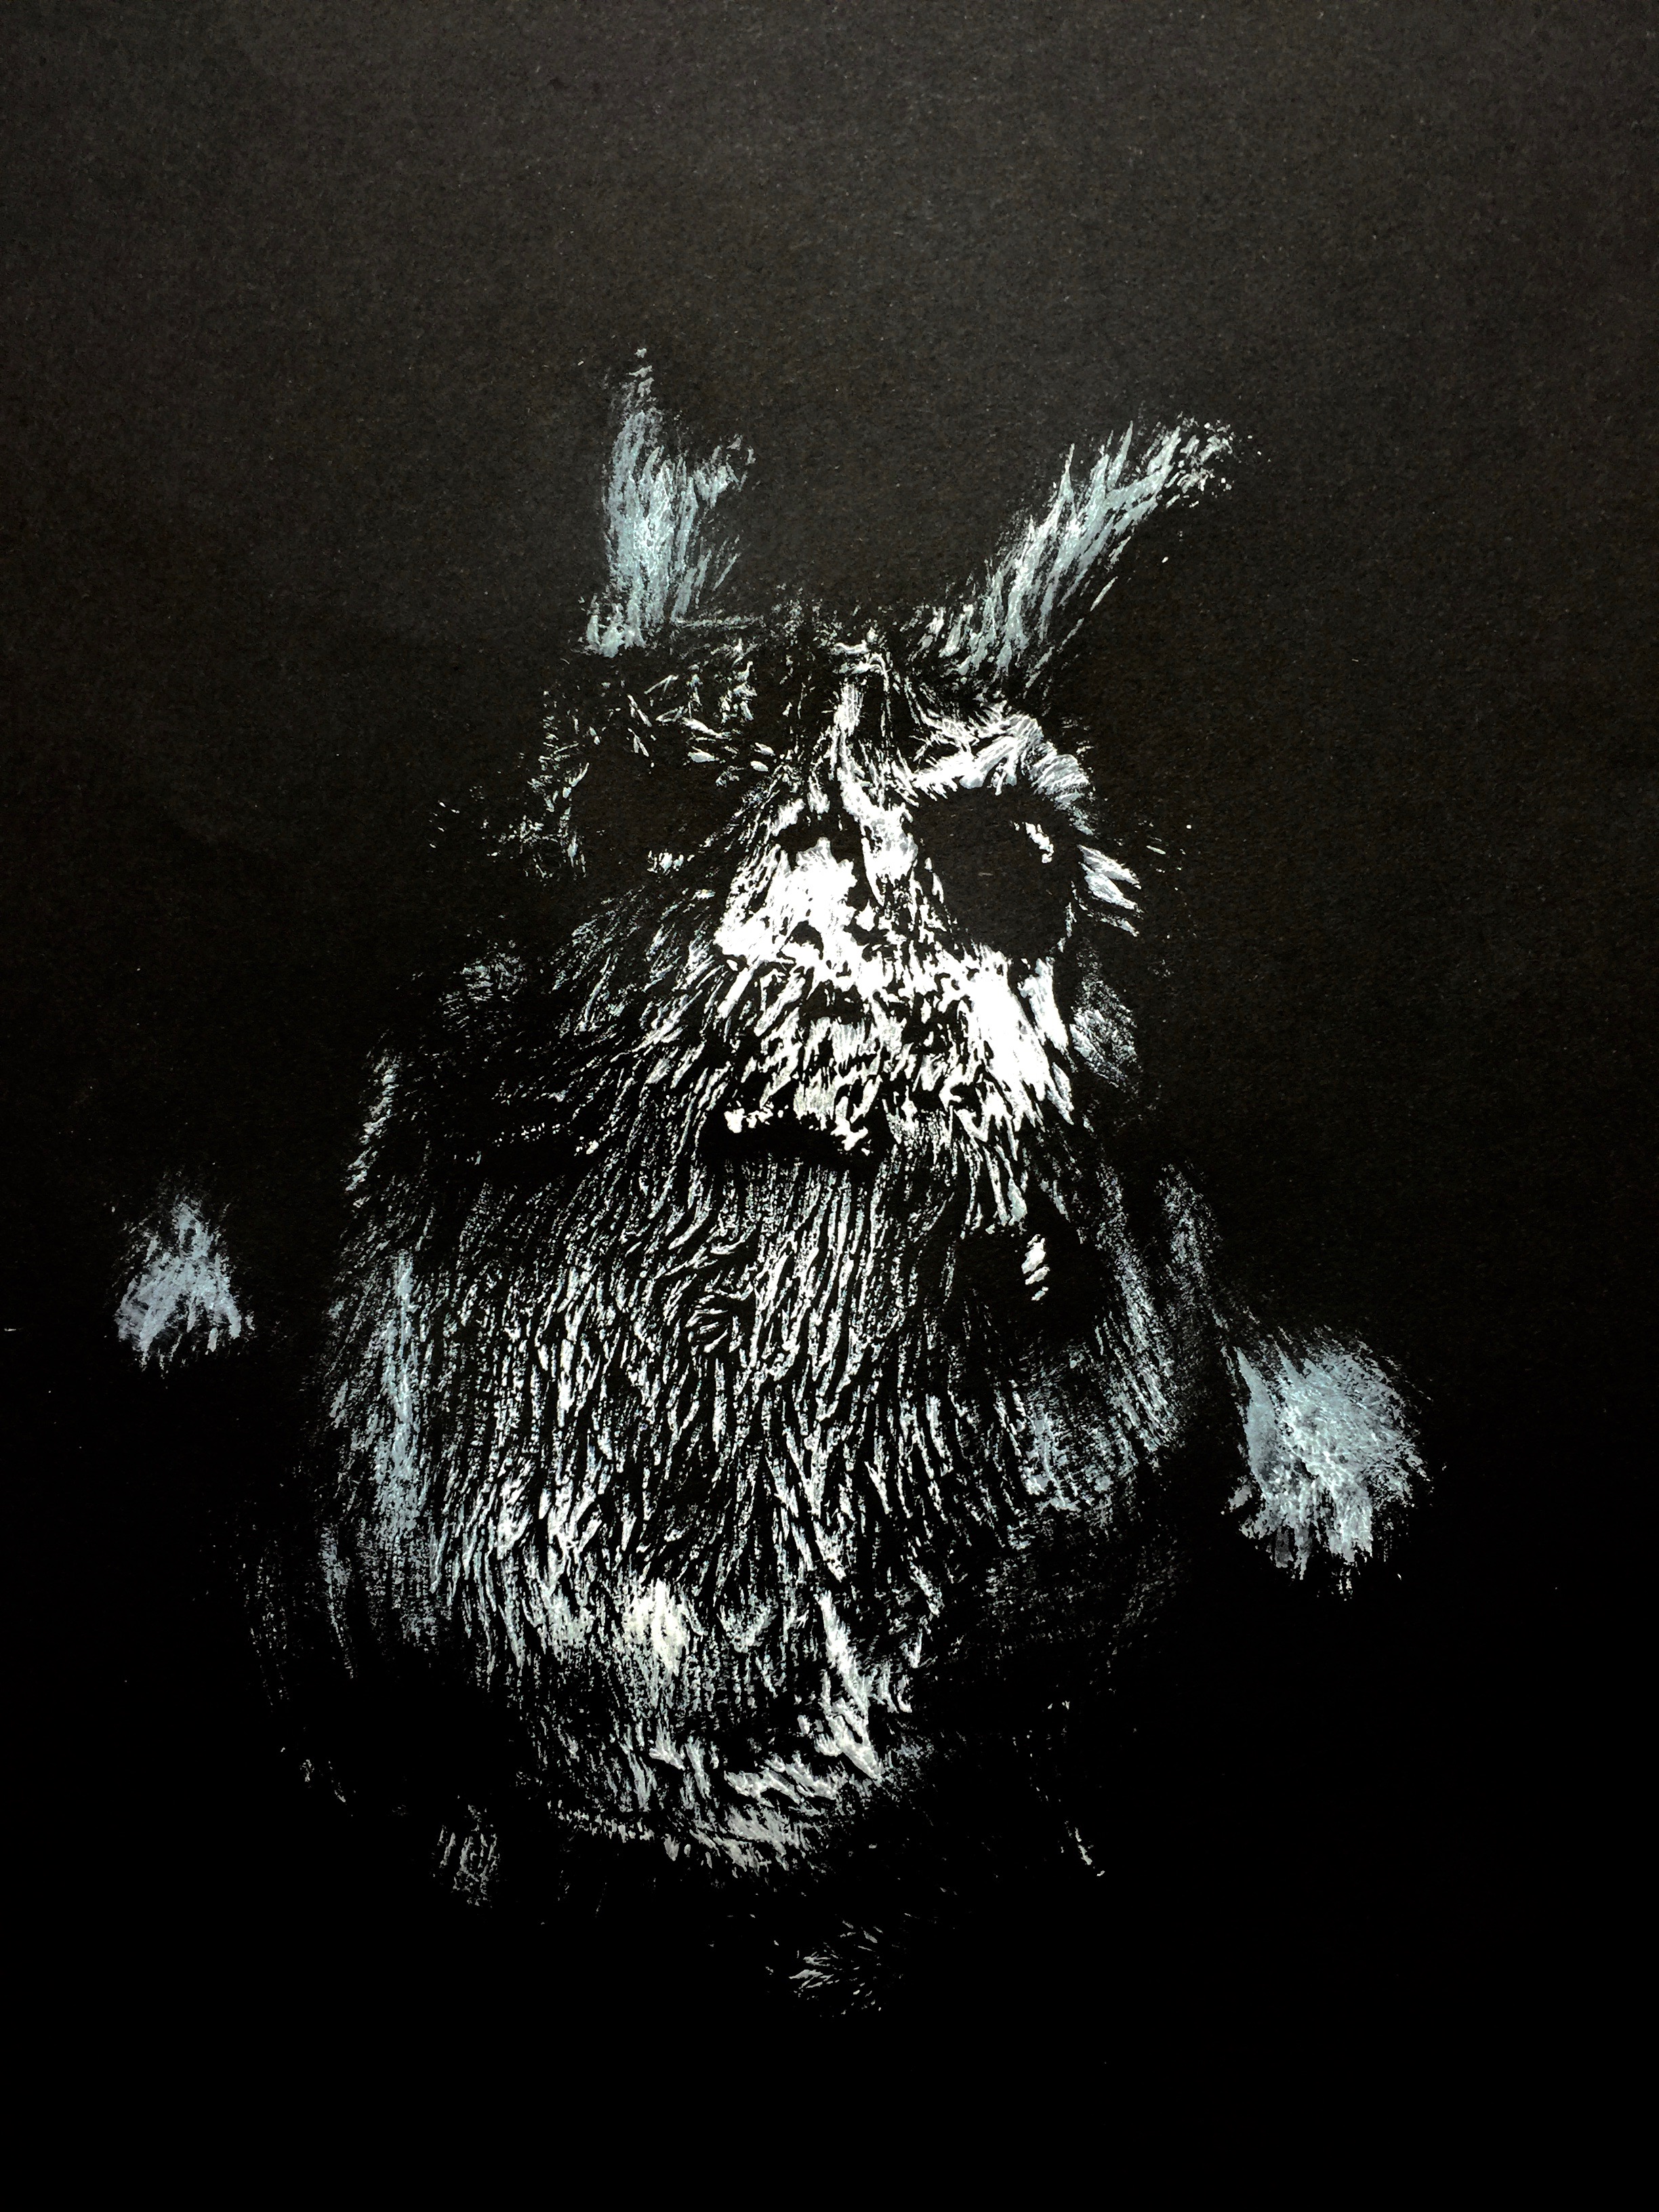
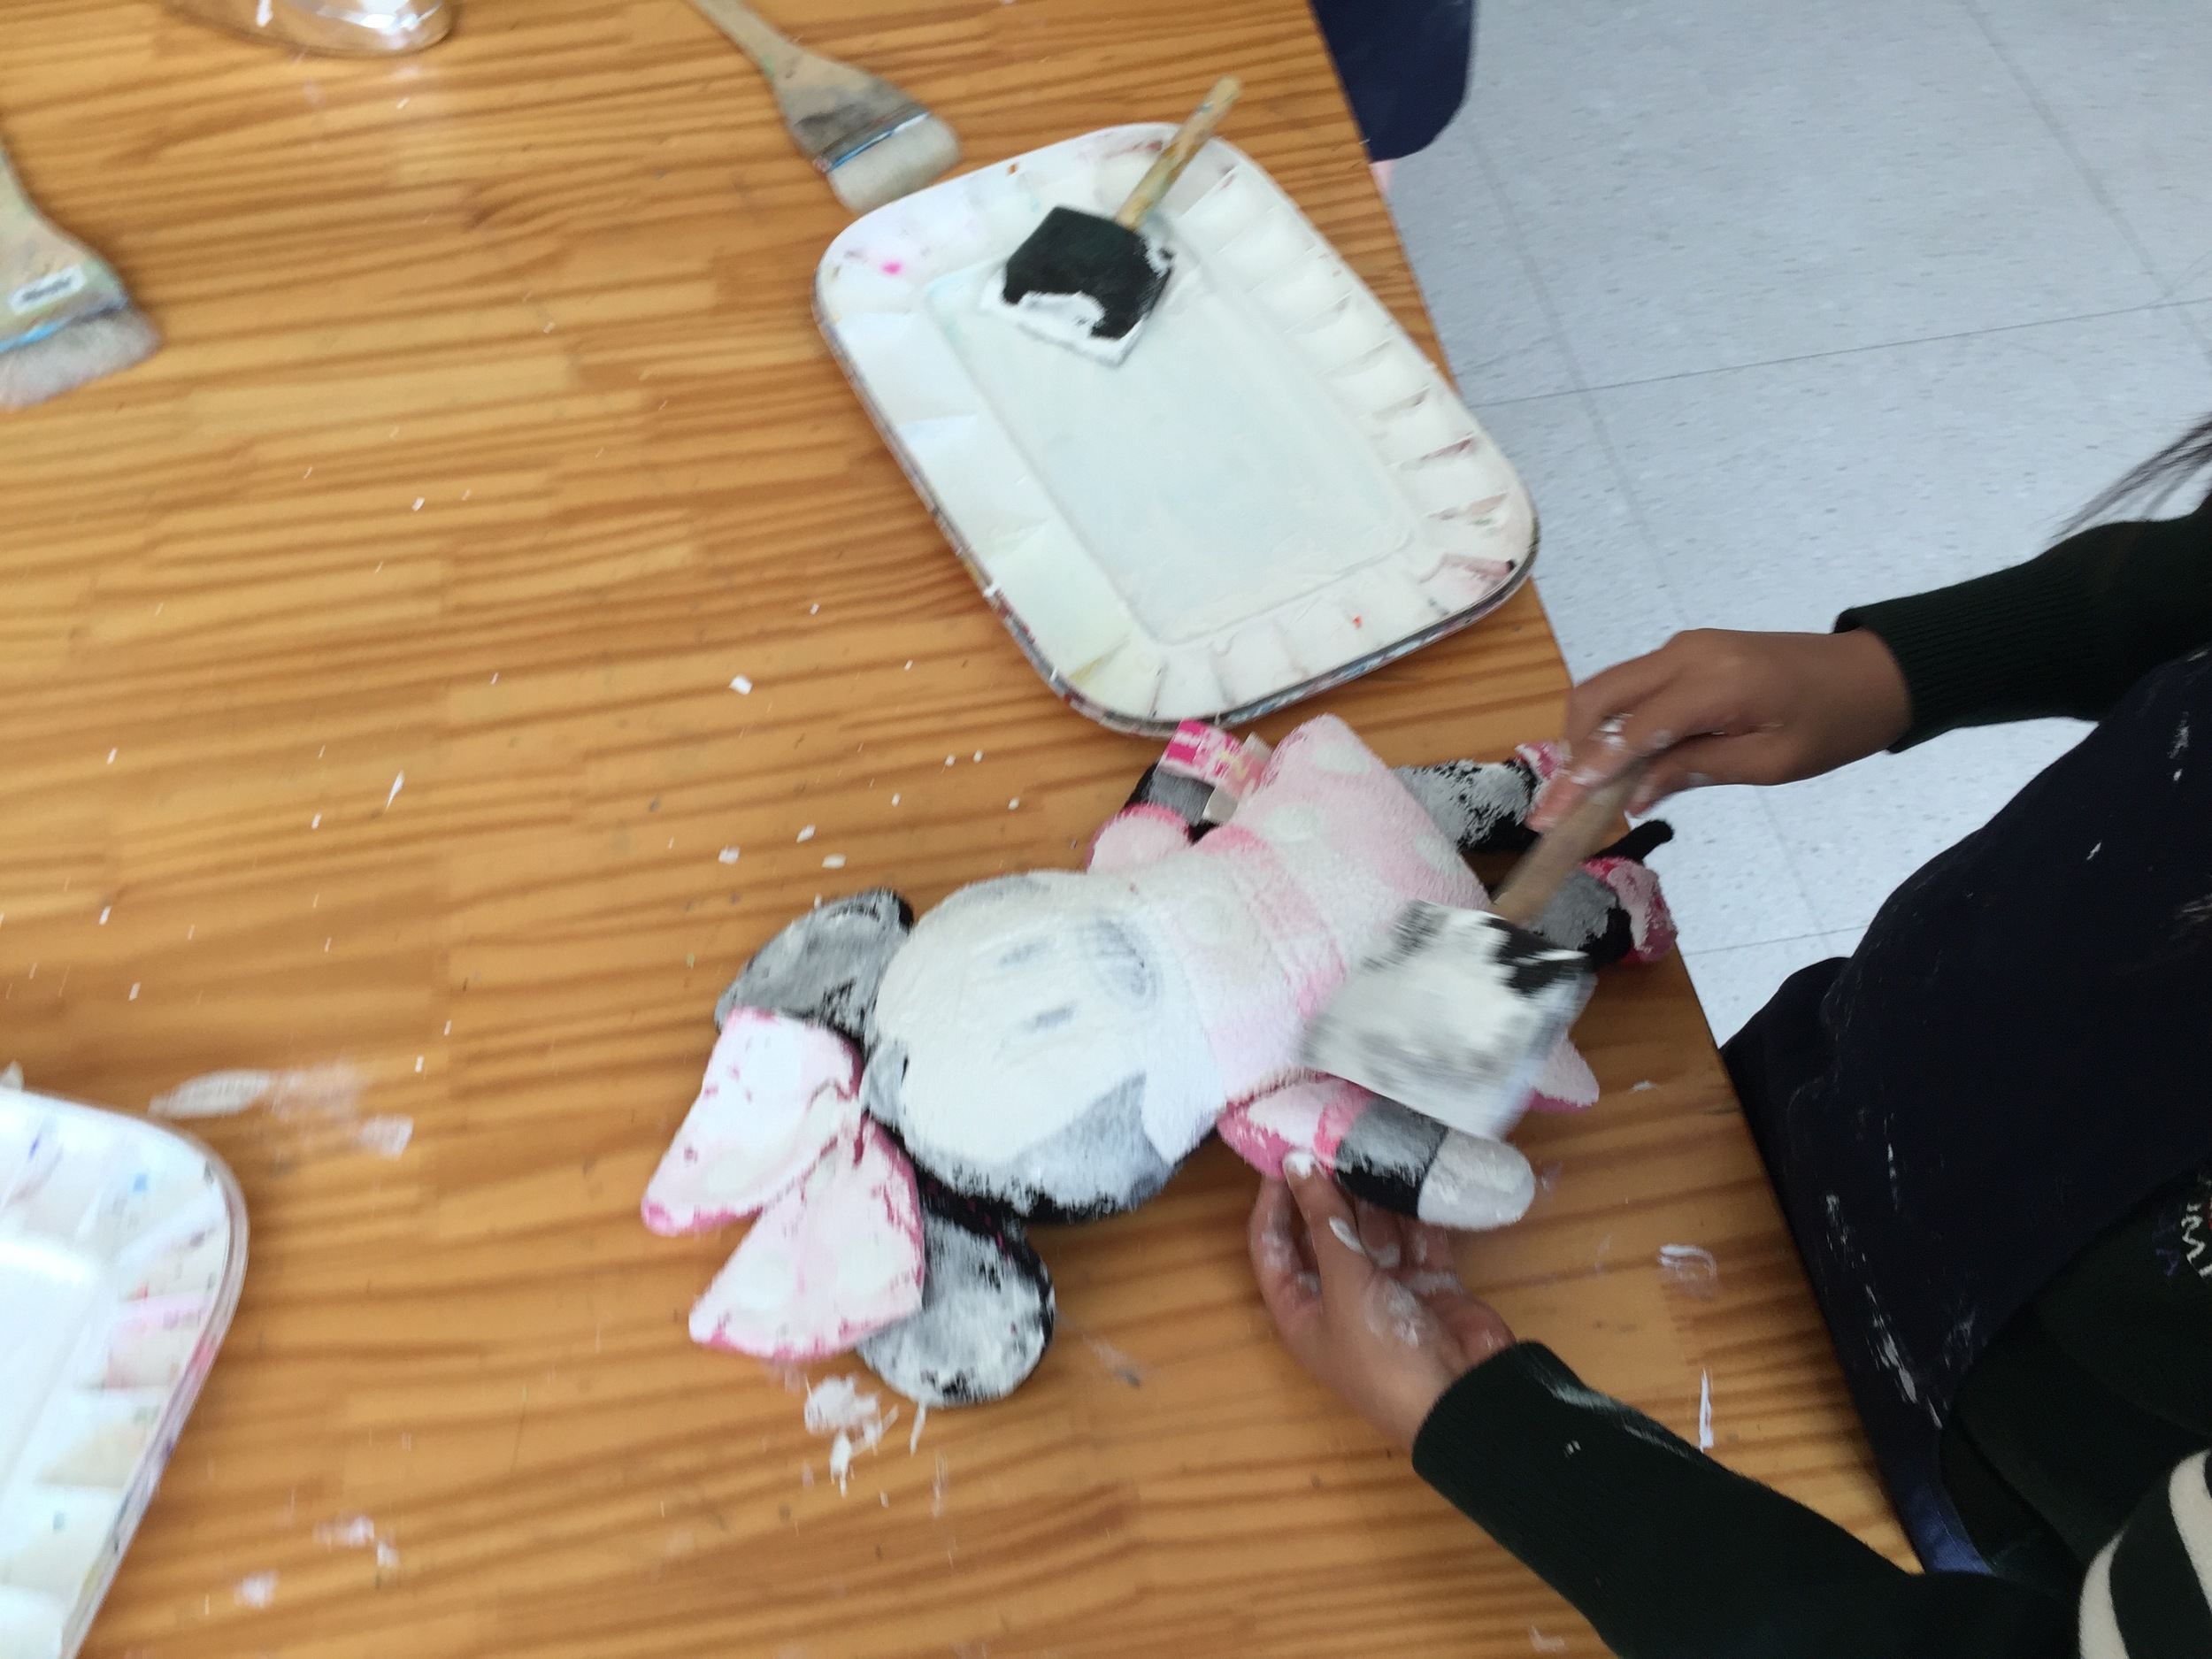
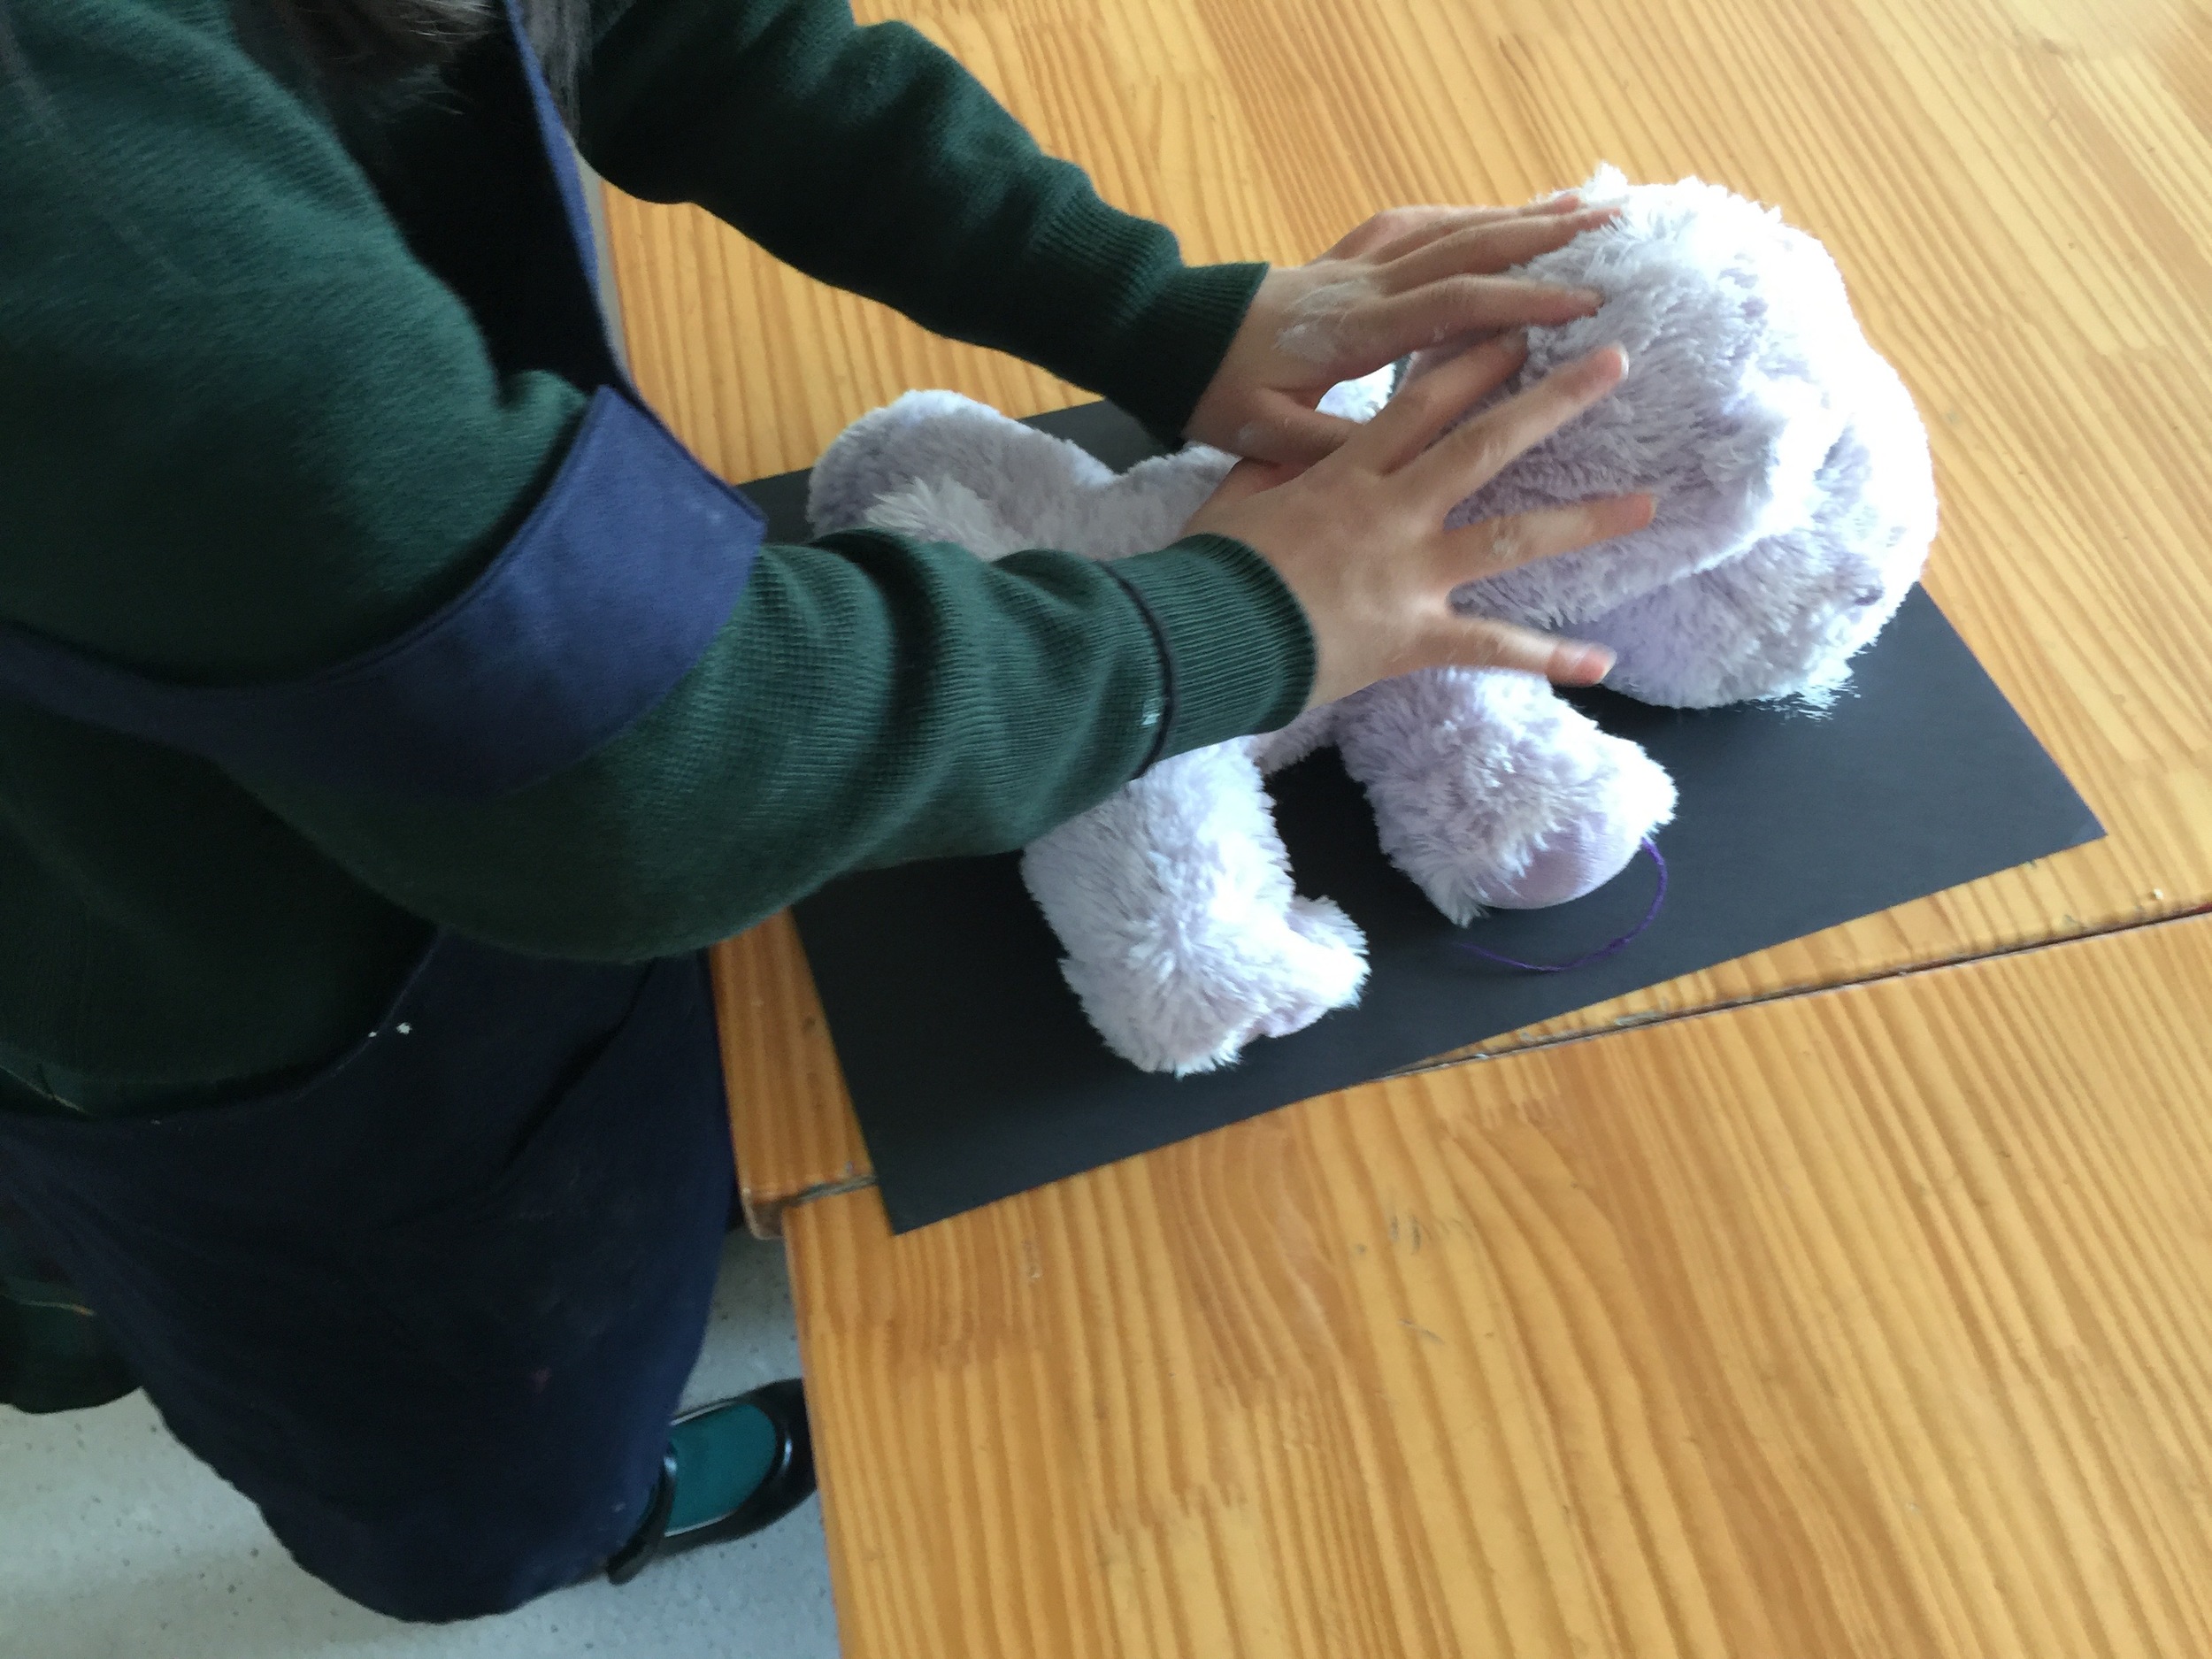
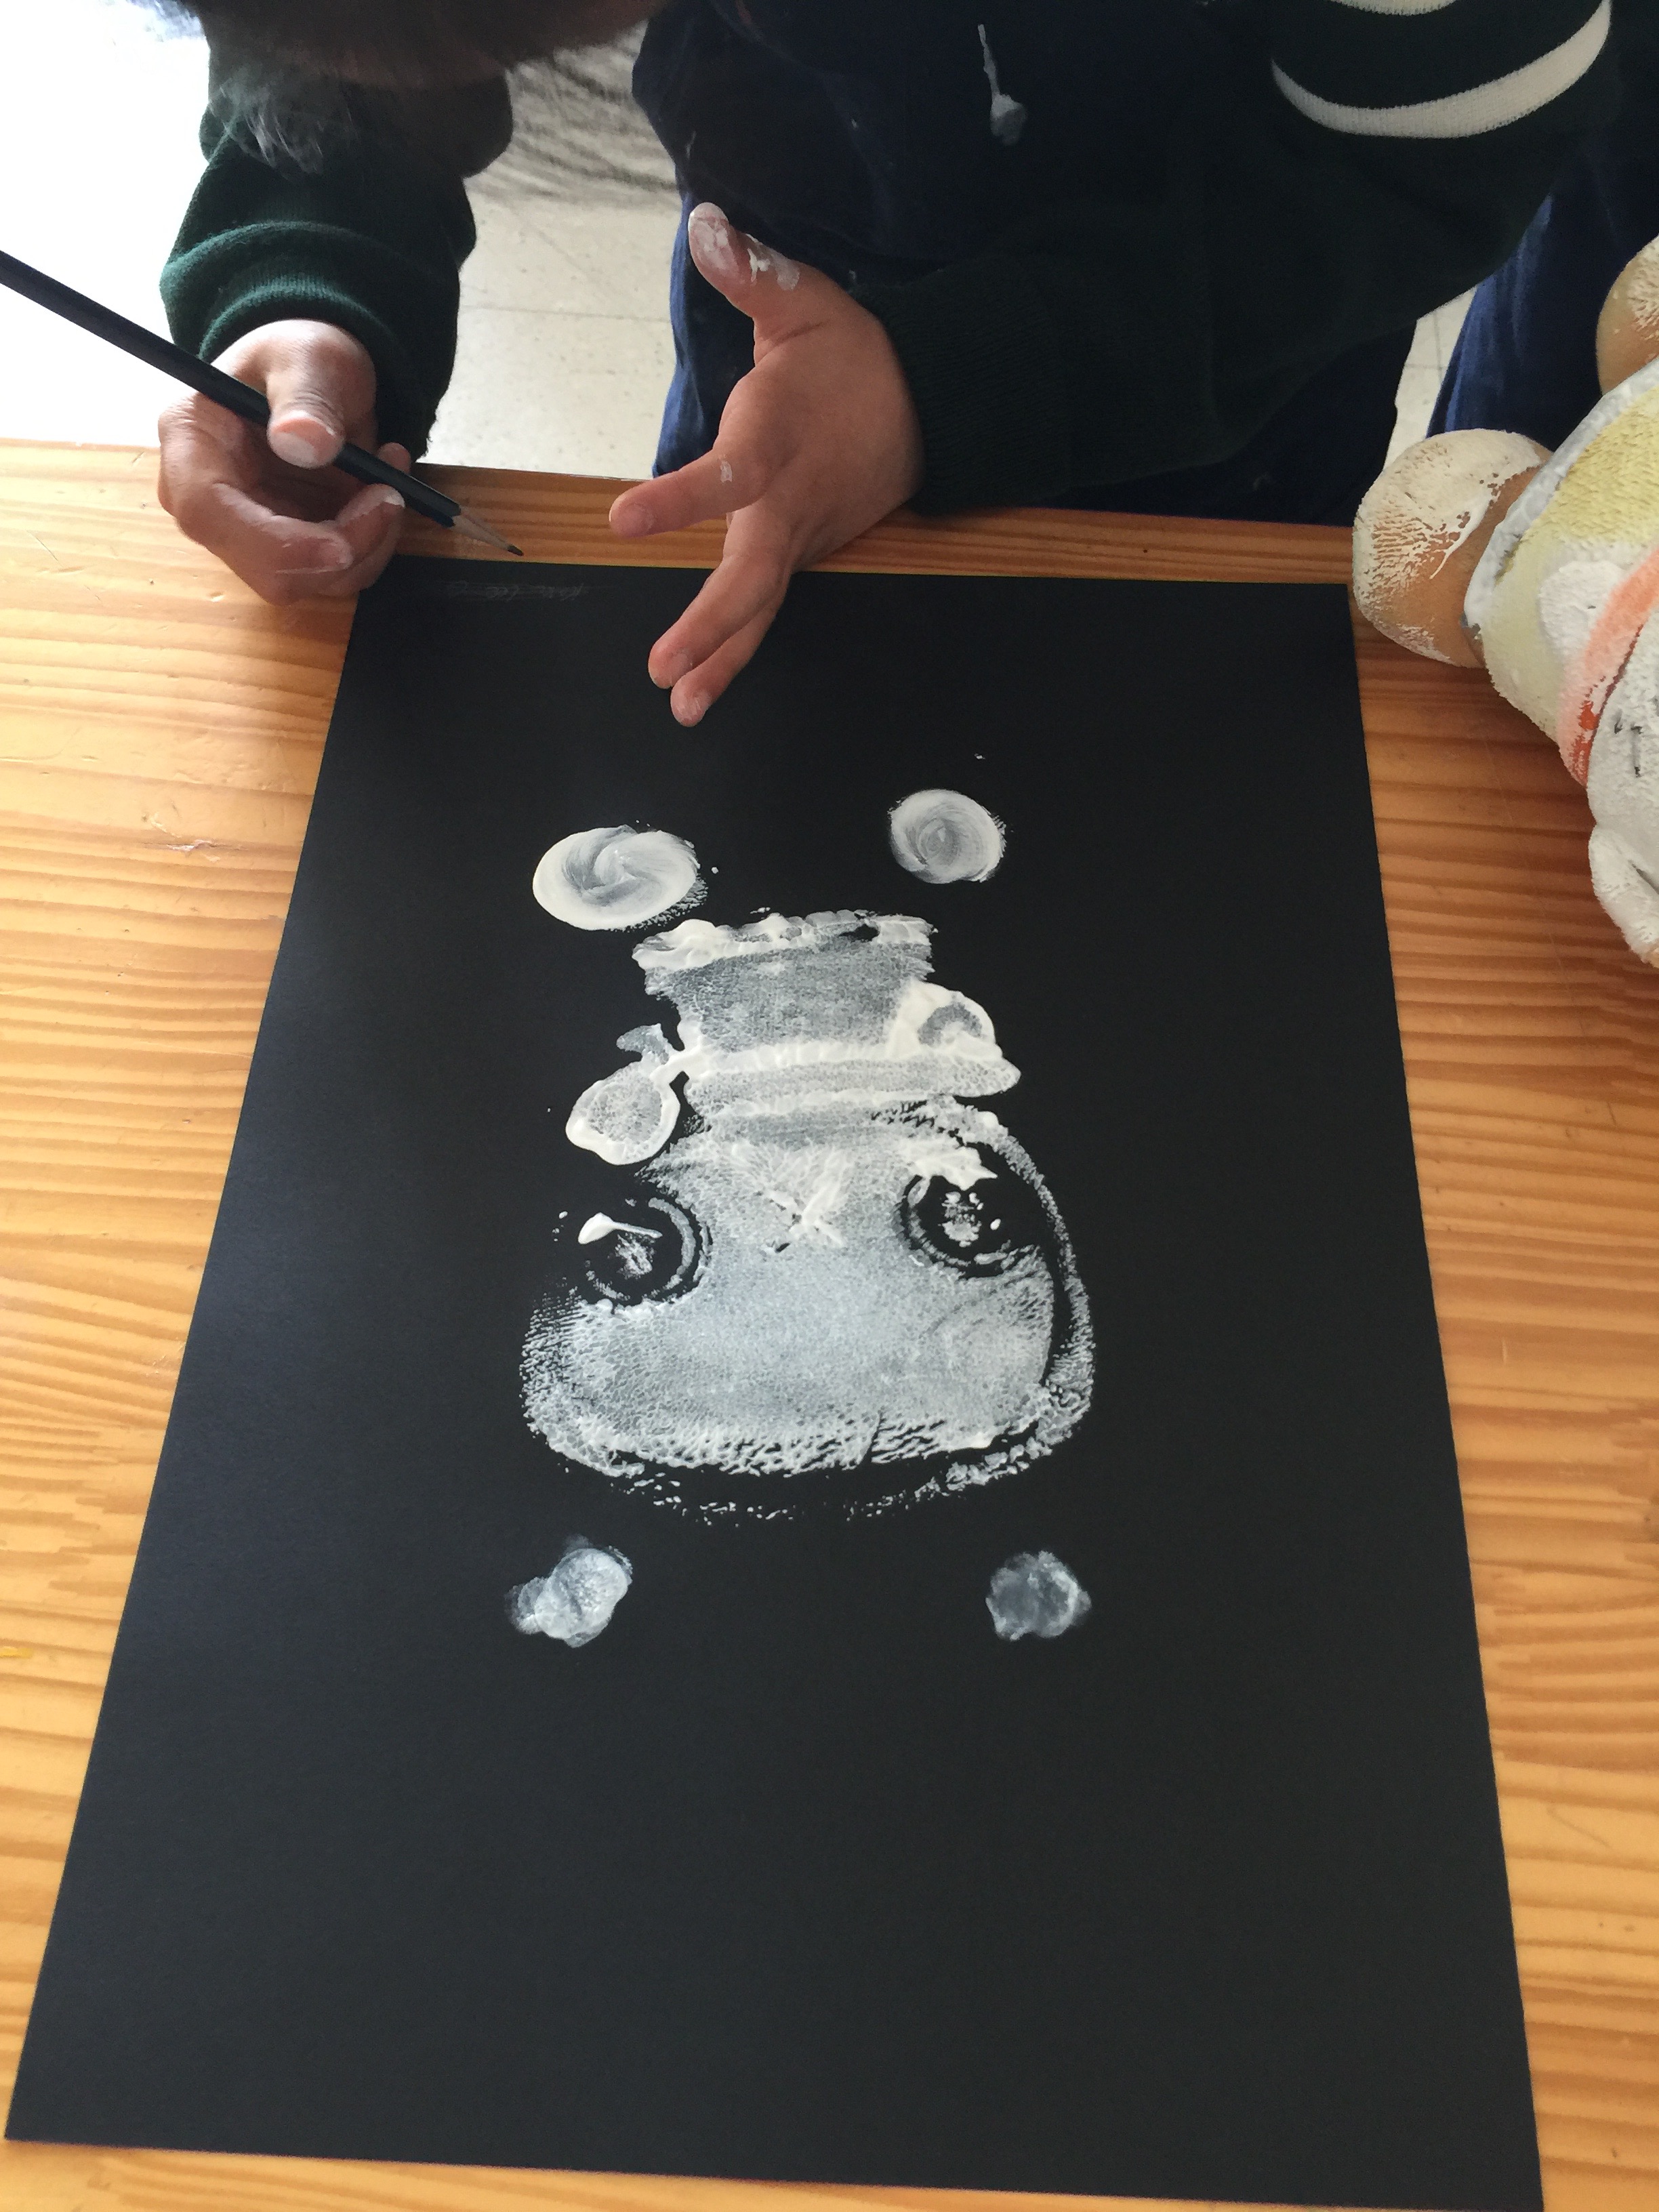
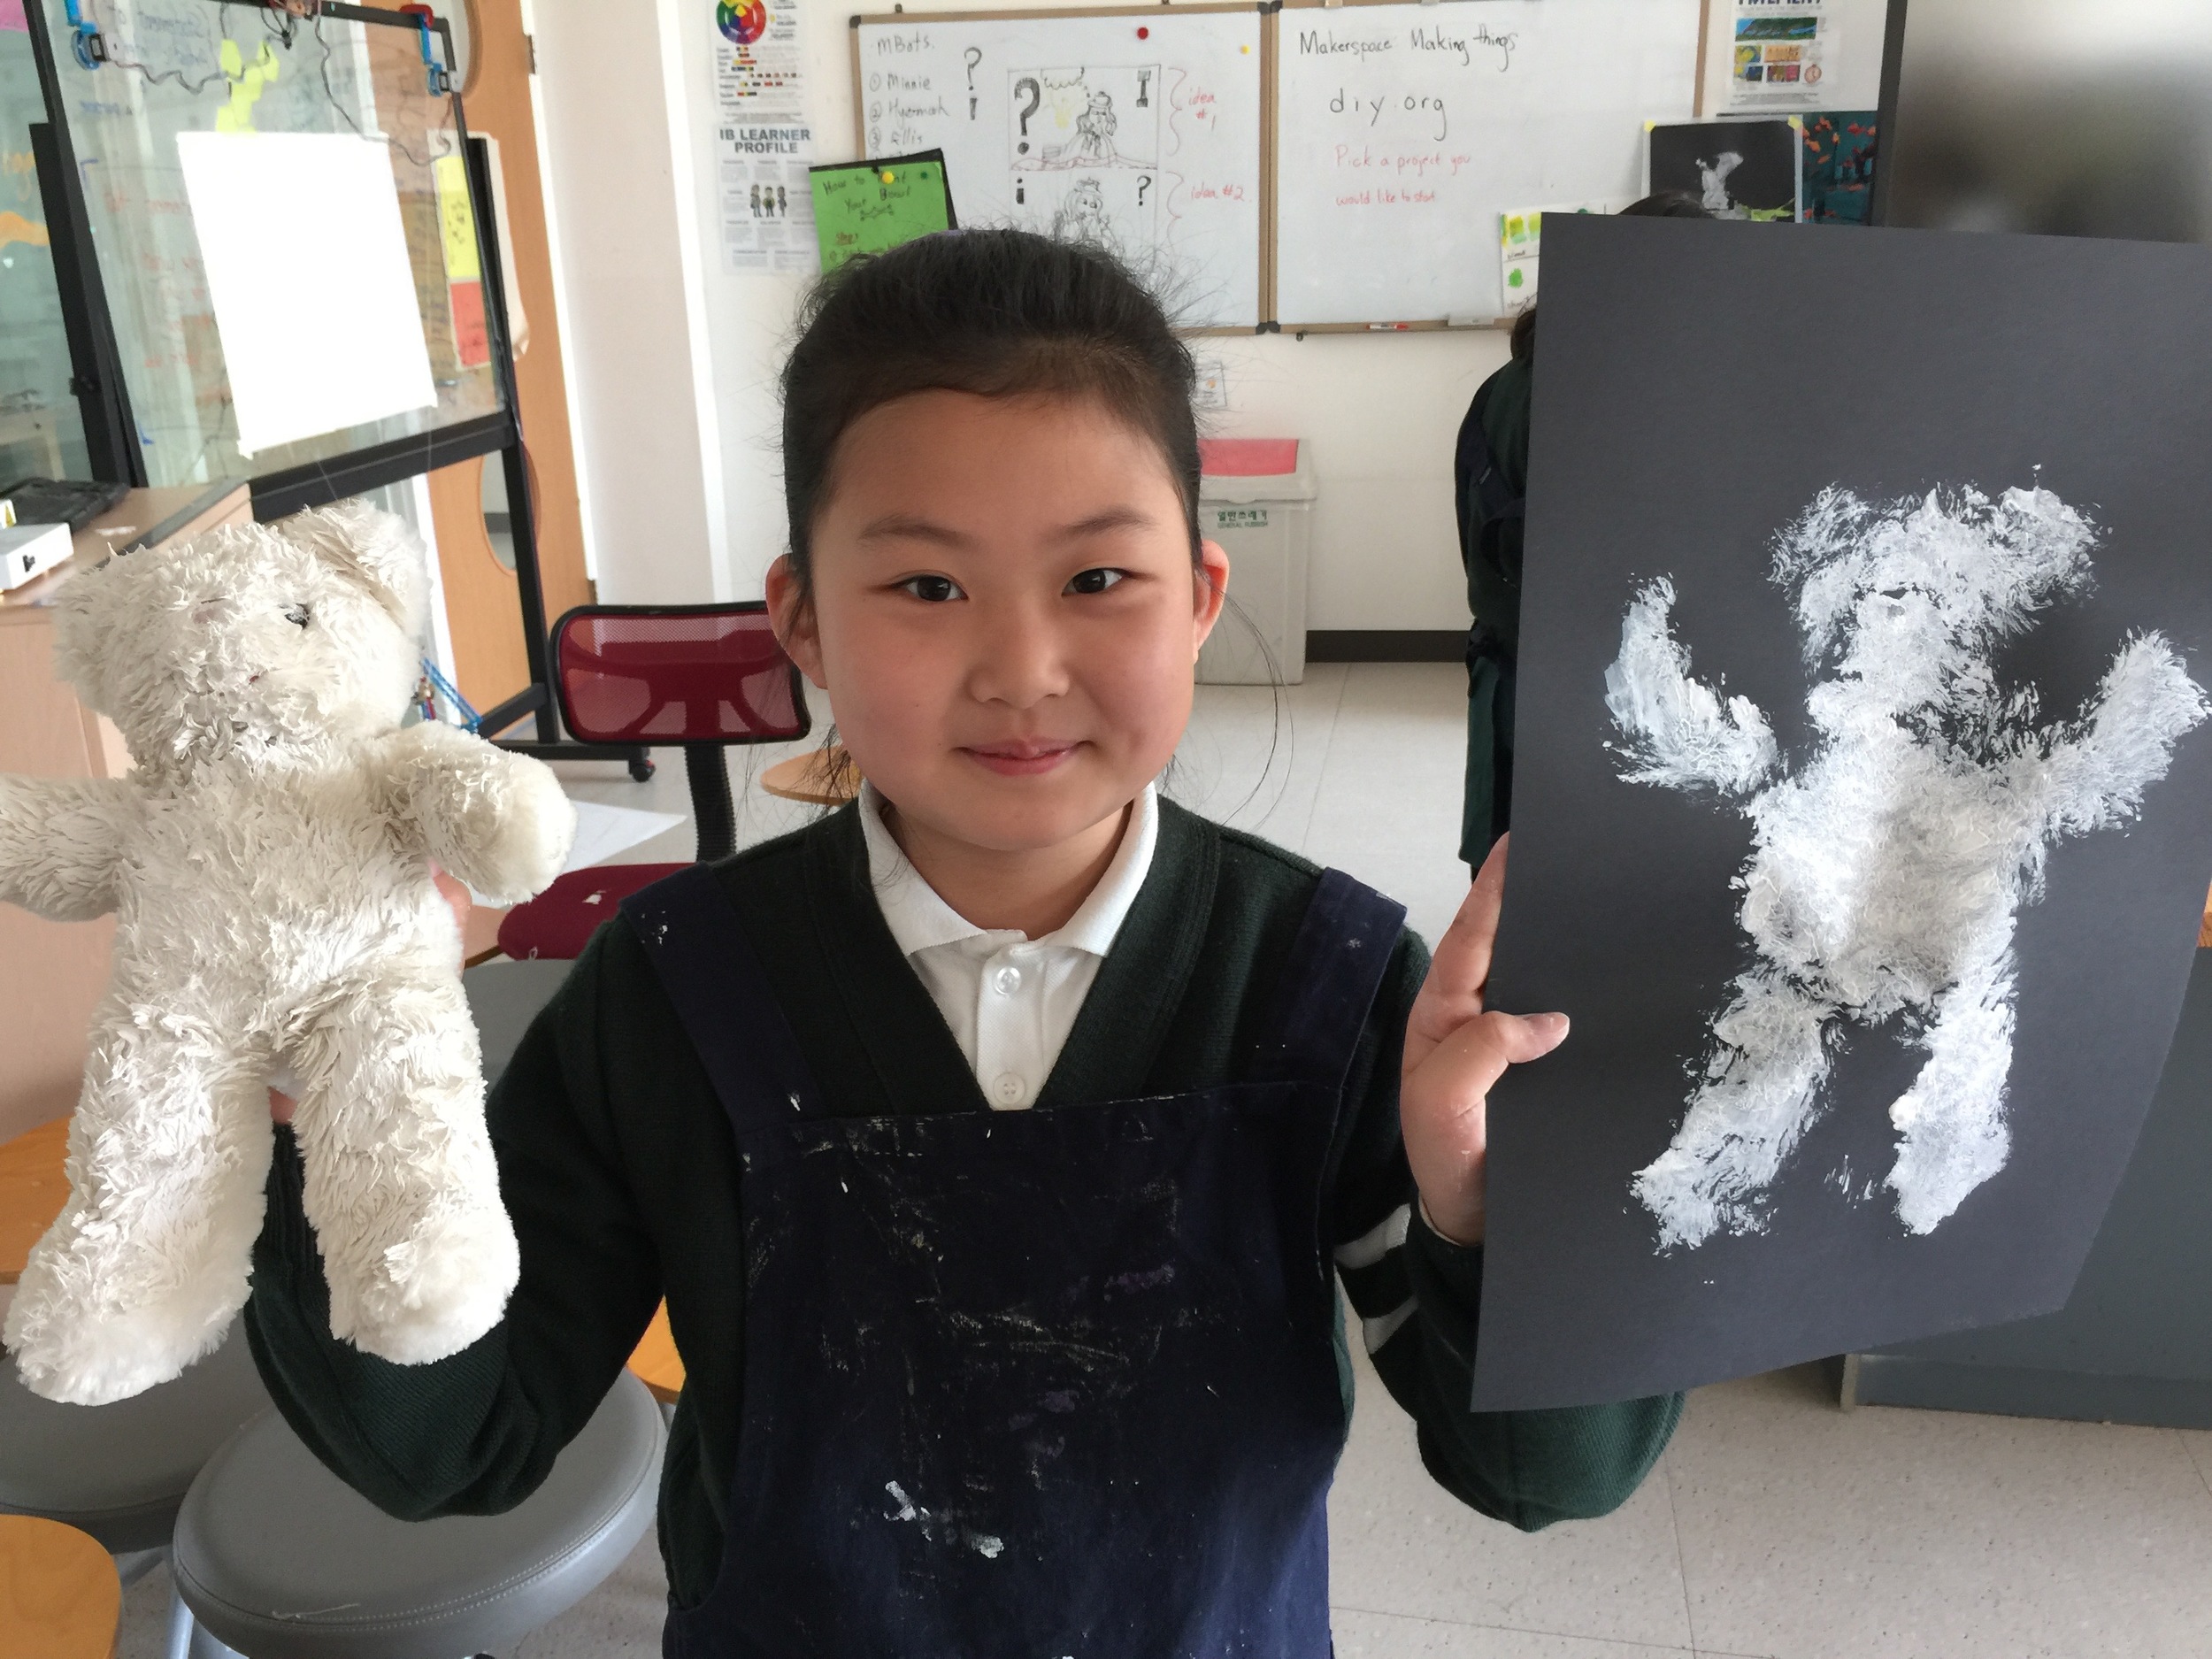
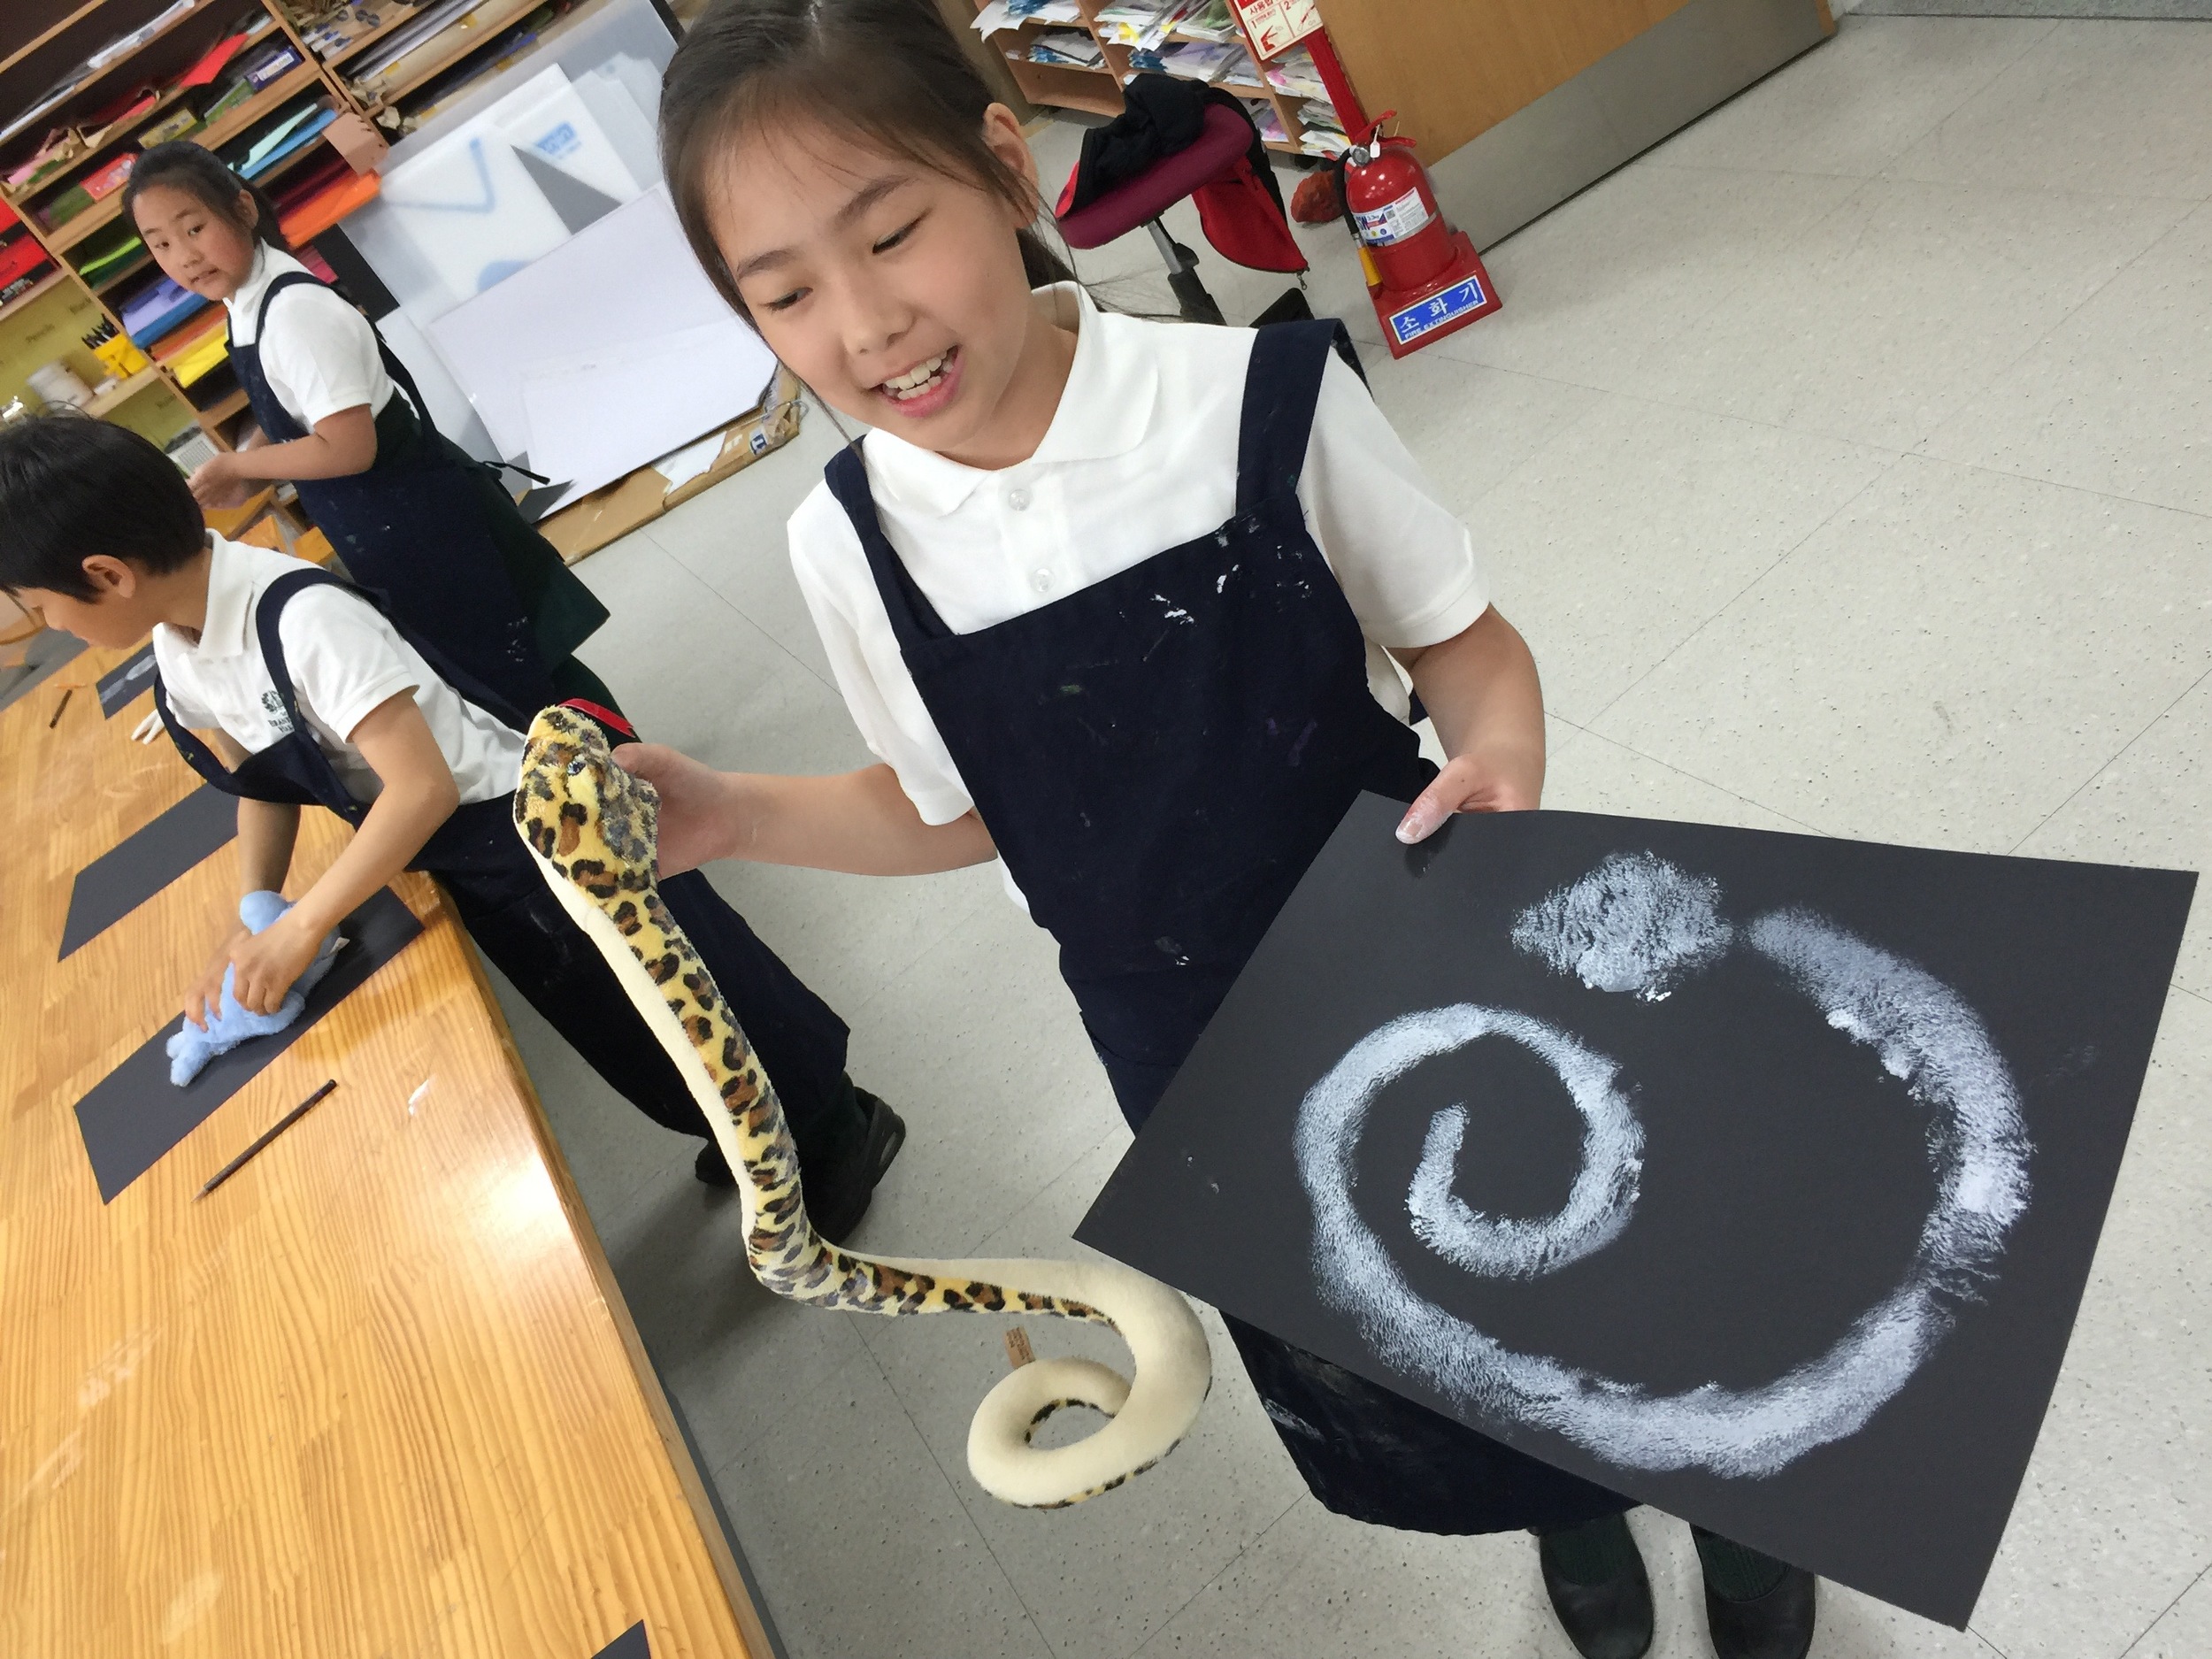
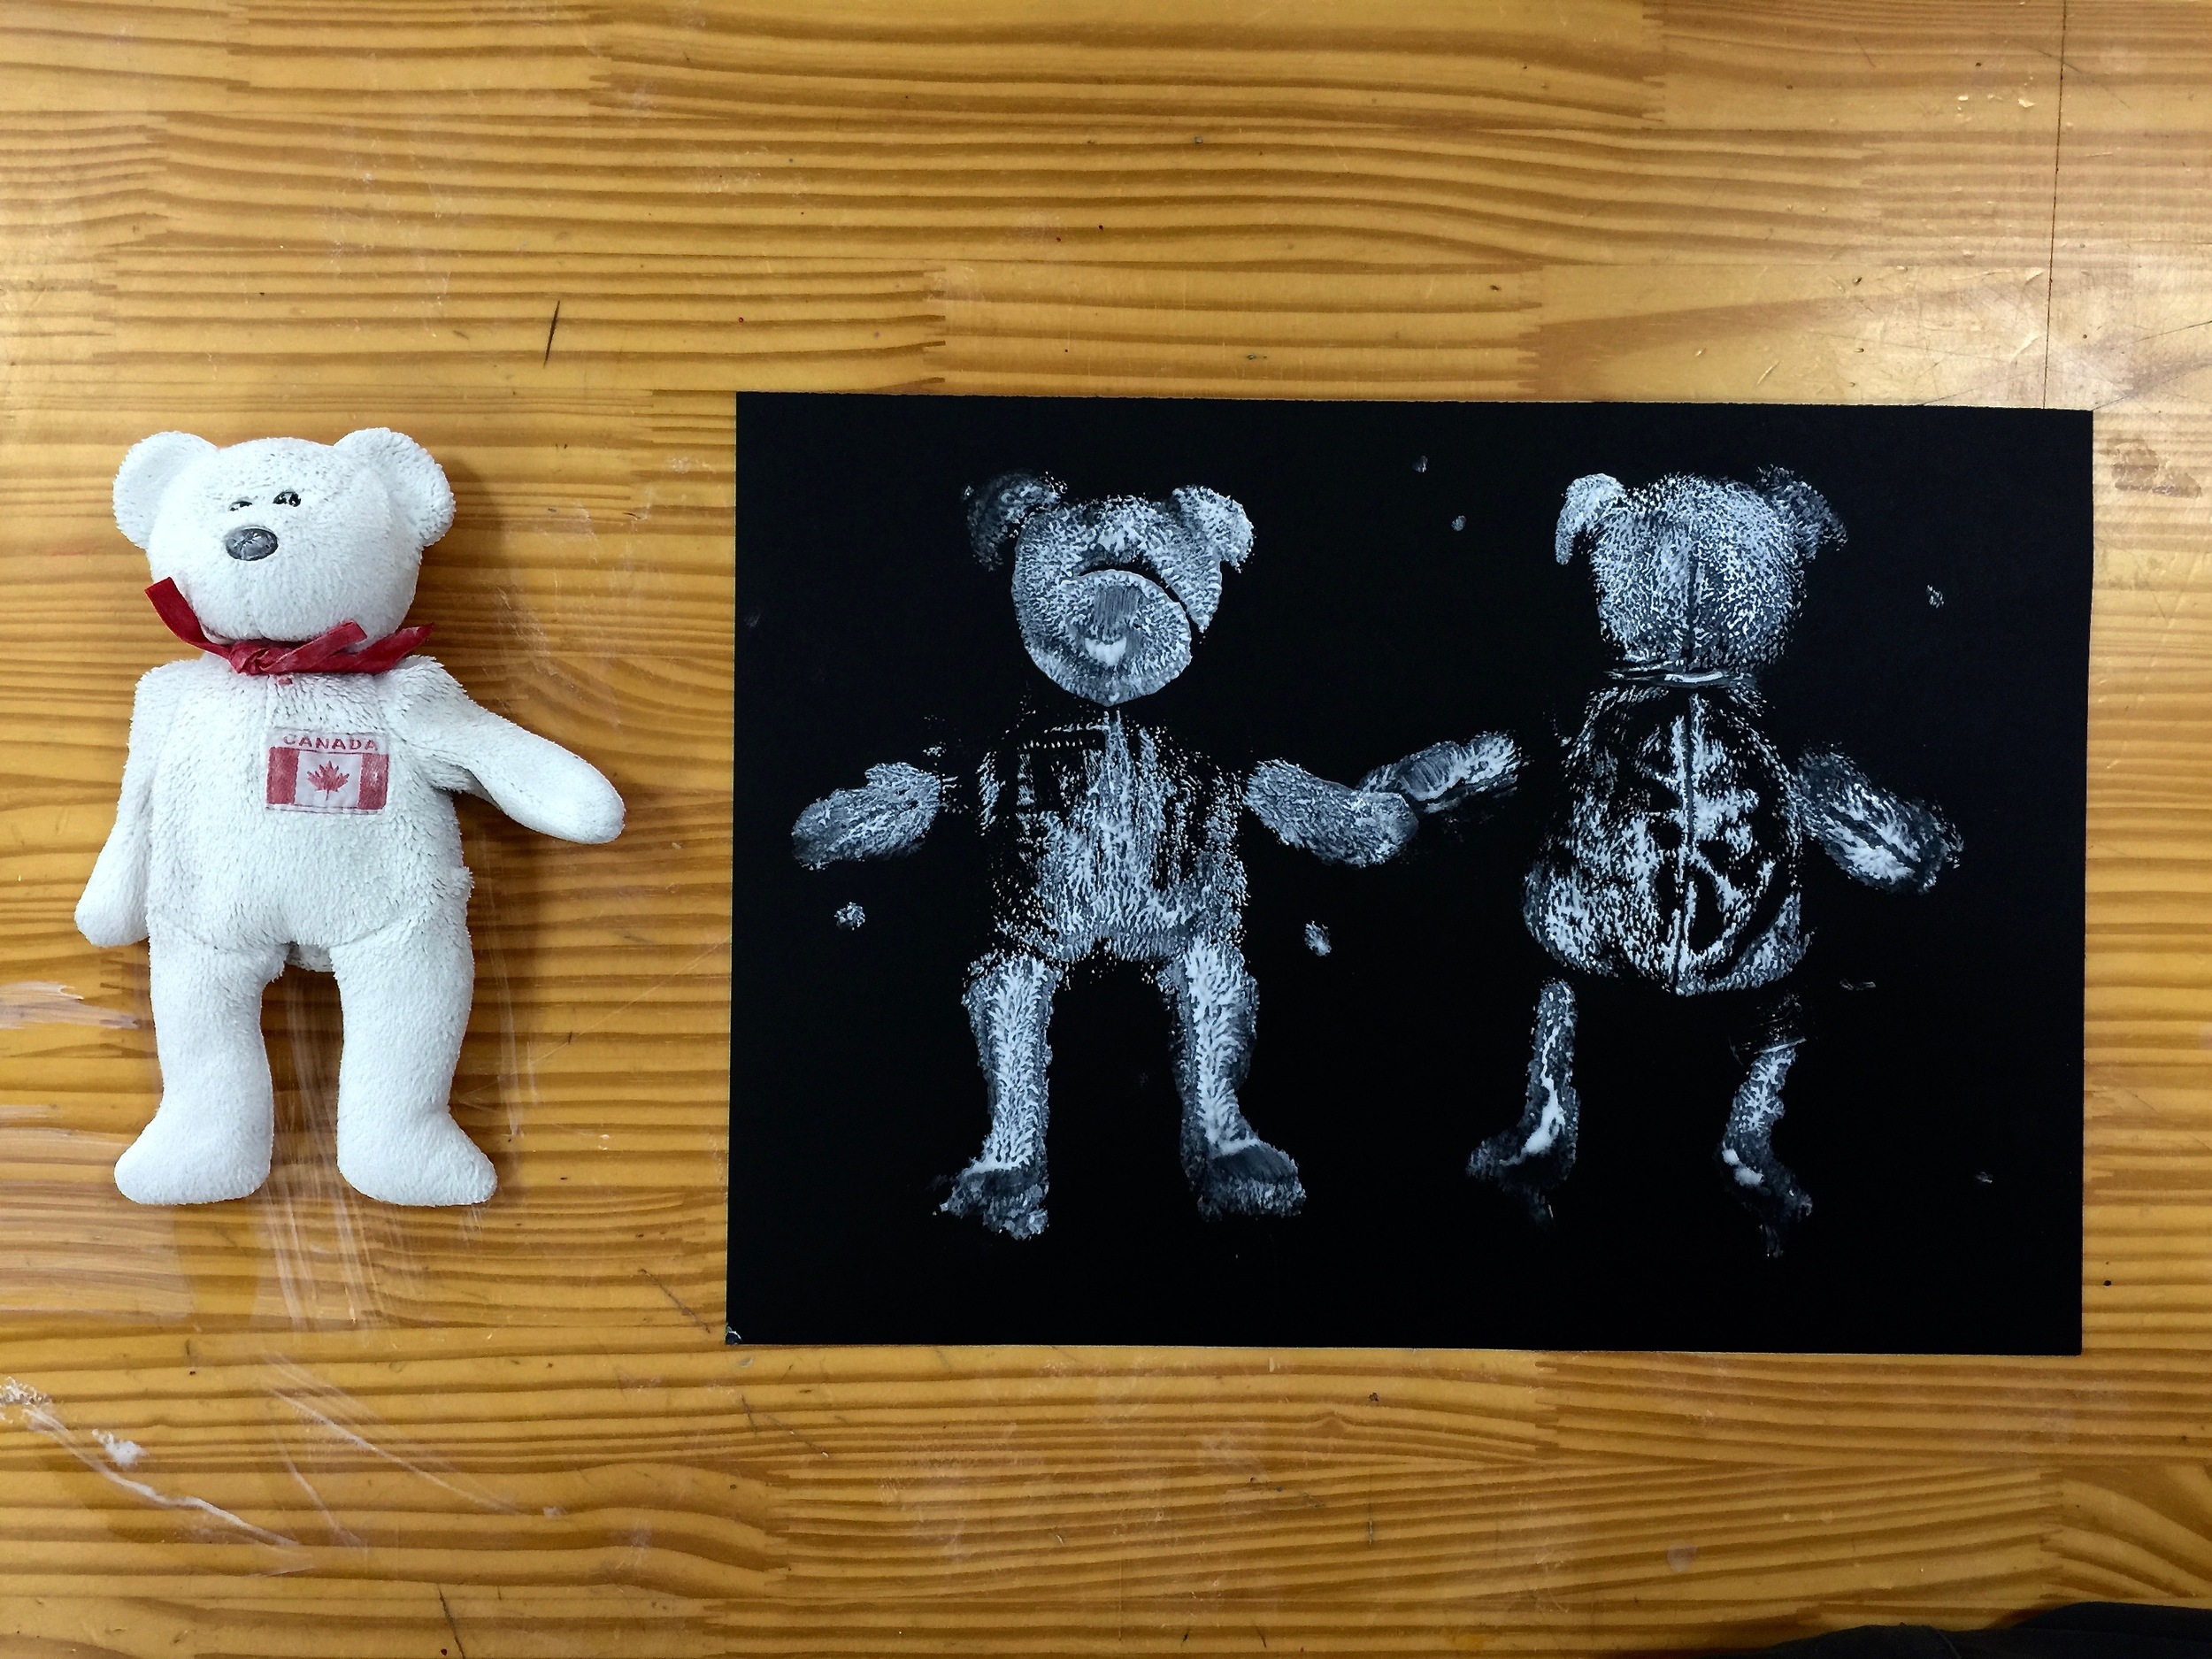
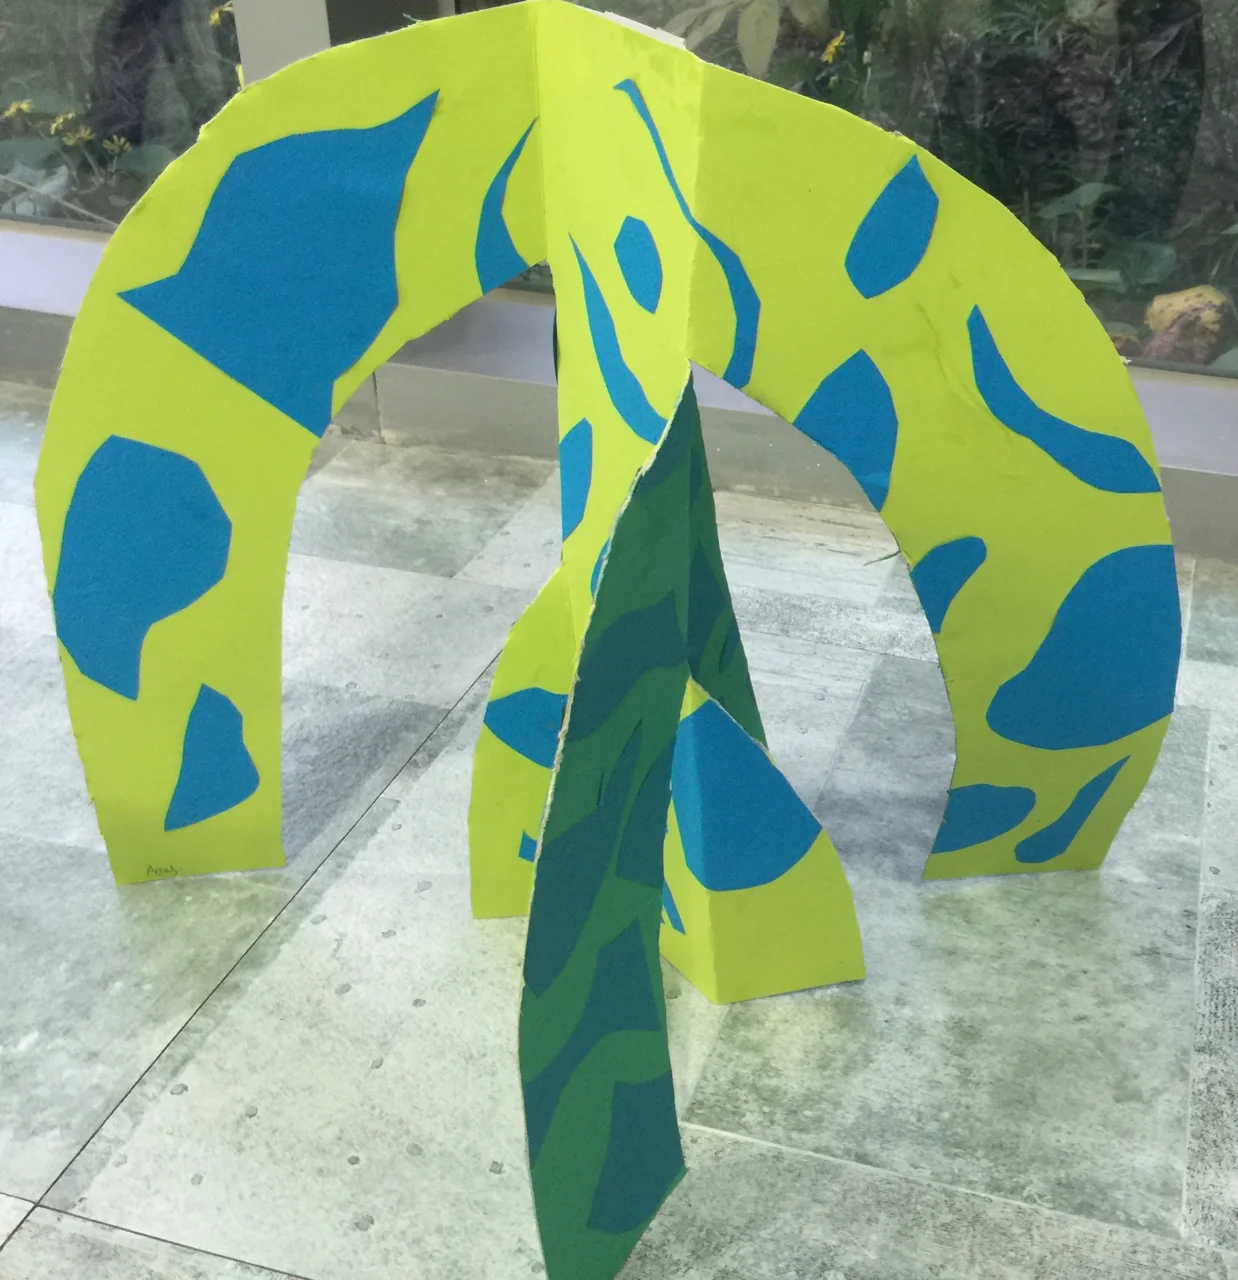
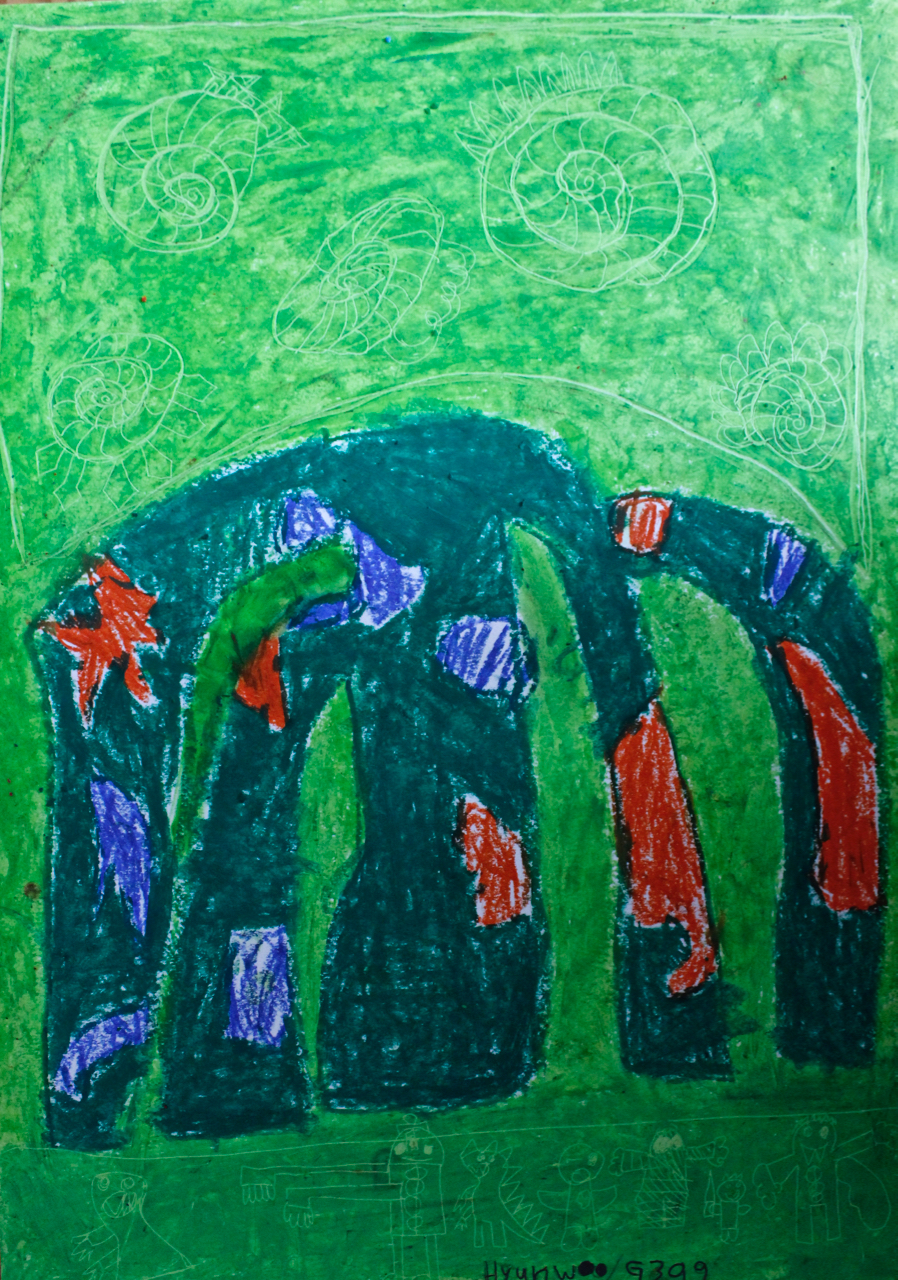
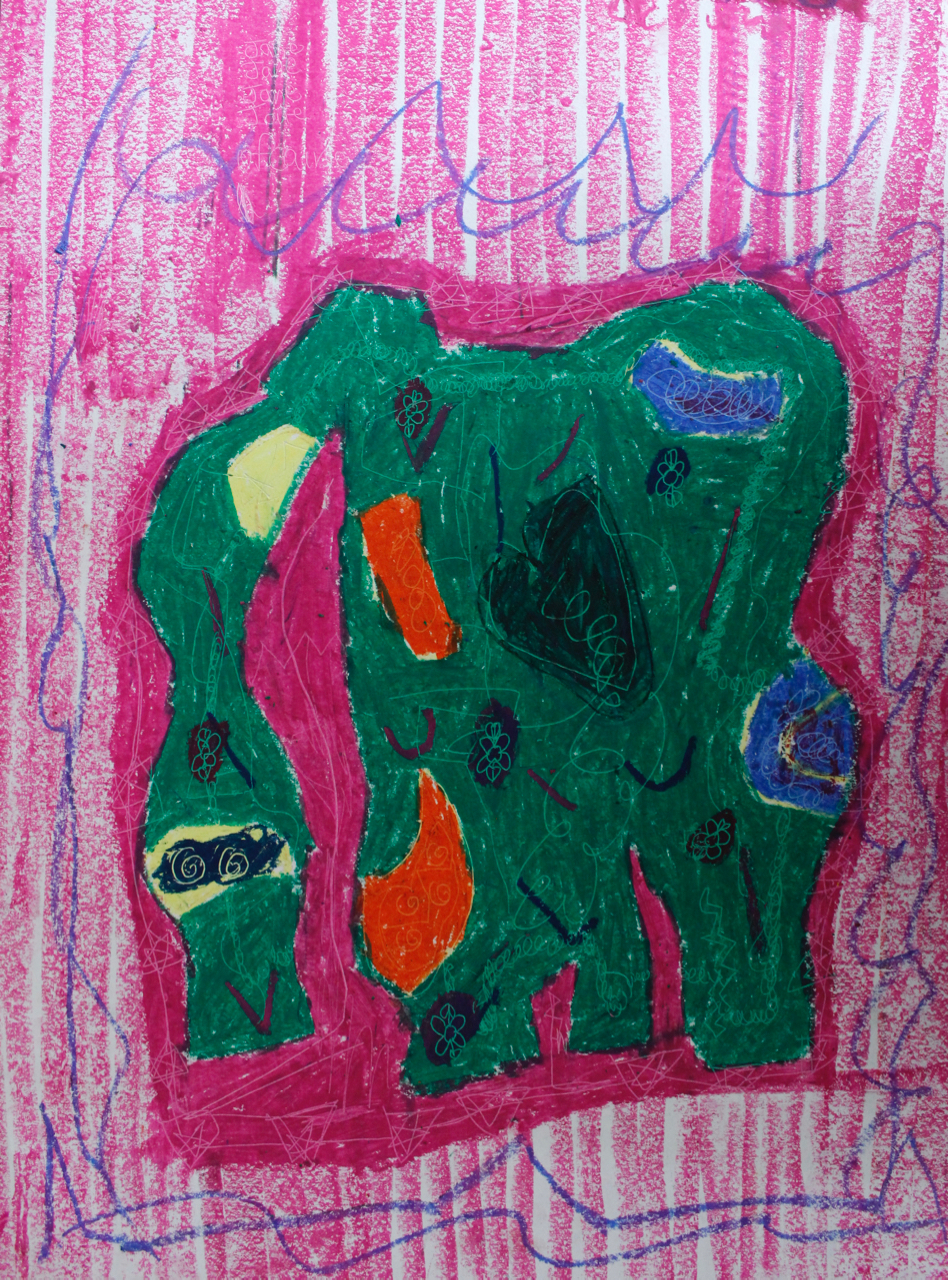
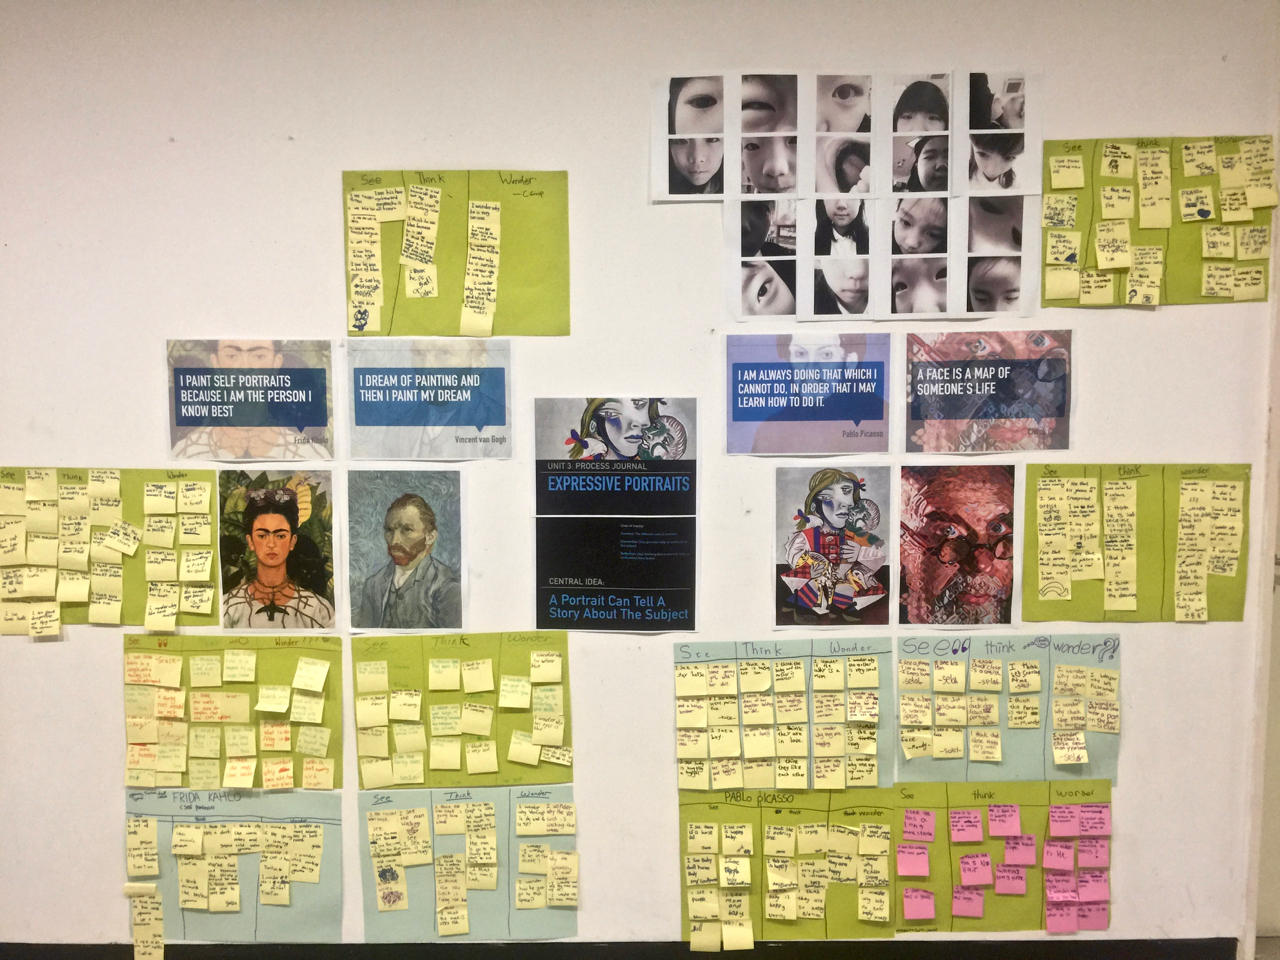
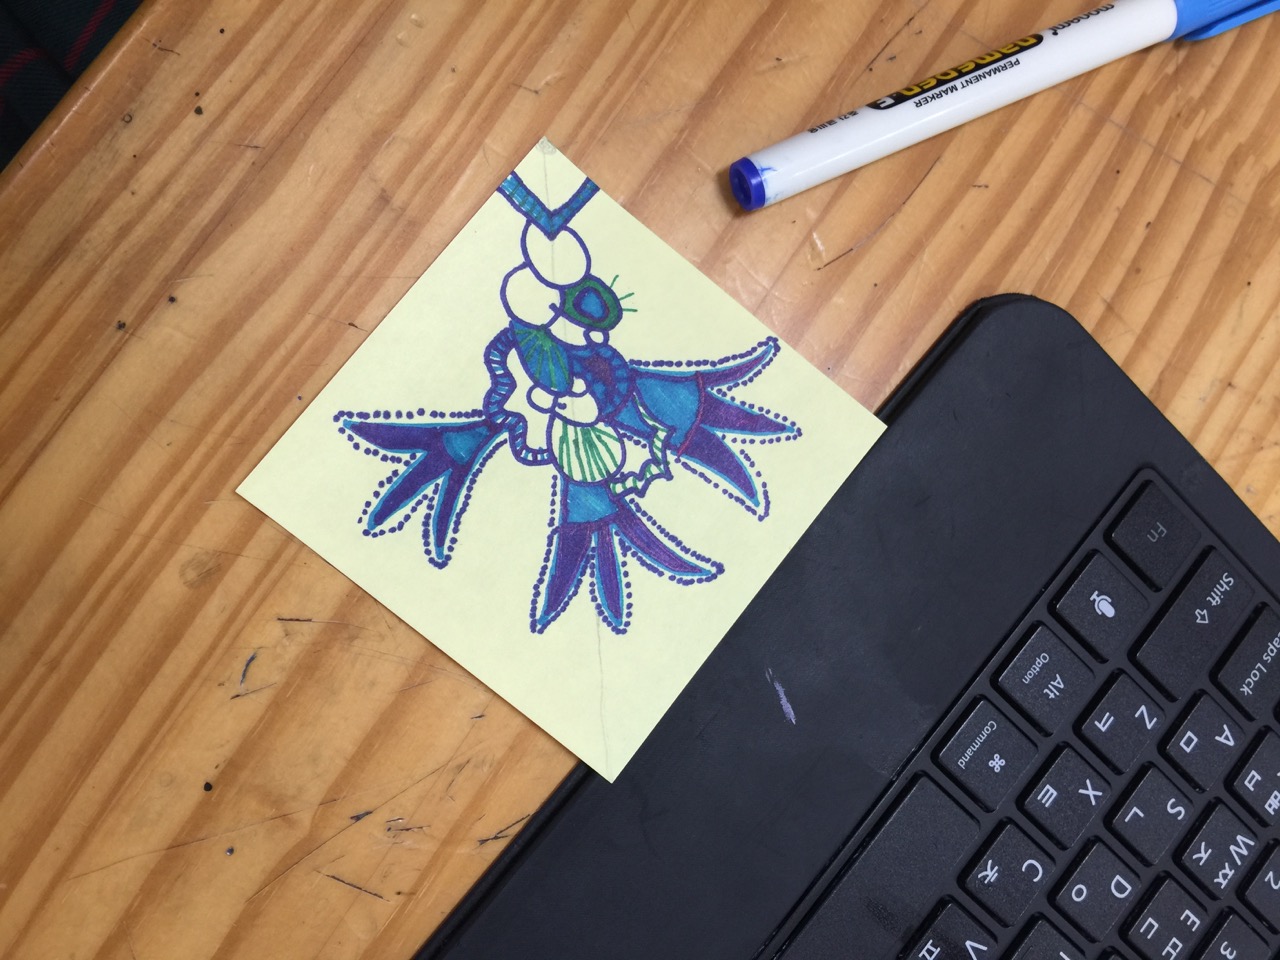
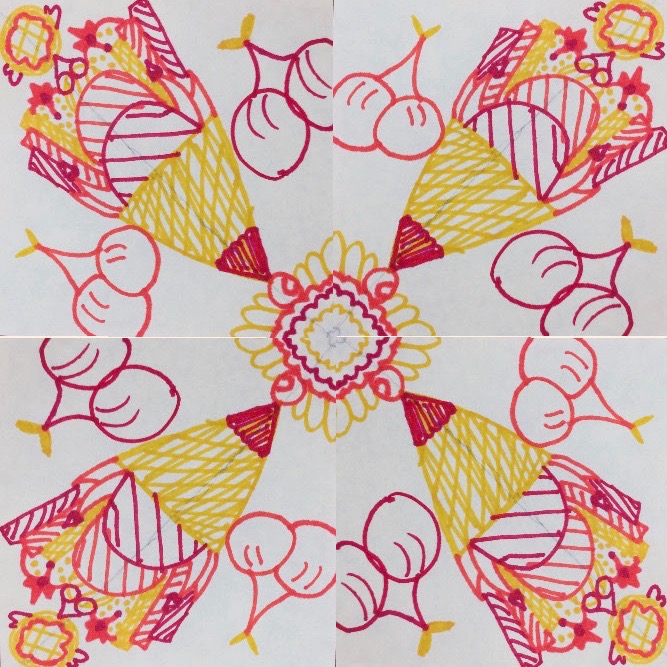
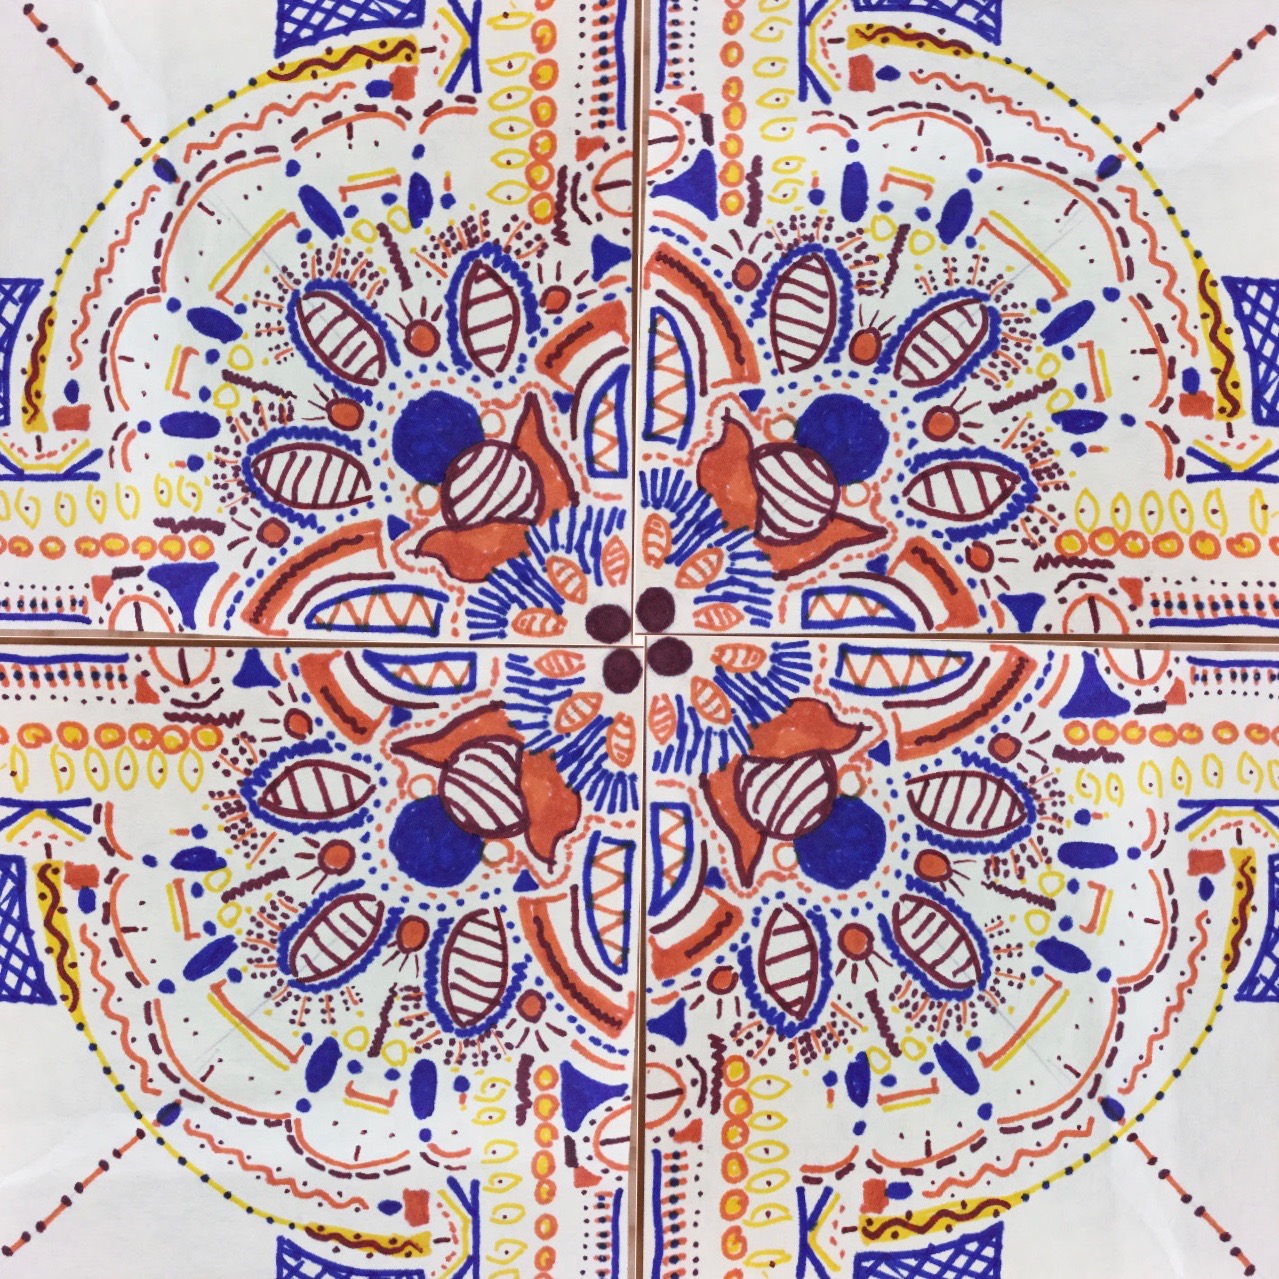
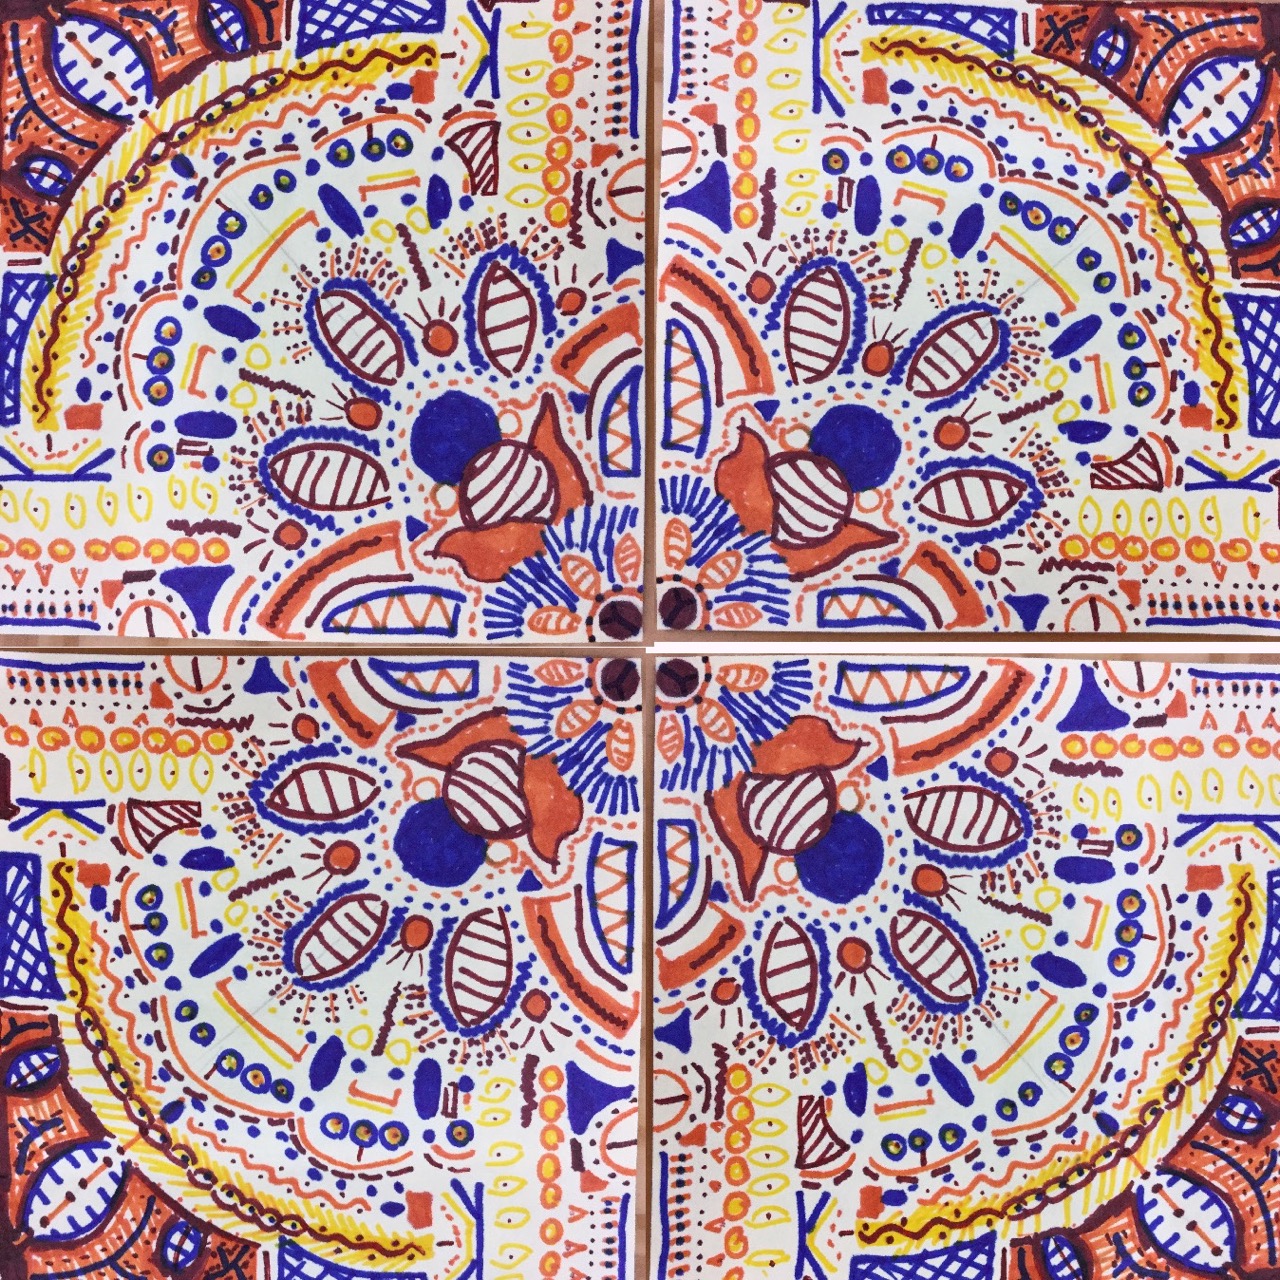
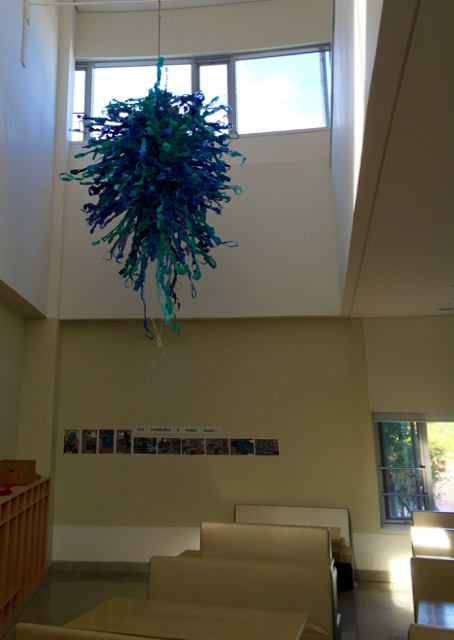
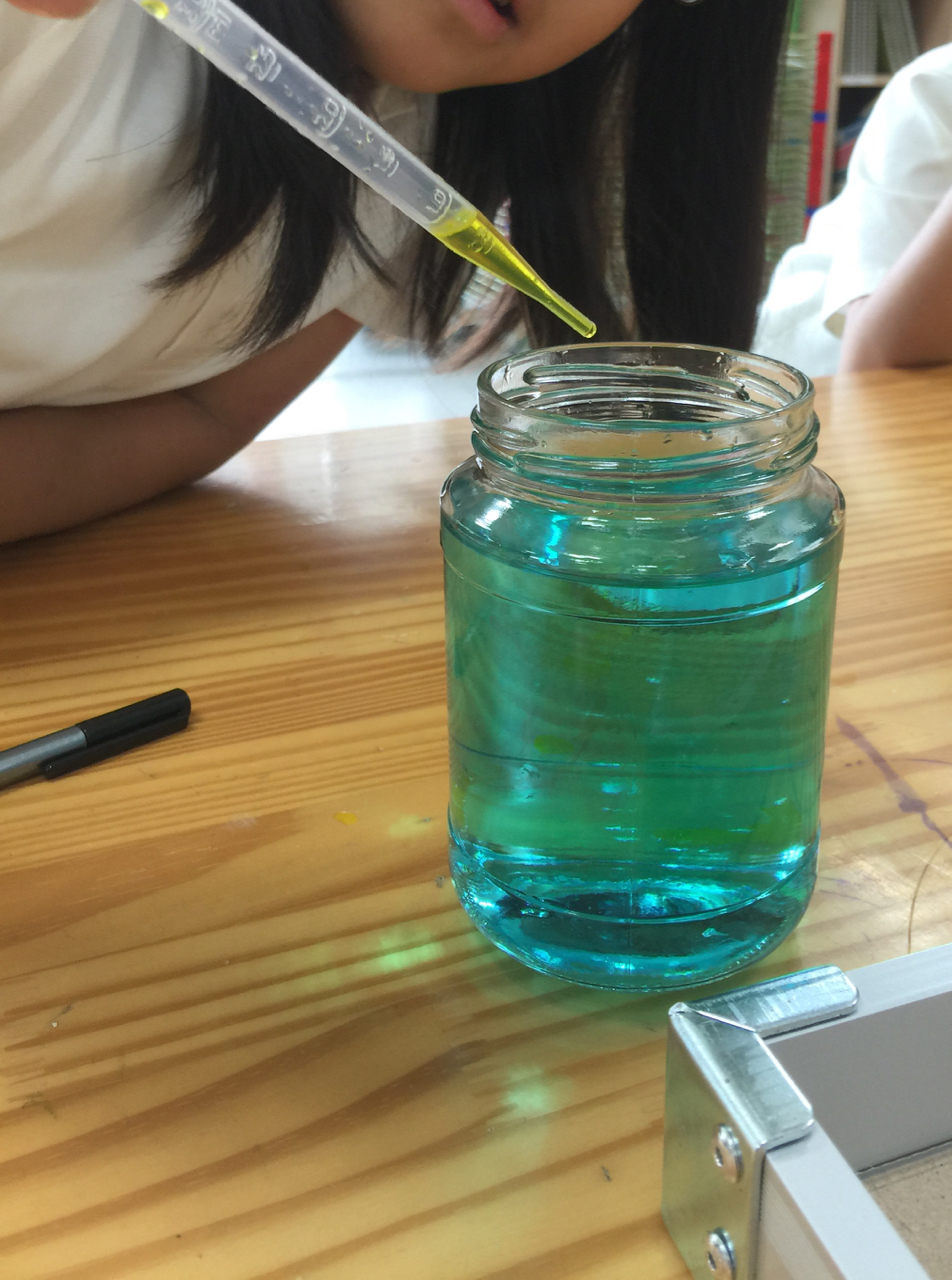
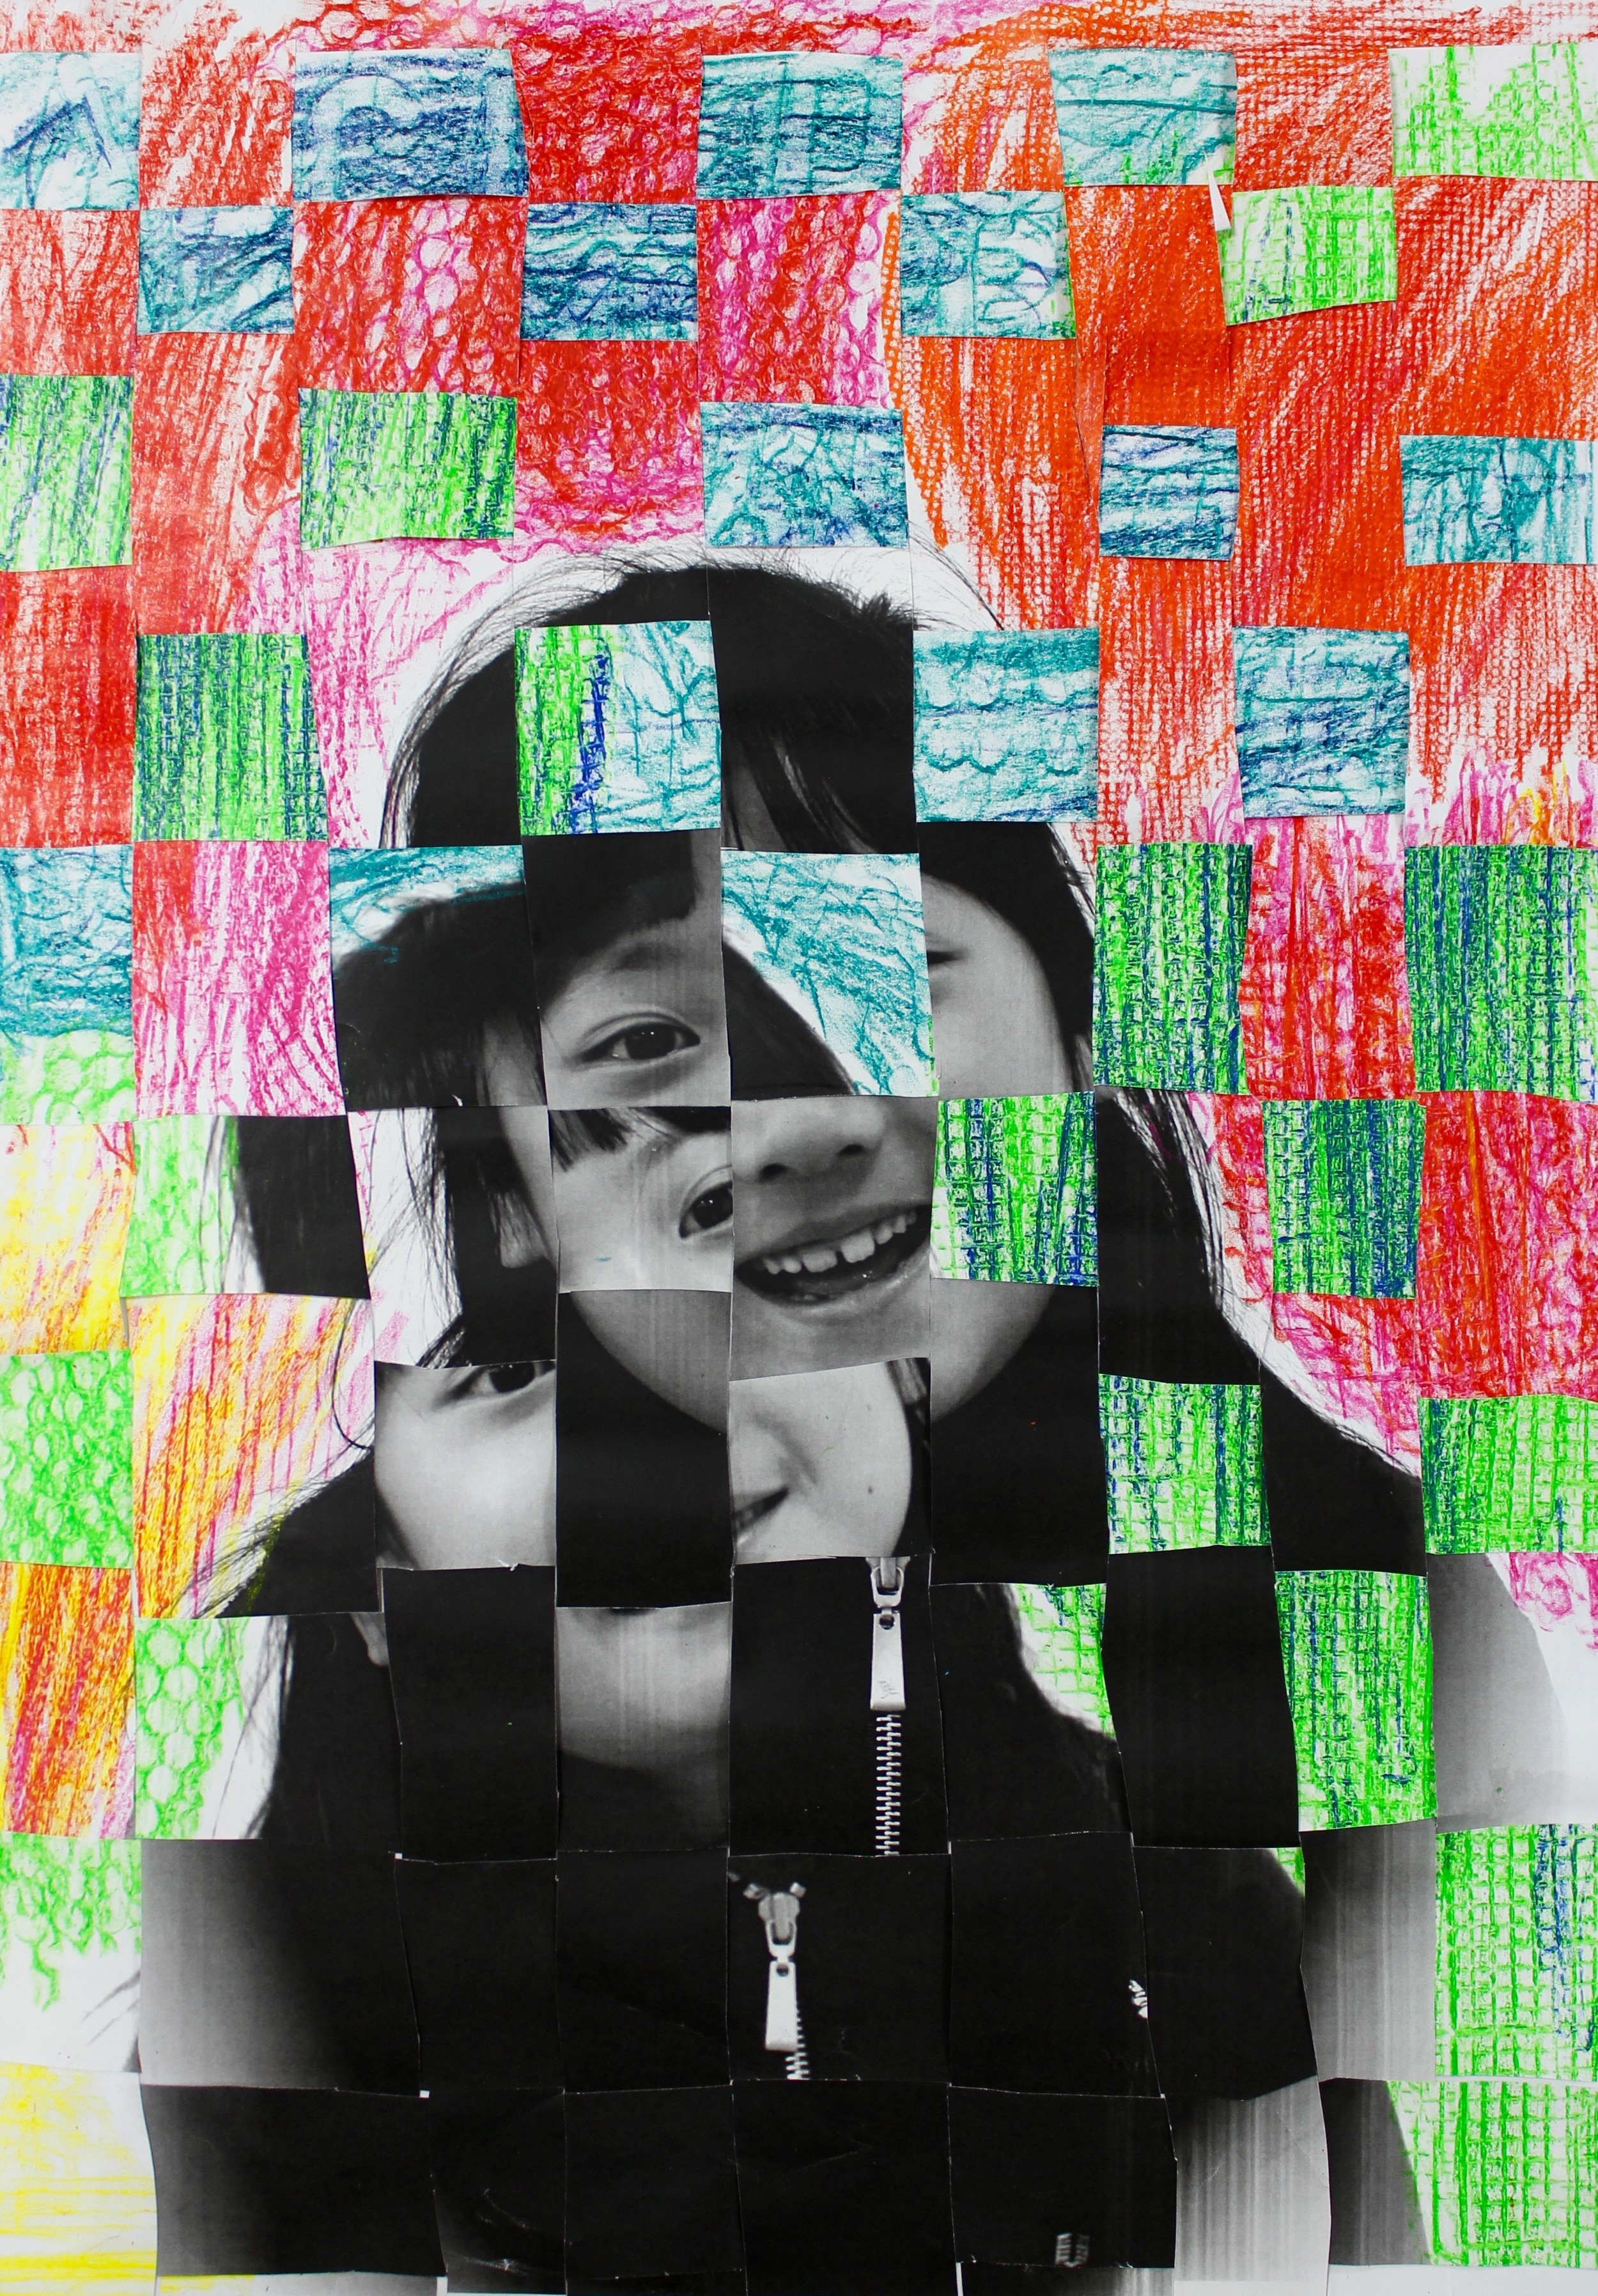
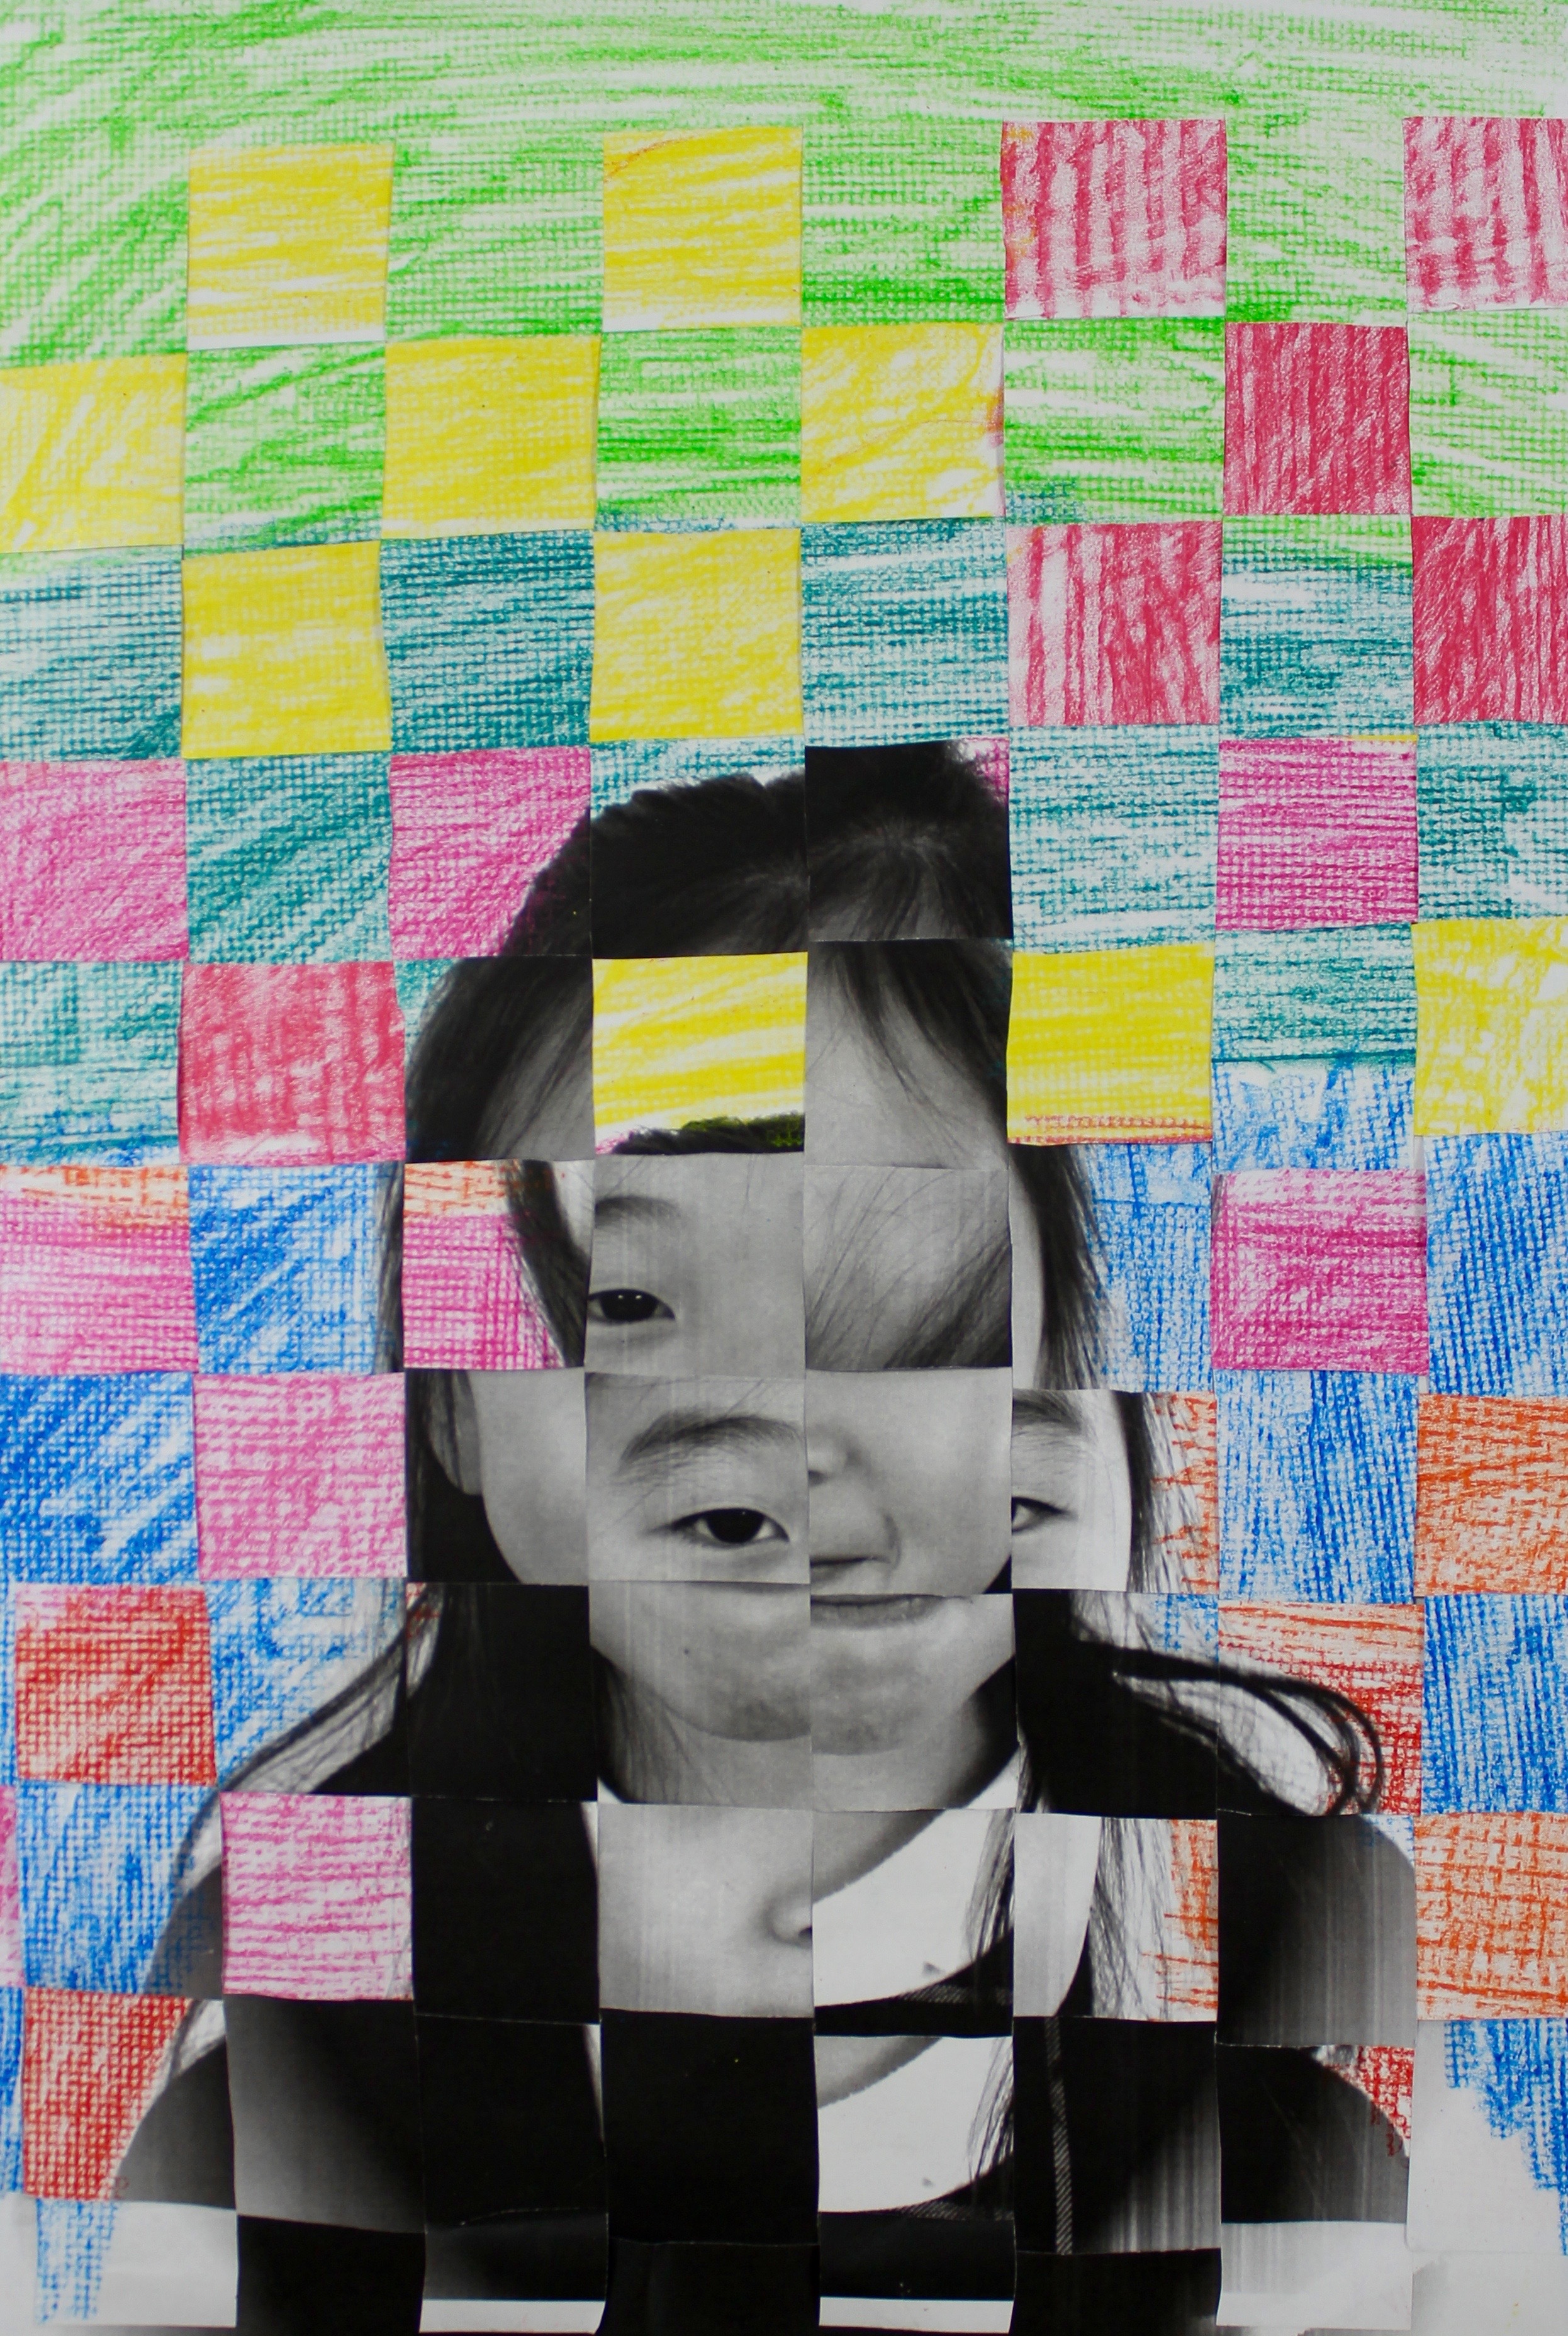
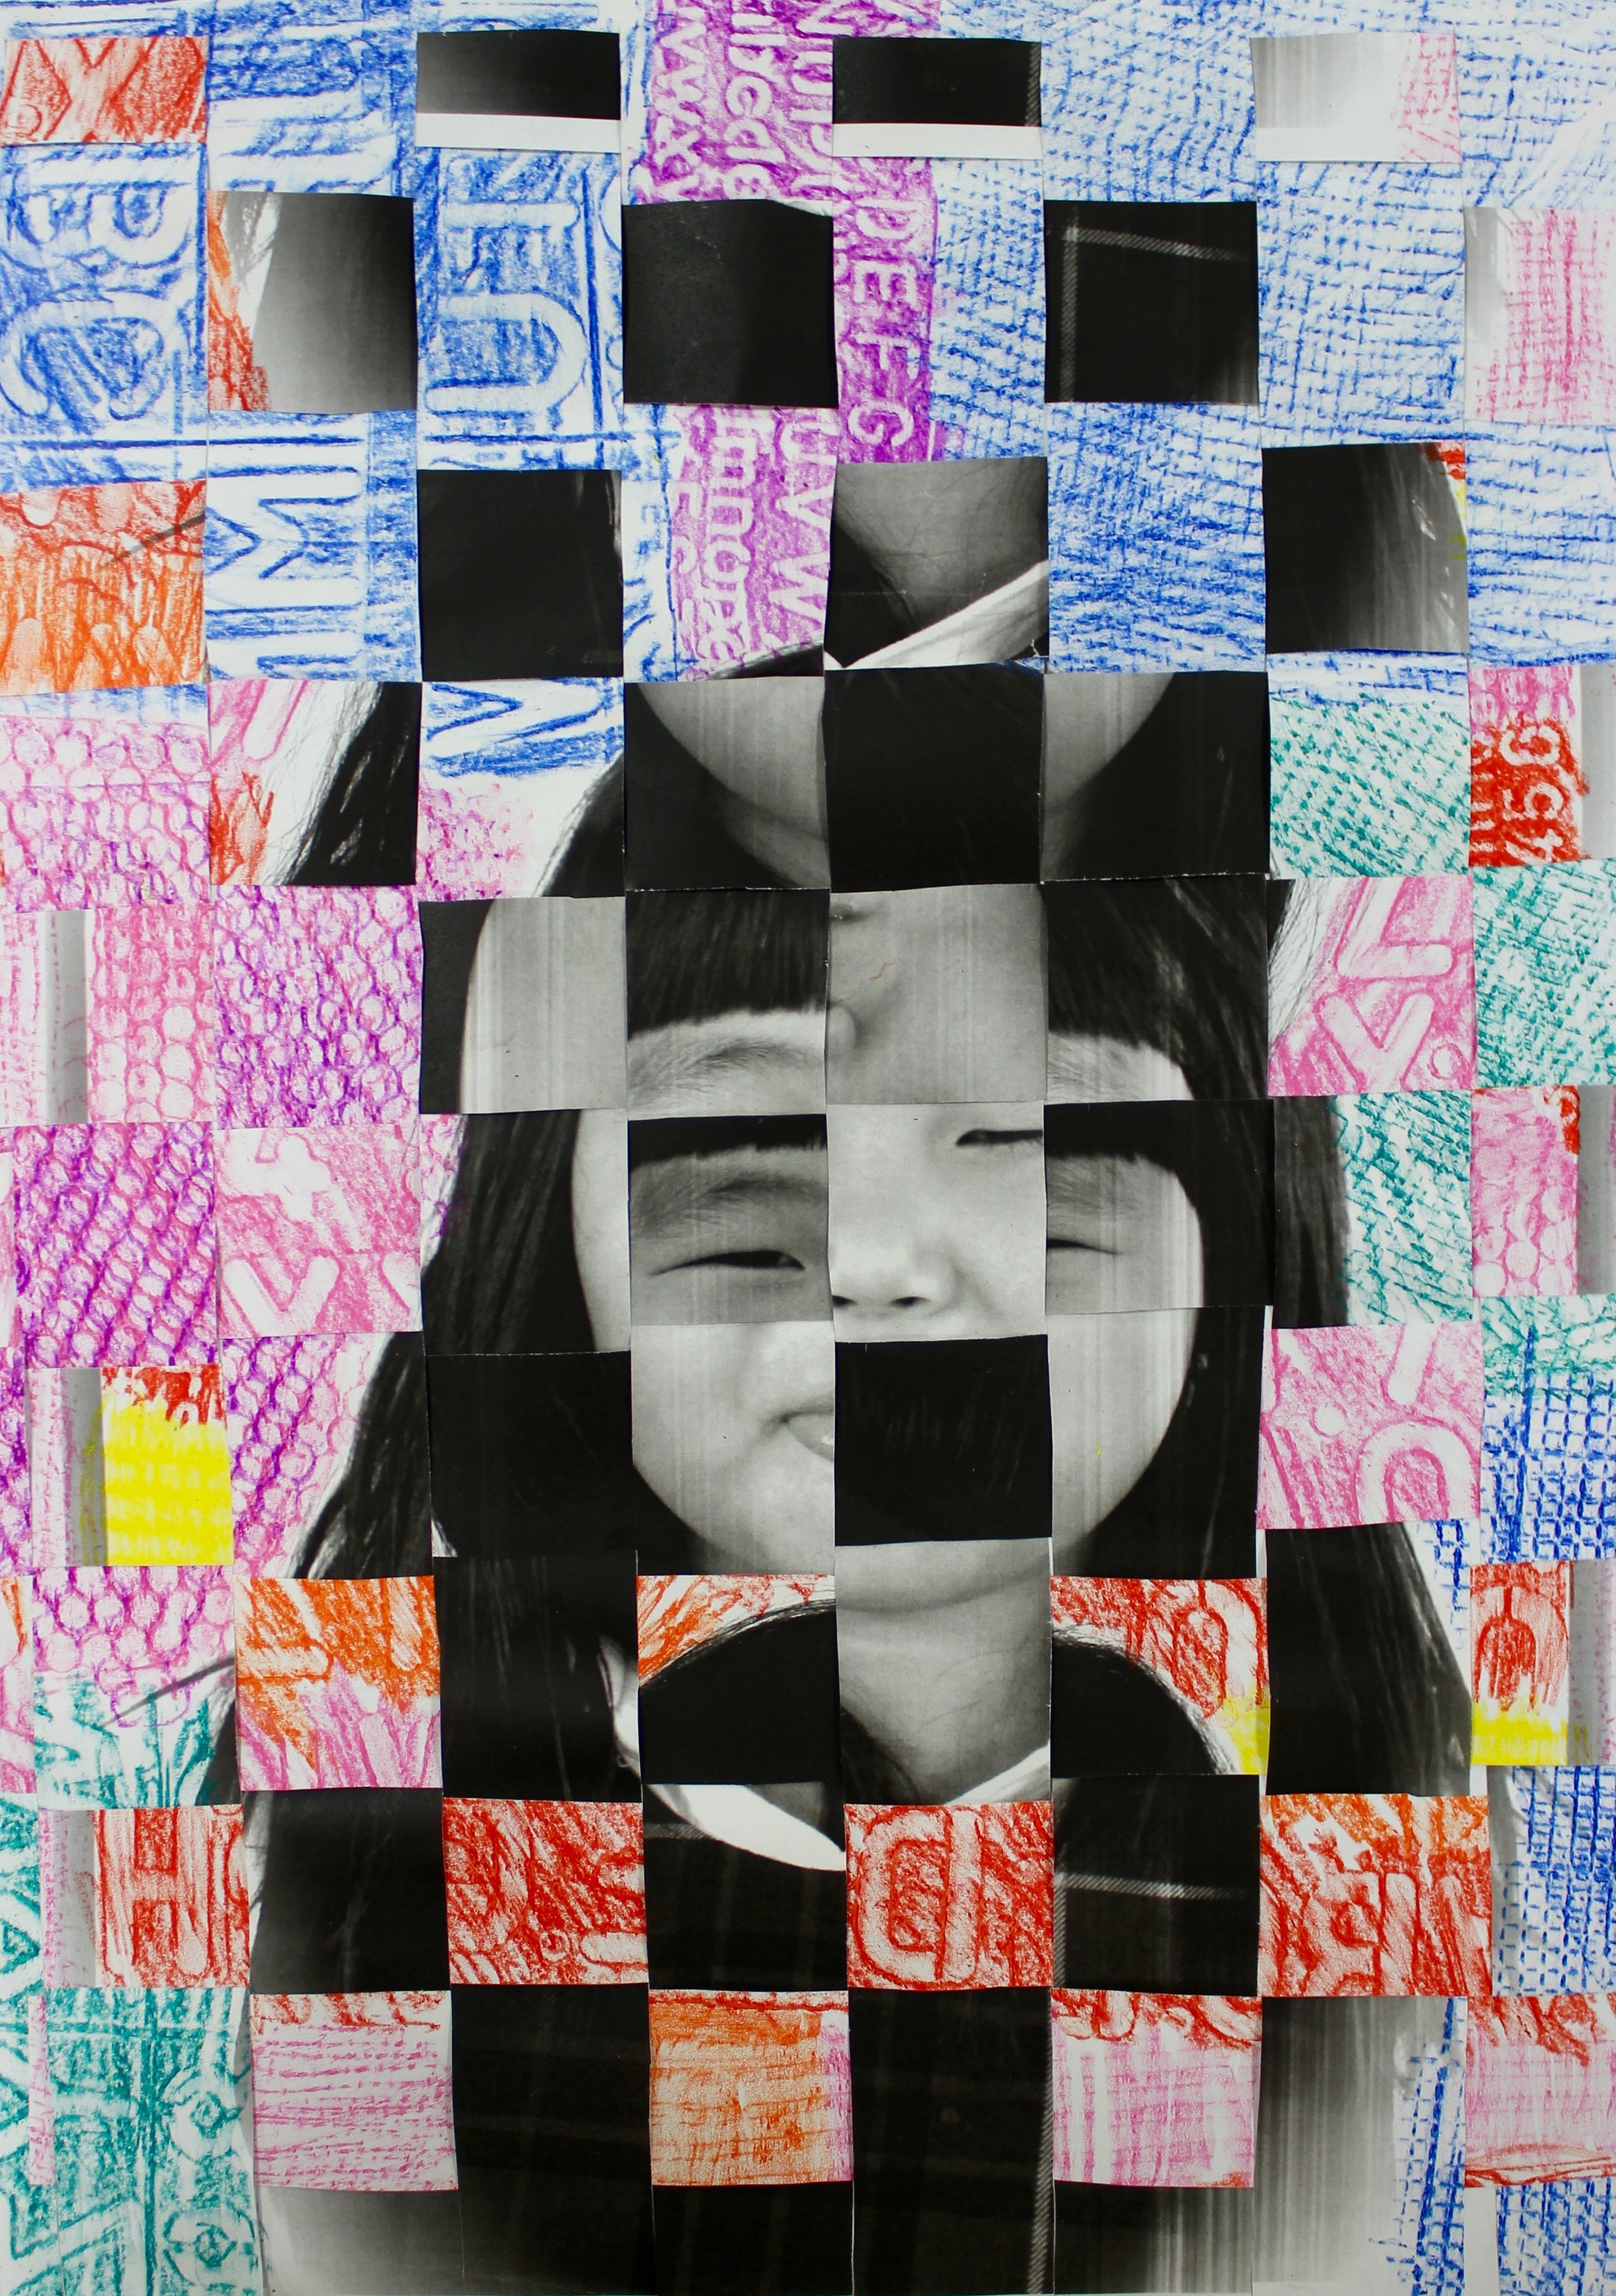
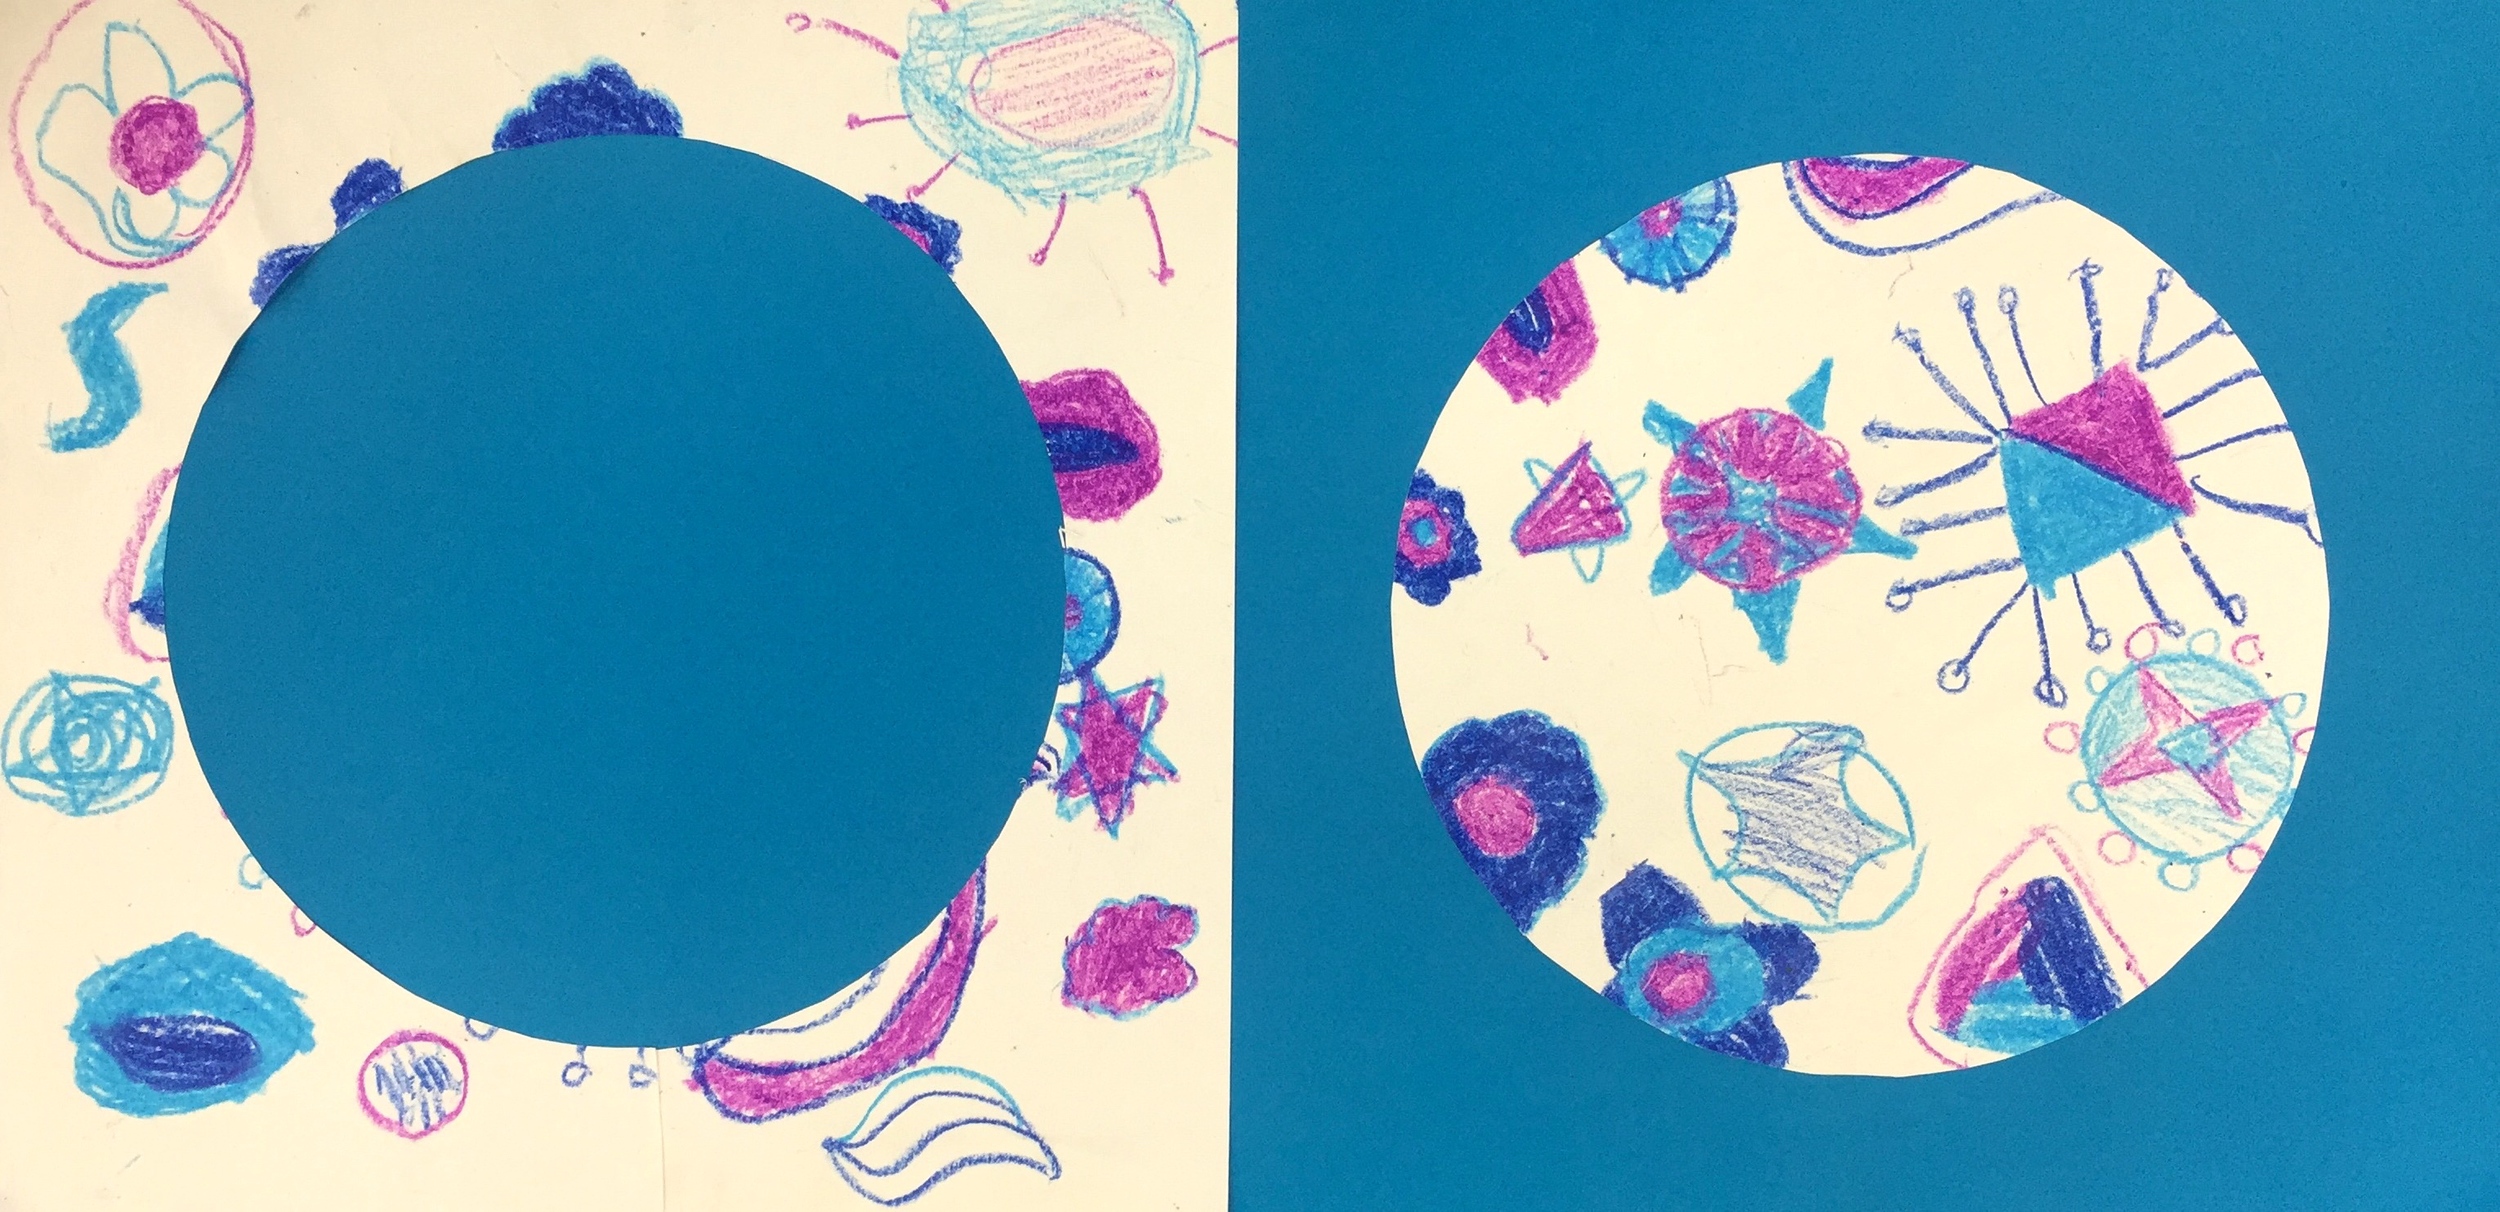
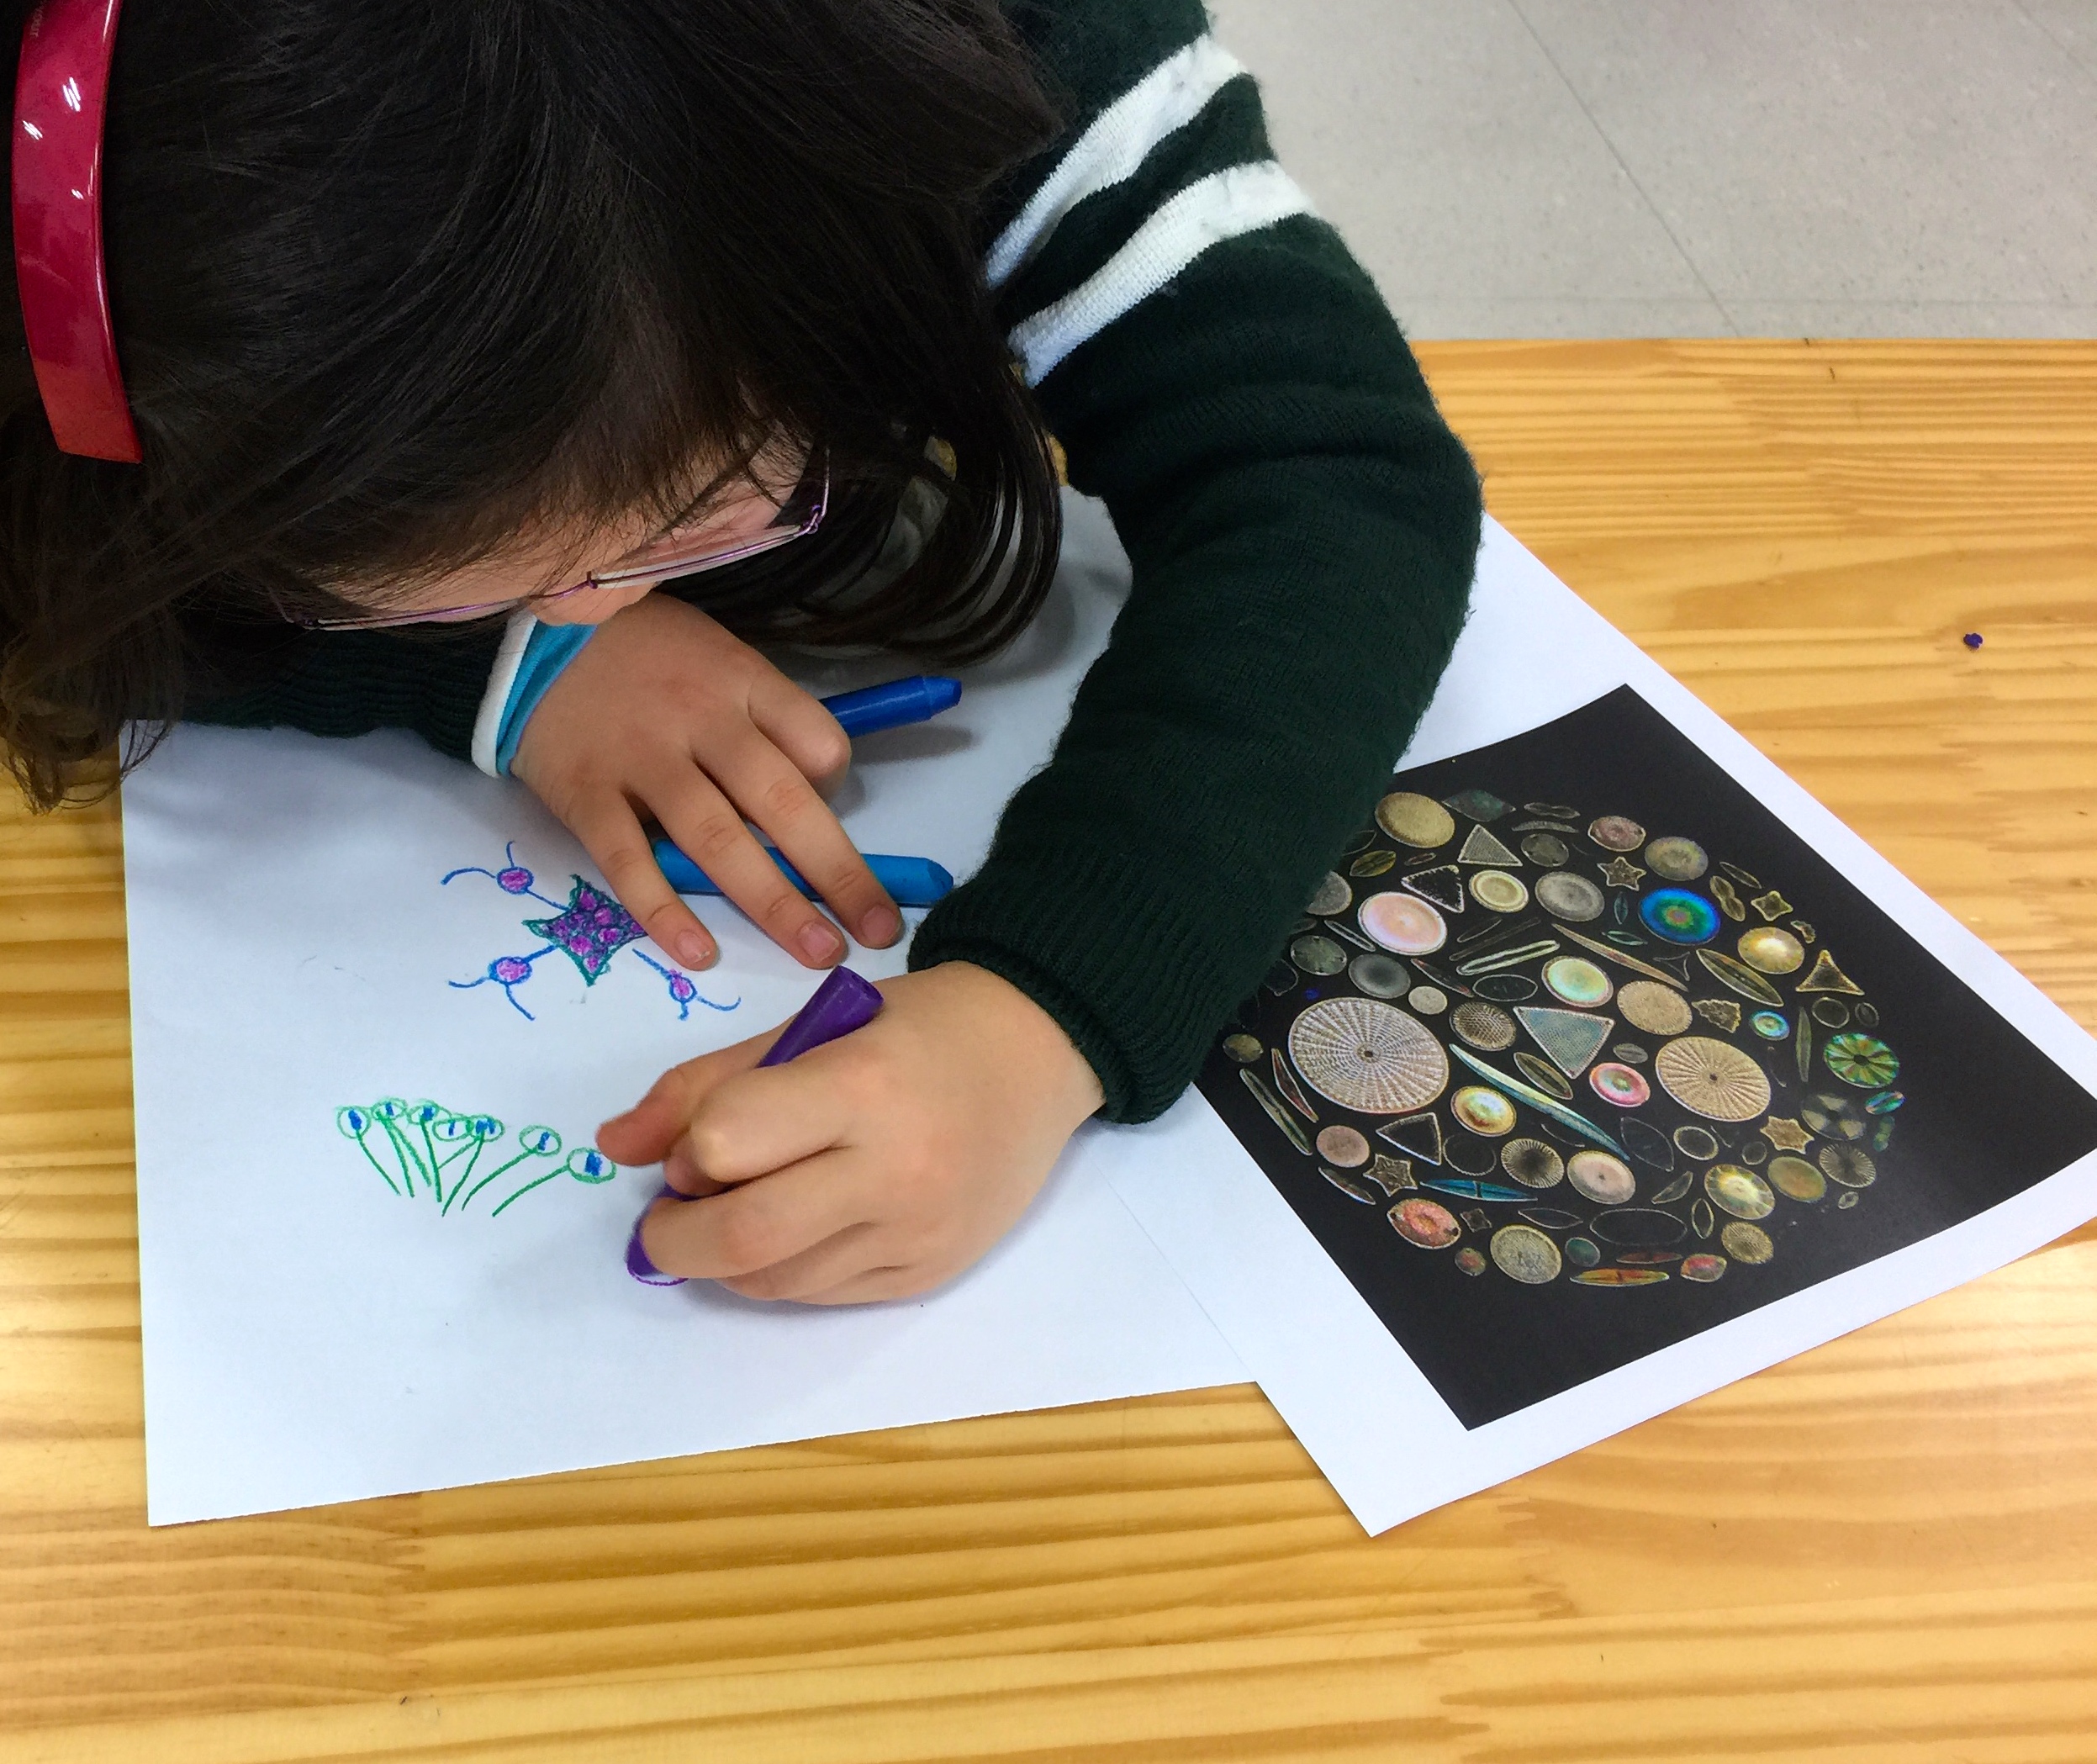
The highlight for me, of course, were the arts and performances. Students enrolled in intensive classes in makerspace, drawing and painting, sculpture, screen printing, film, and drama, and stop motion. There was such great variety showcased by the students and the instructors. I'm looking forward to next year.